(Fall “WELCOME” Jars, Christmas “BE MERRY” Jars, Beautiful Bows & Creative Gift Wrapping)
Fall “WELCOME” Jars
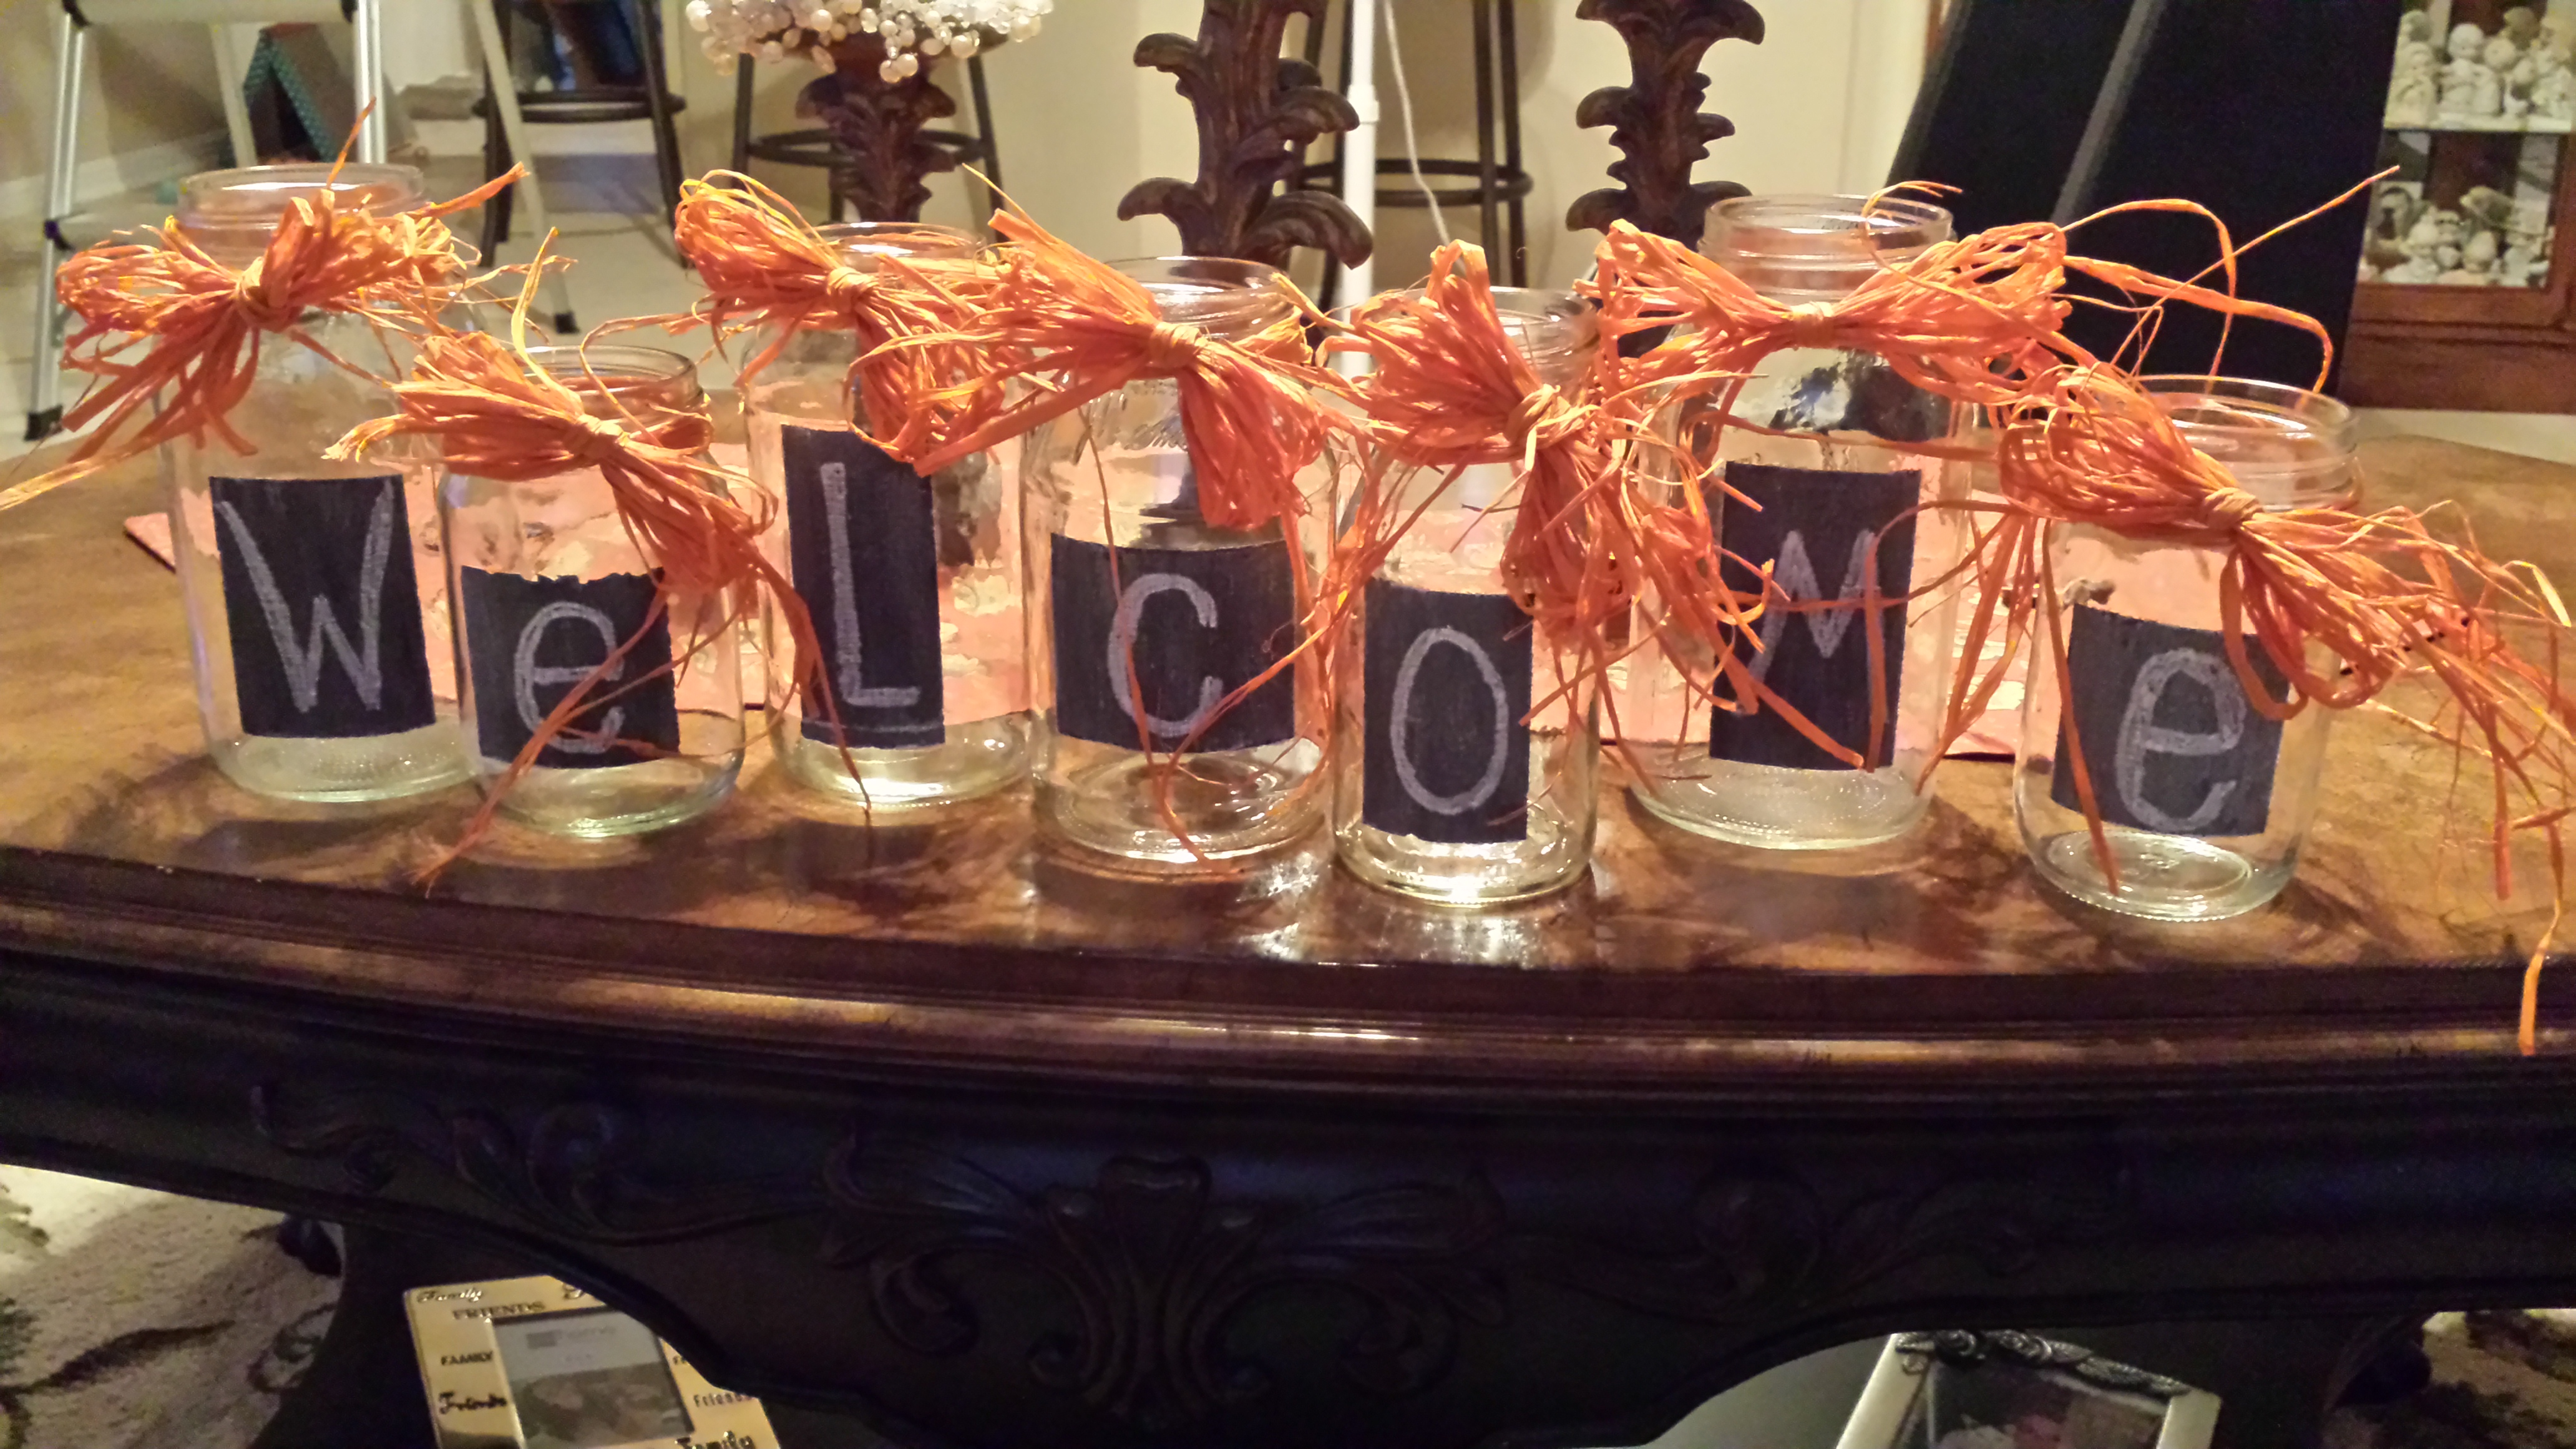
Select a variety of jars in different shapes and sizes. I wanted to spell “Welcome” so I needed 7 jars with wide enough openings at the top that would allow me to put battery operated tea lights inside them. Wash the jars in hot soapy water, and make sure that any label residue is removed.
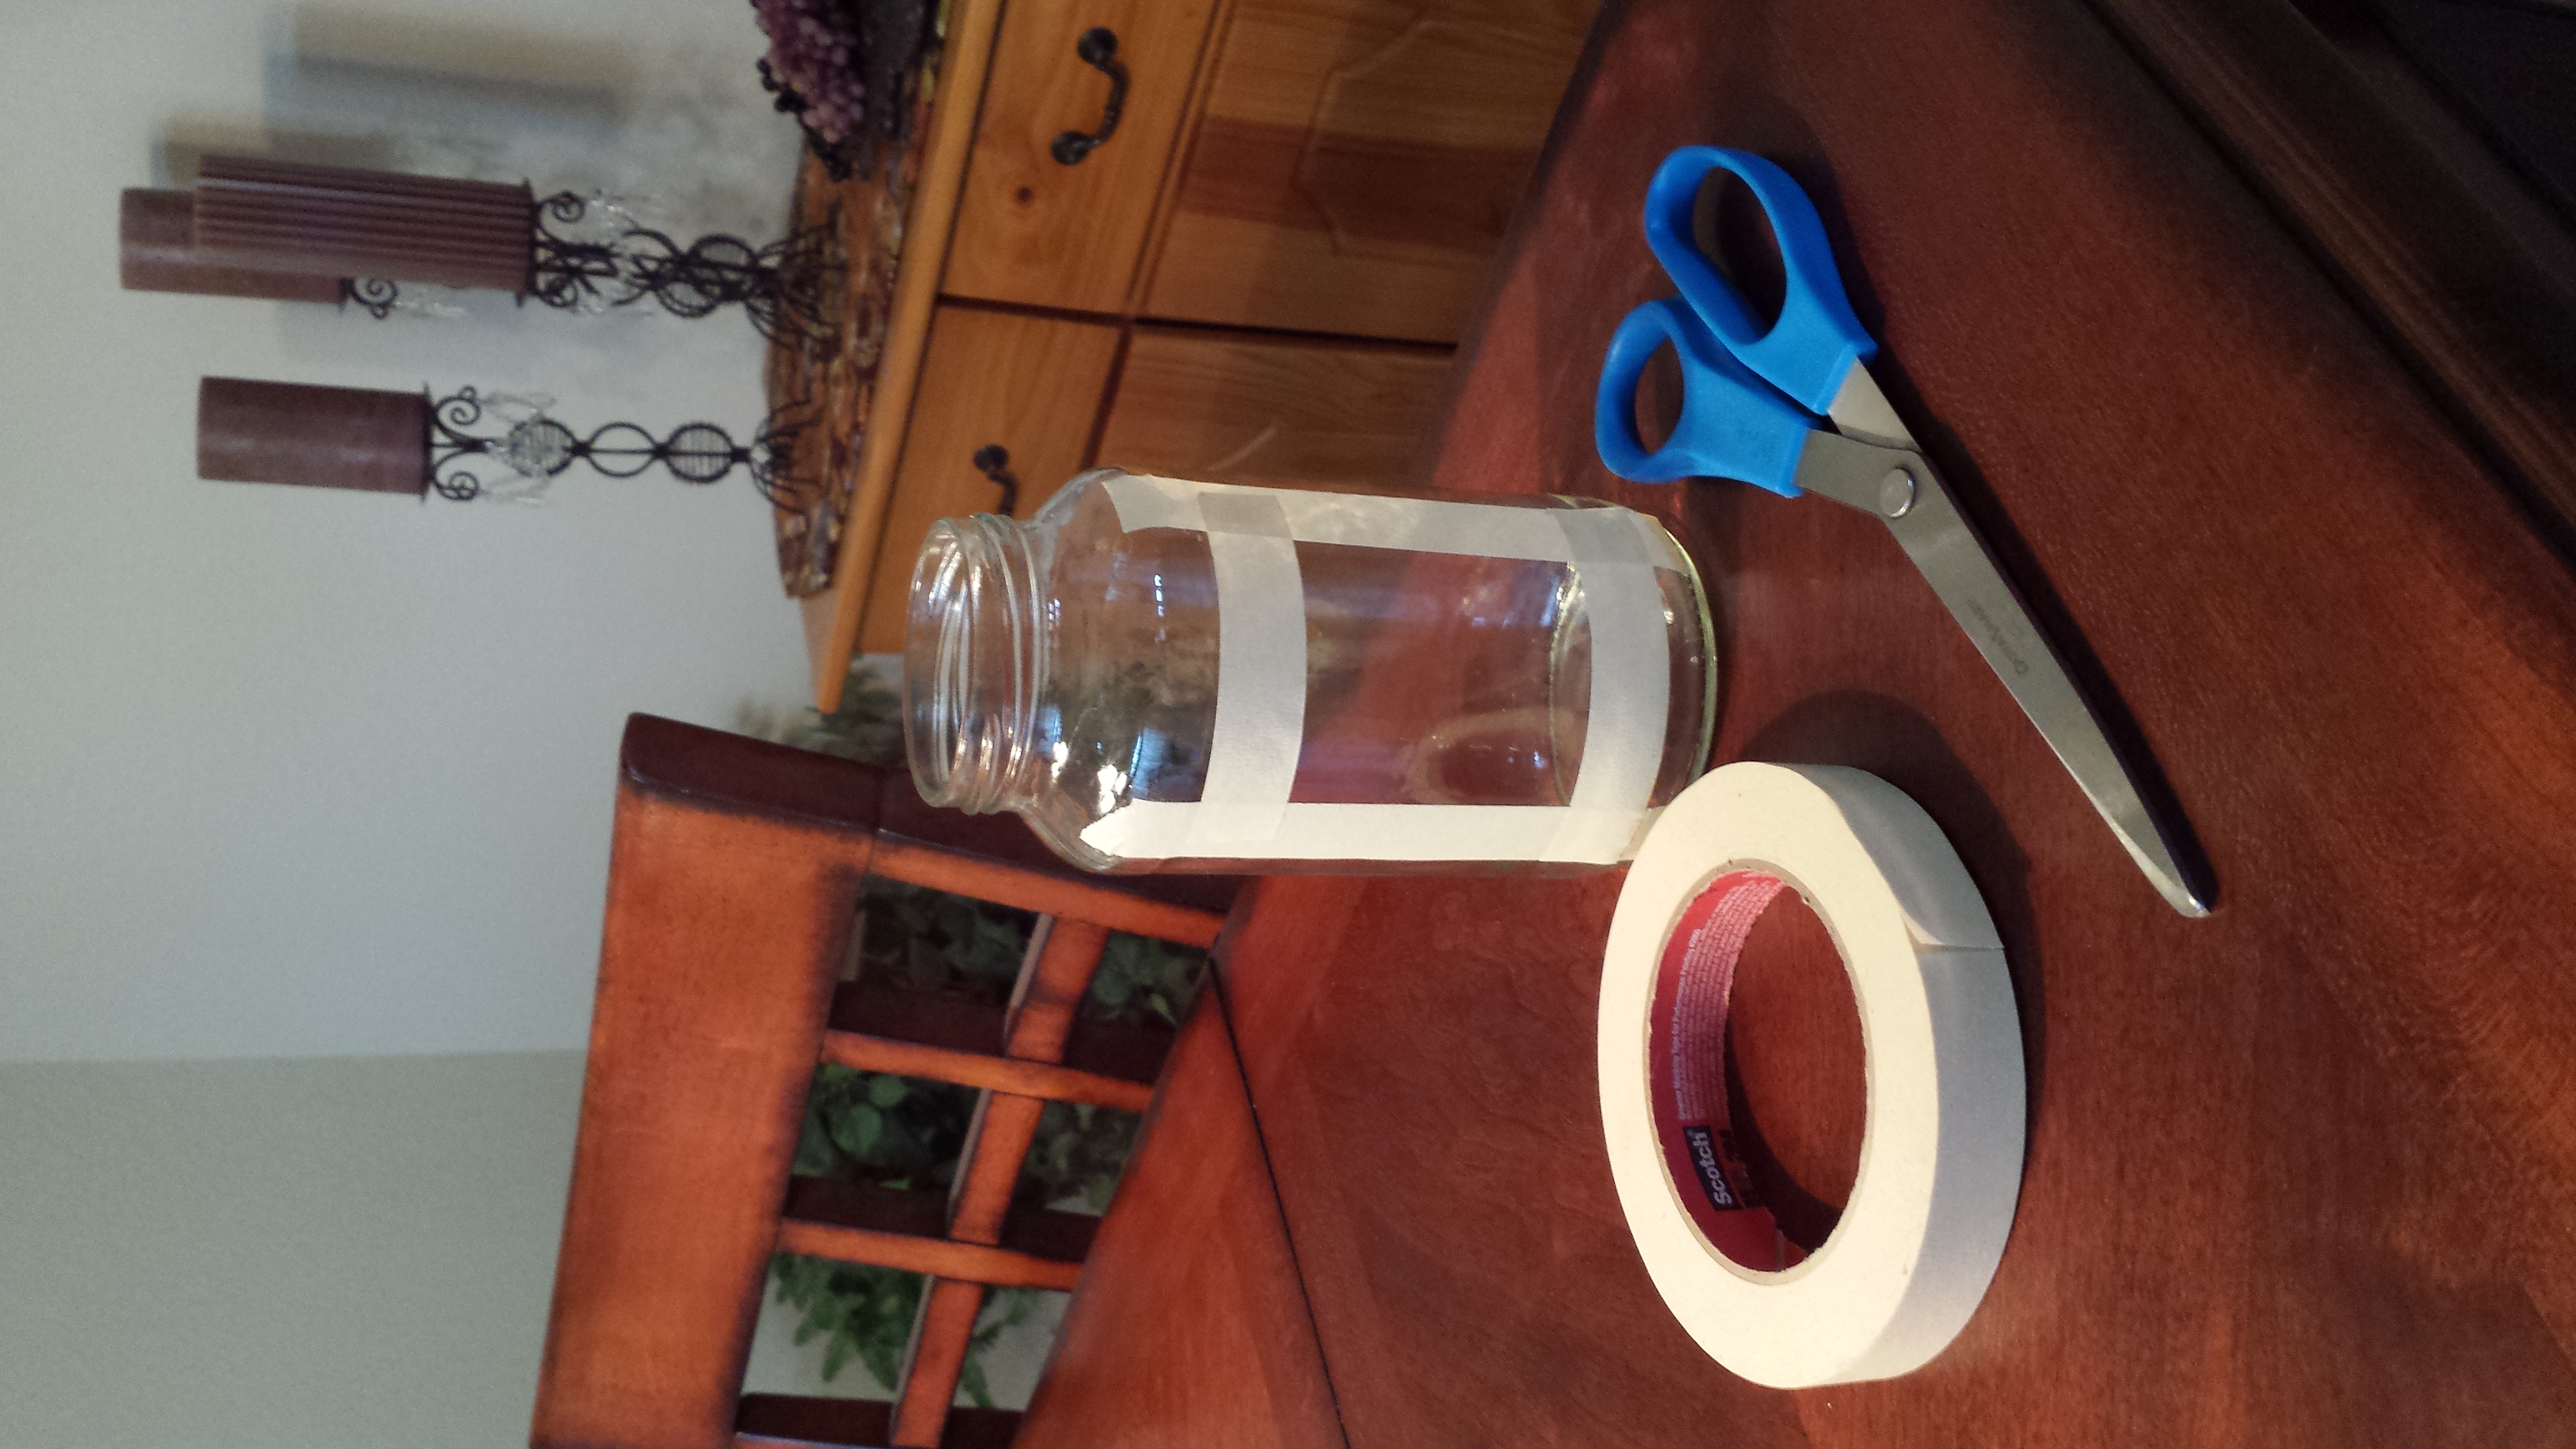
Use masking tape to mark off the area in which you are going to paint. Vary the height and width on each jar to create more interest in the design.
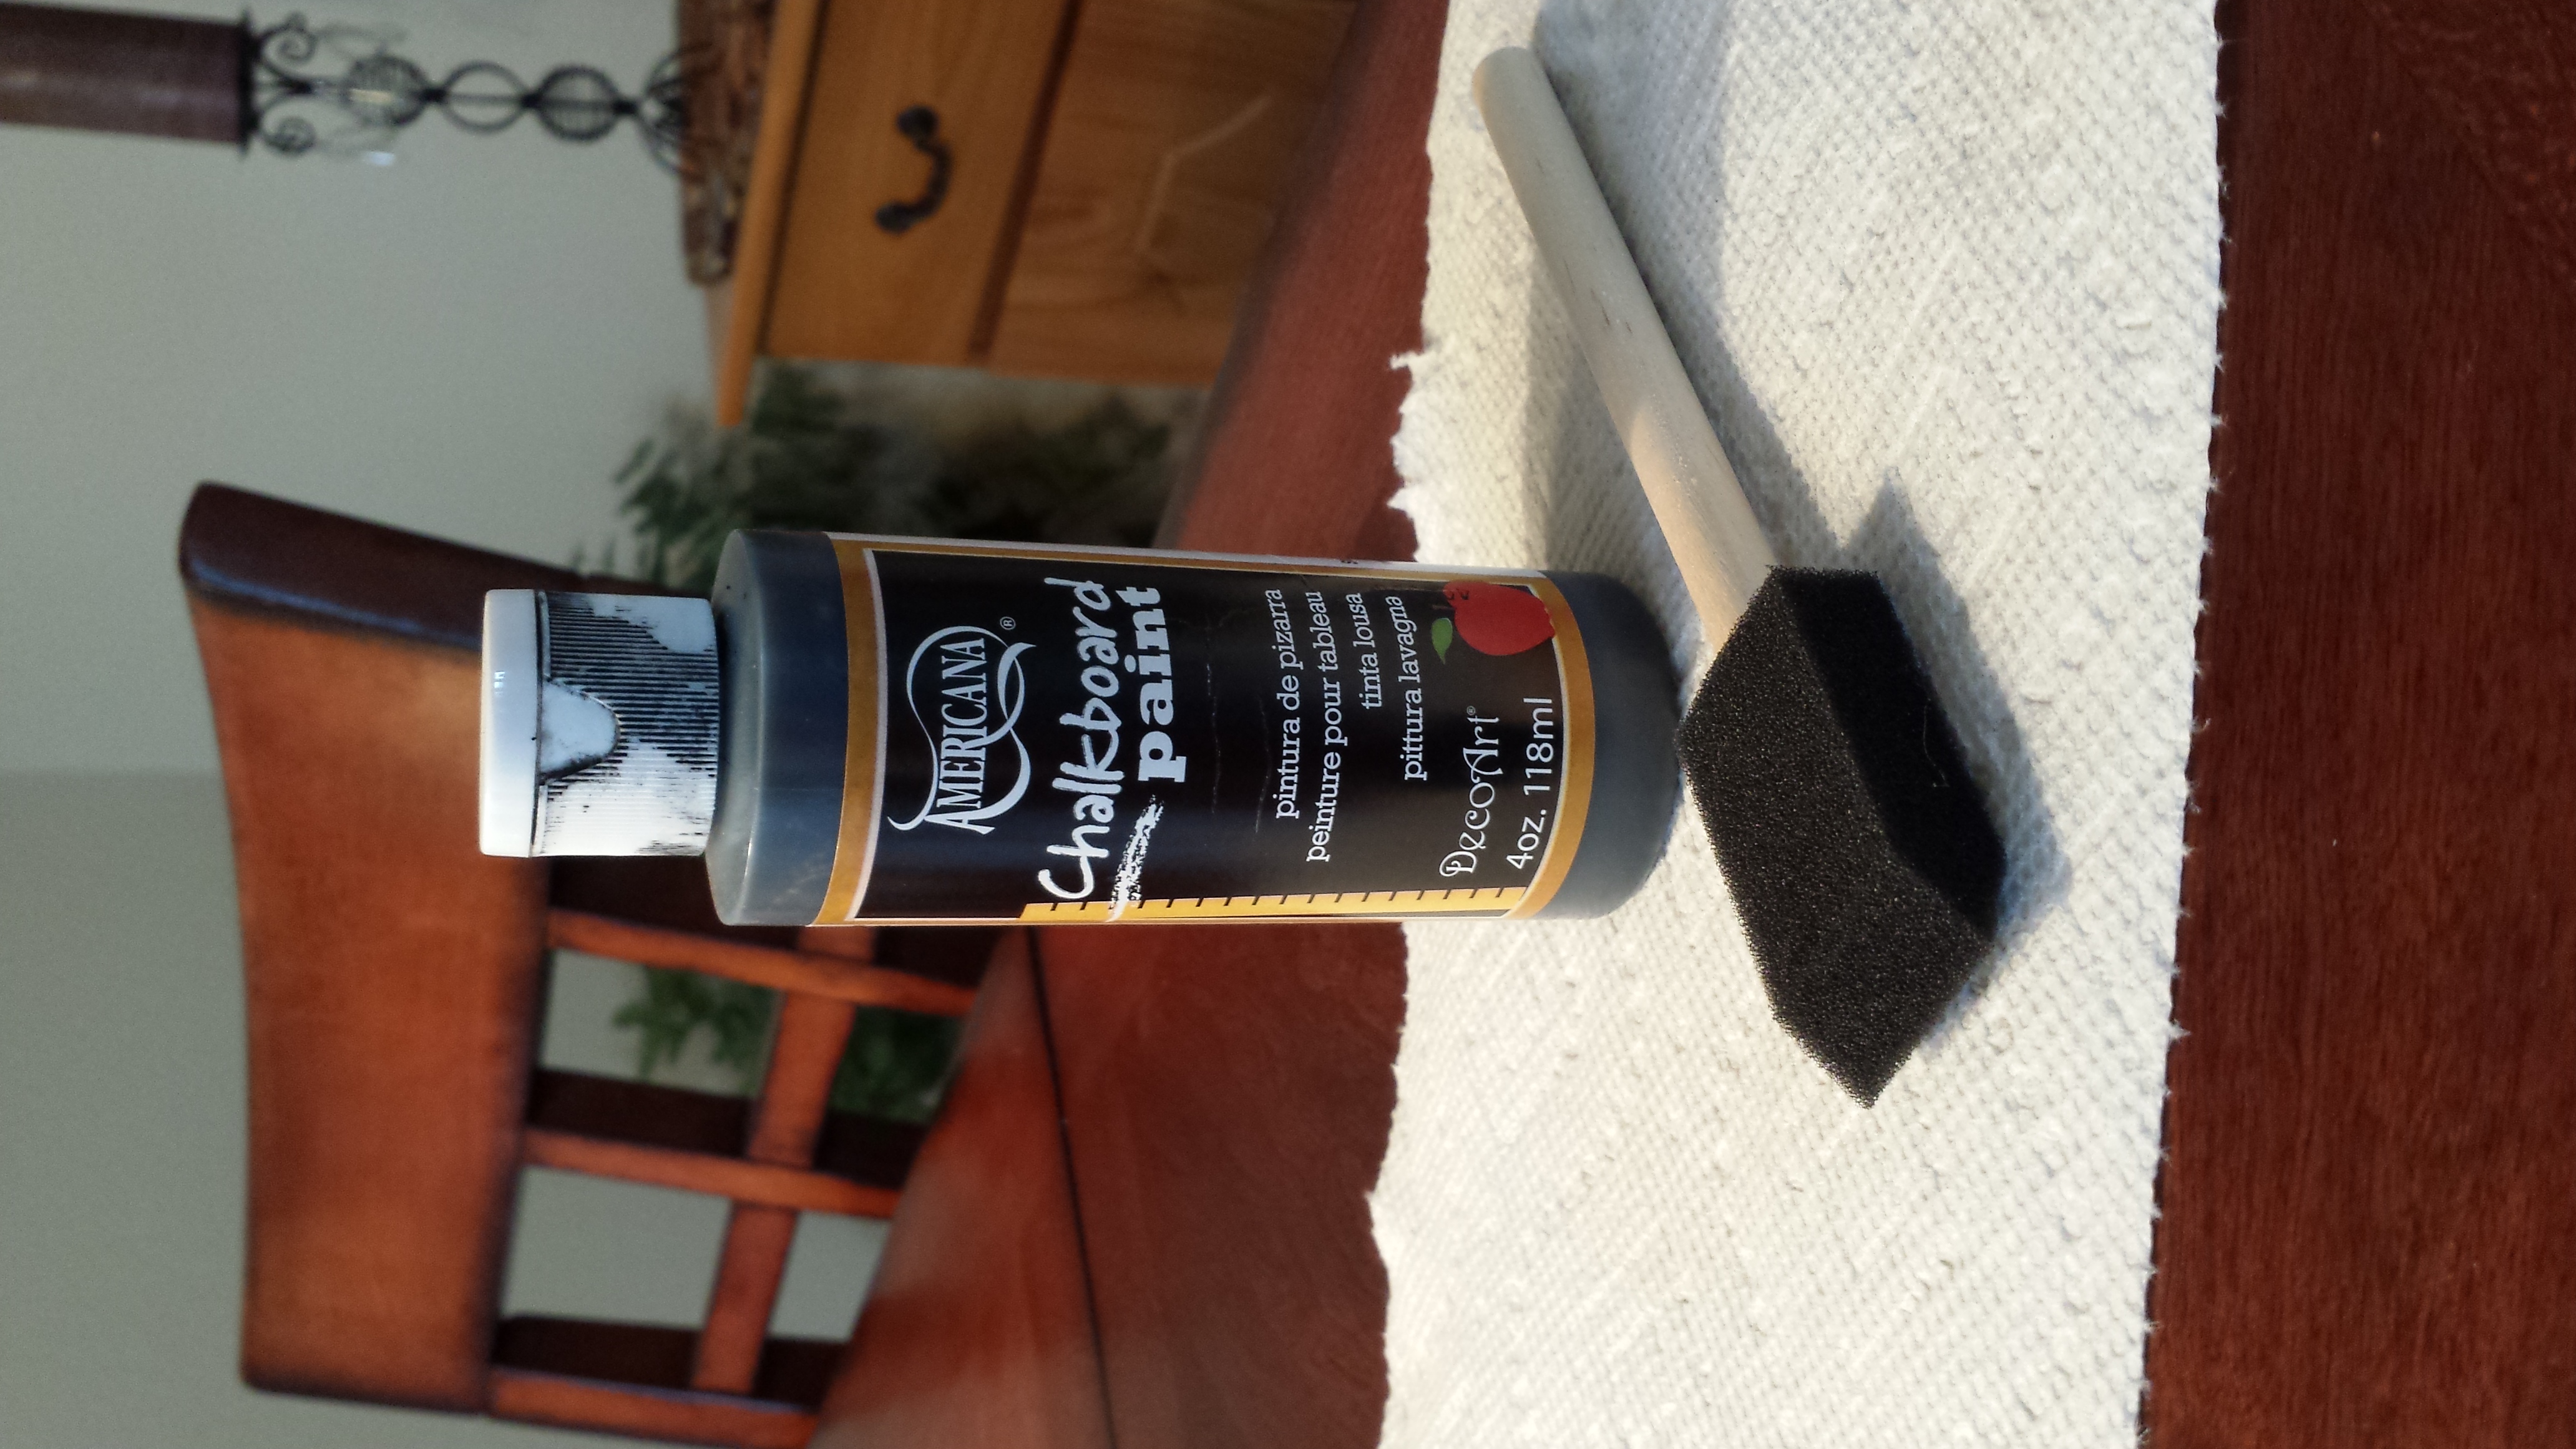
Using chalkboard paint and a brush, paint inside the taped off area on each jar. I used a small bottle of chalkboard paint from Hobby Lobby. If it’s not on sale, be sure to print a 40% off a regularly priced item coupon from Hobby Lobby’s website. Chalkboard paint is quite popular and can be found at most craft stores and home improvement stores. It also comes in spray paint form. I found it worked much better if I dipped my foam brush in a little water before dipping it into the paint. I did multiple coats of paint (2-3), letting it dry a day in between each coat. Try alternating the direction of painting for each coat (vertical strokes, horizontal, vertical).
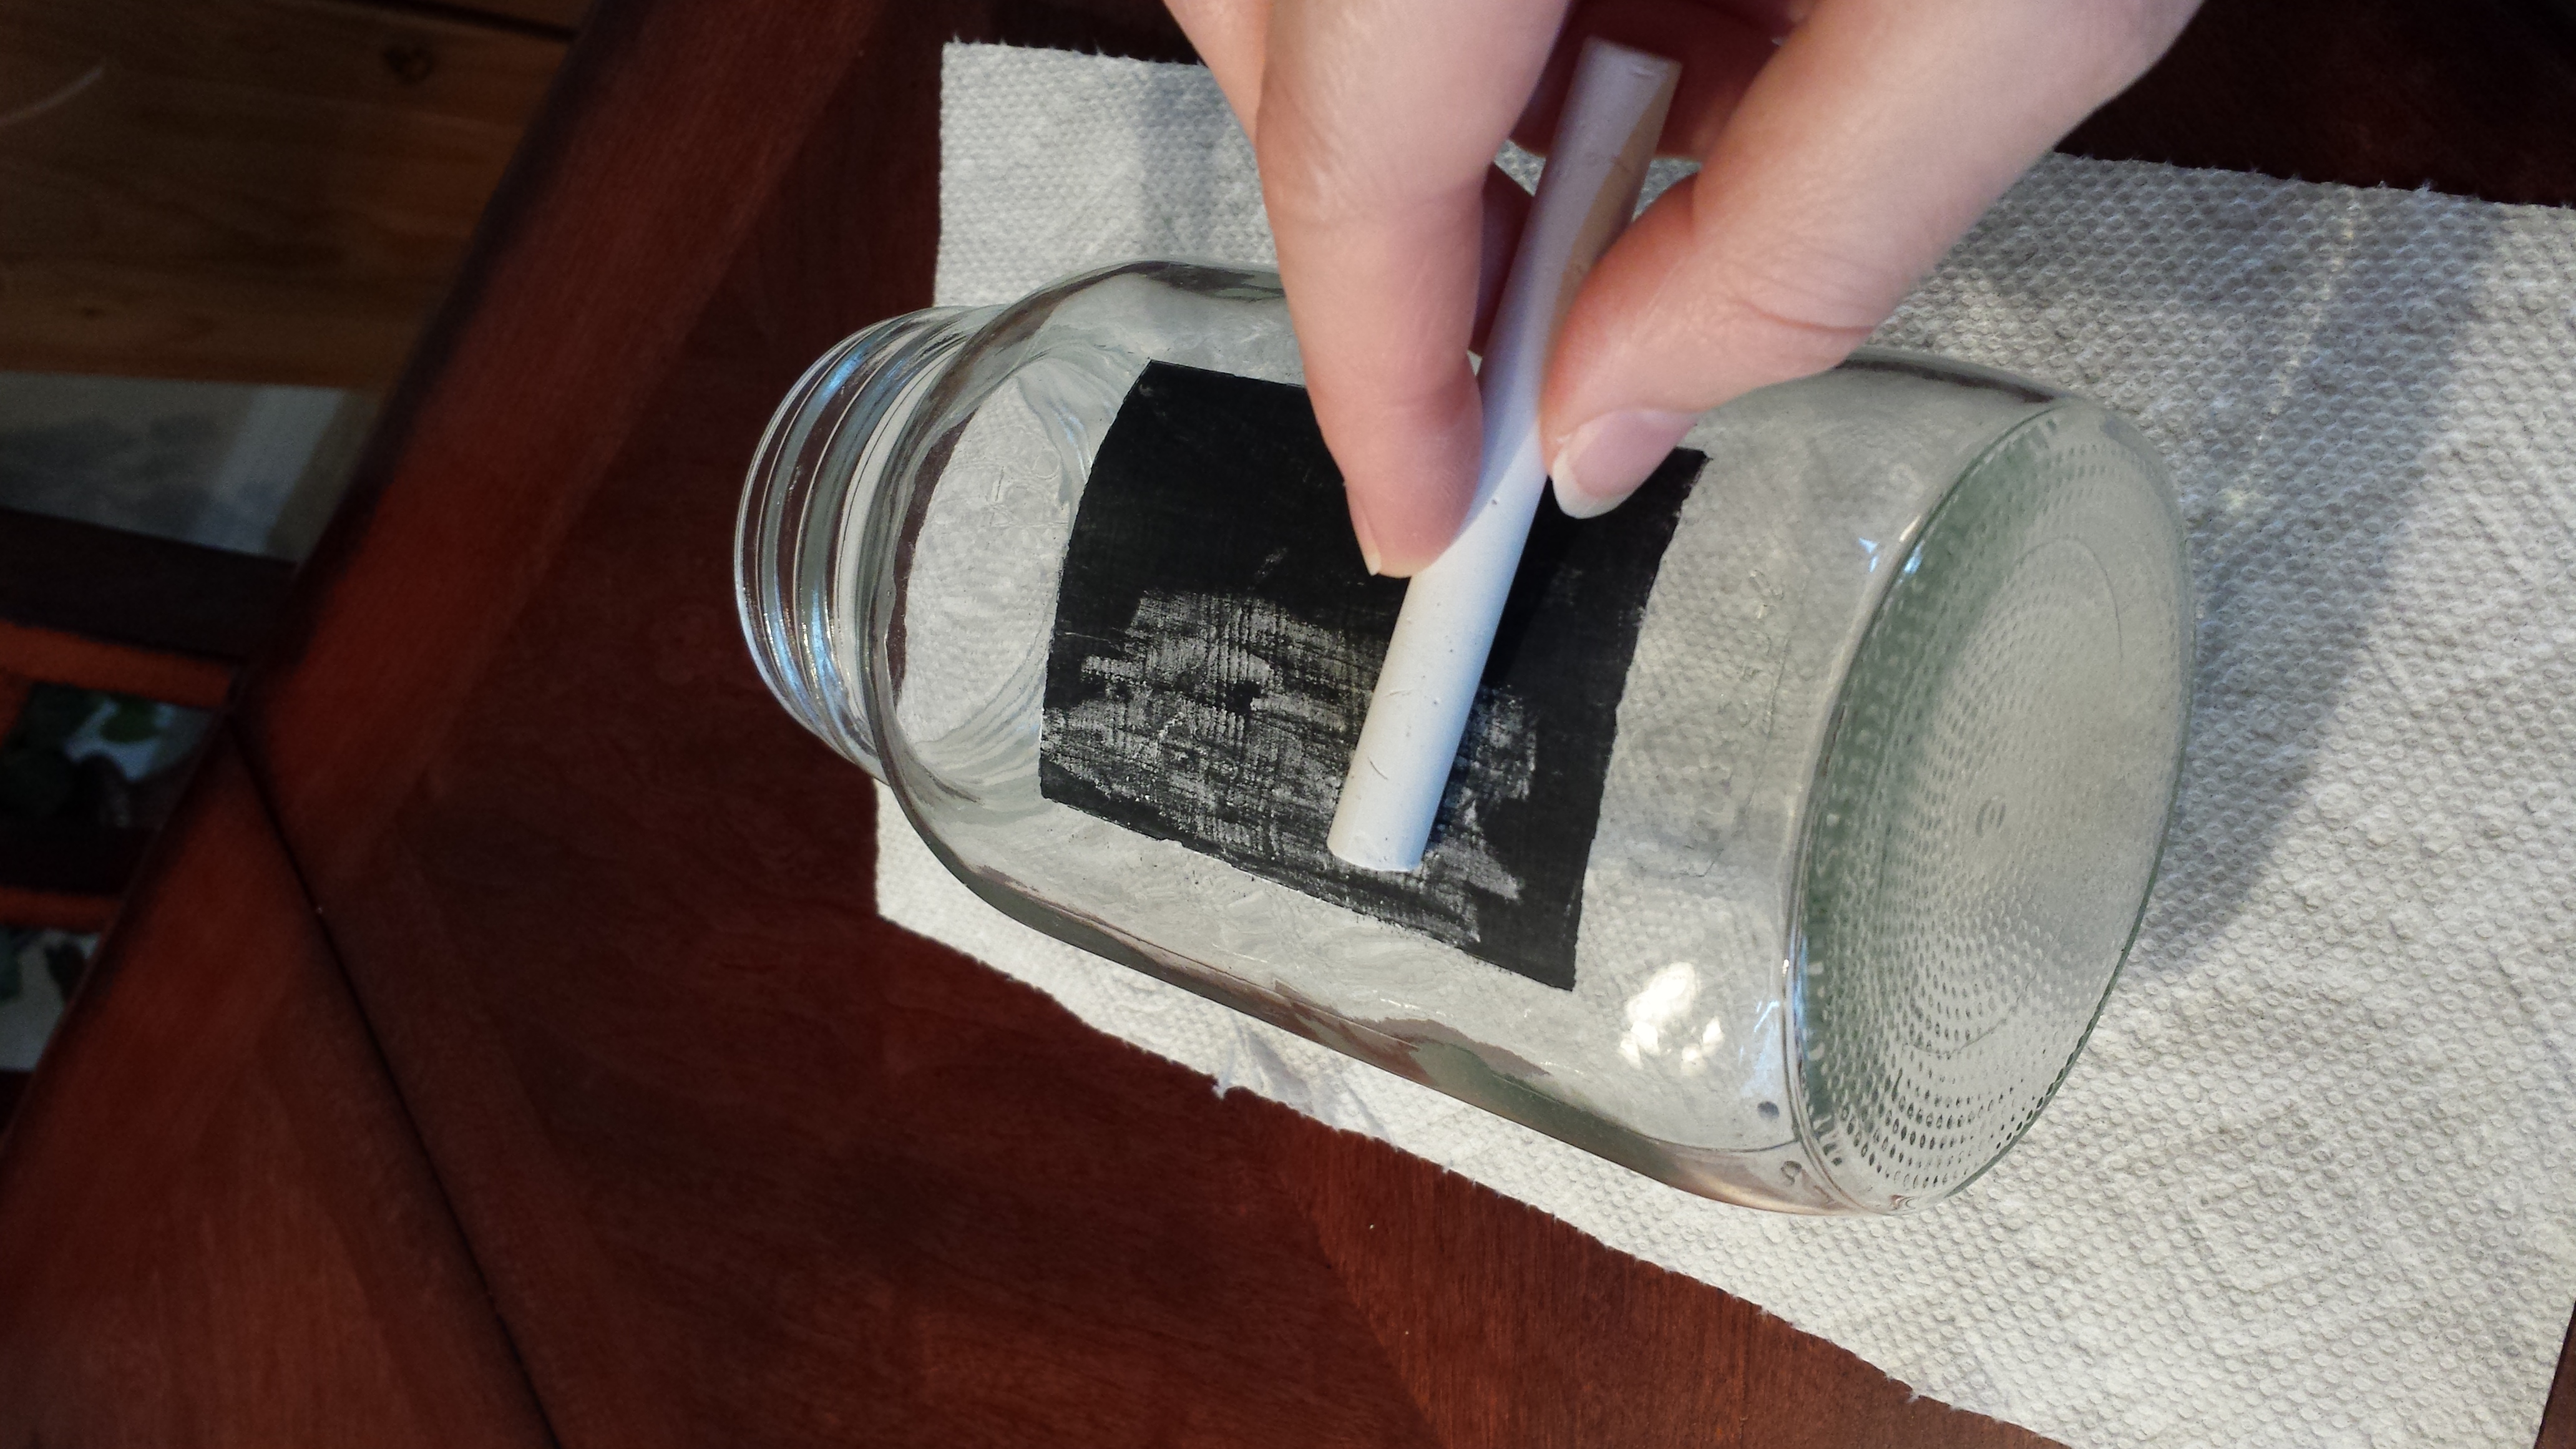
Once the paint has thoroughly dried, remove the tape. To give the chalkboard a more worn in look, use the side of the chalk to color over the blackboard.
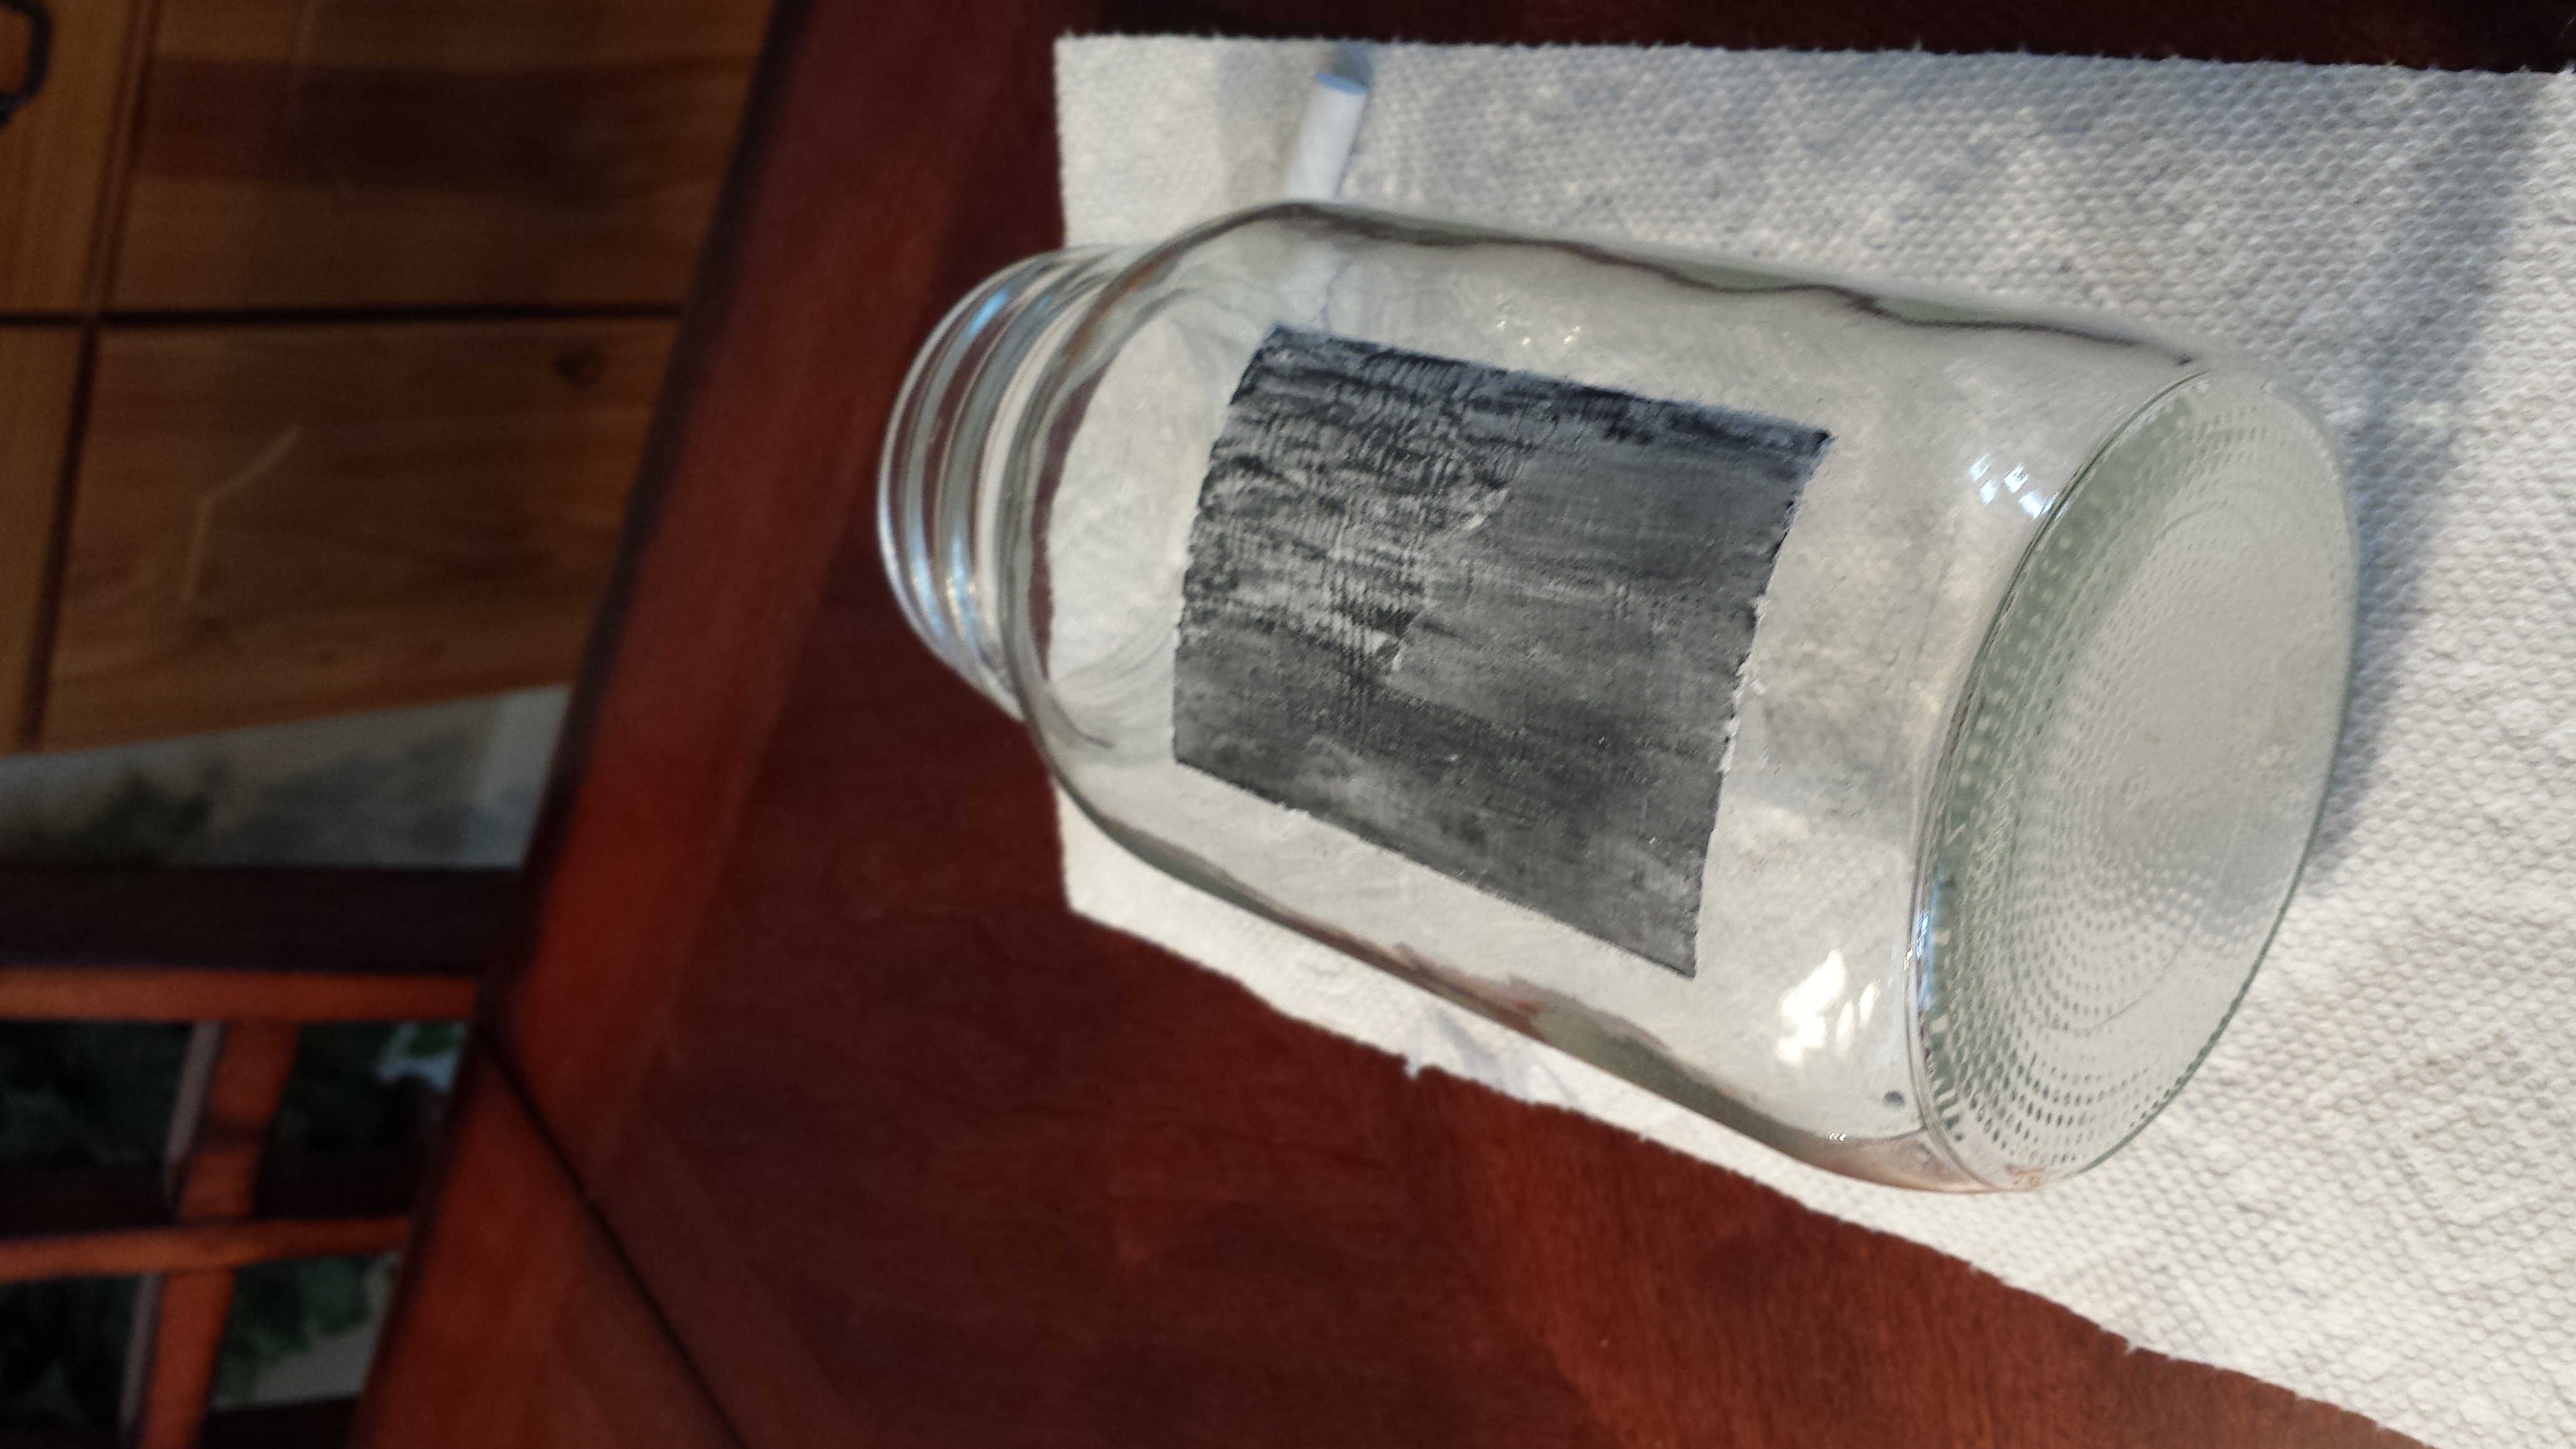
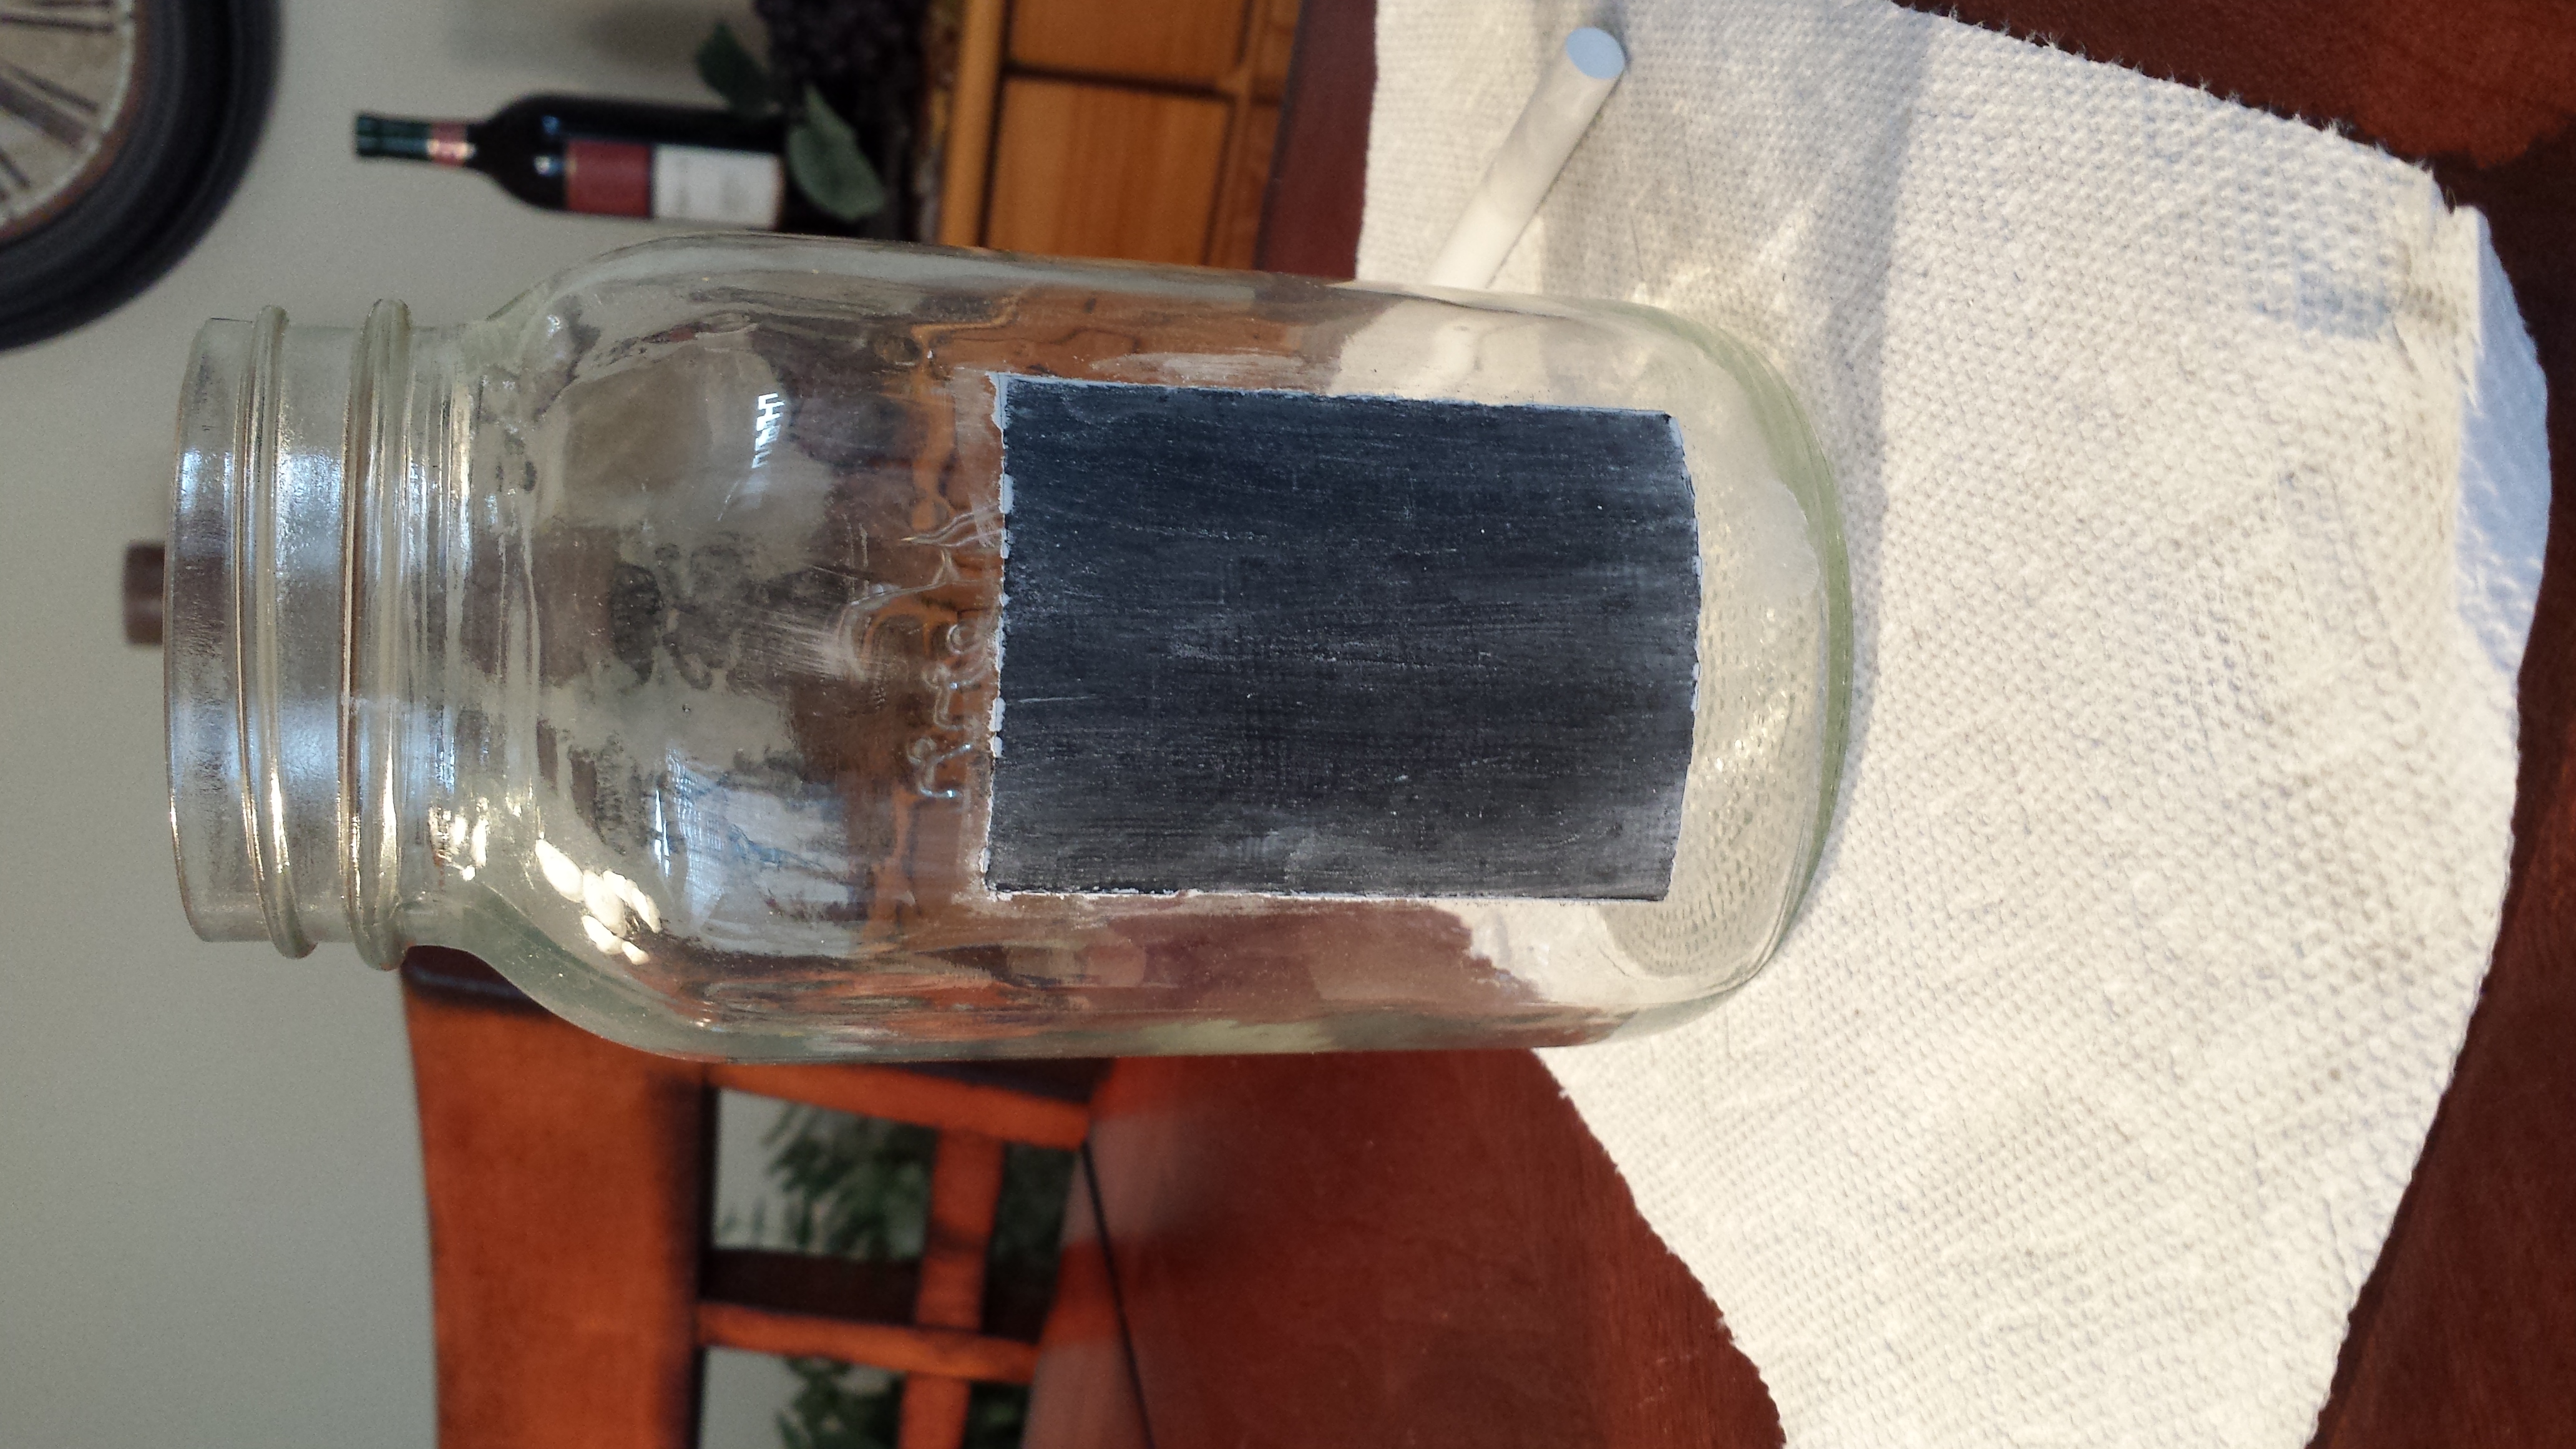
Smudge the chalk with your finger. You can see where I’ve smudged the bottom and left top in the first photo. Some chalk residue may find its way onto the jar (as you can see in the second photo). Simply wipe it off for a cleaner look.
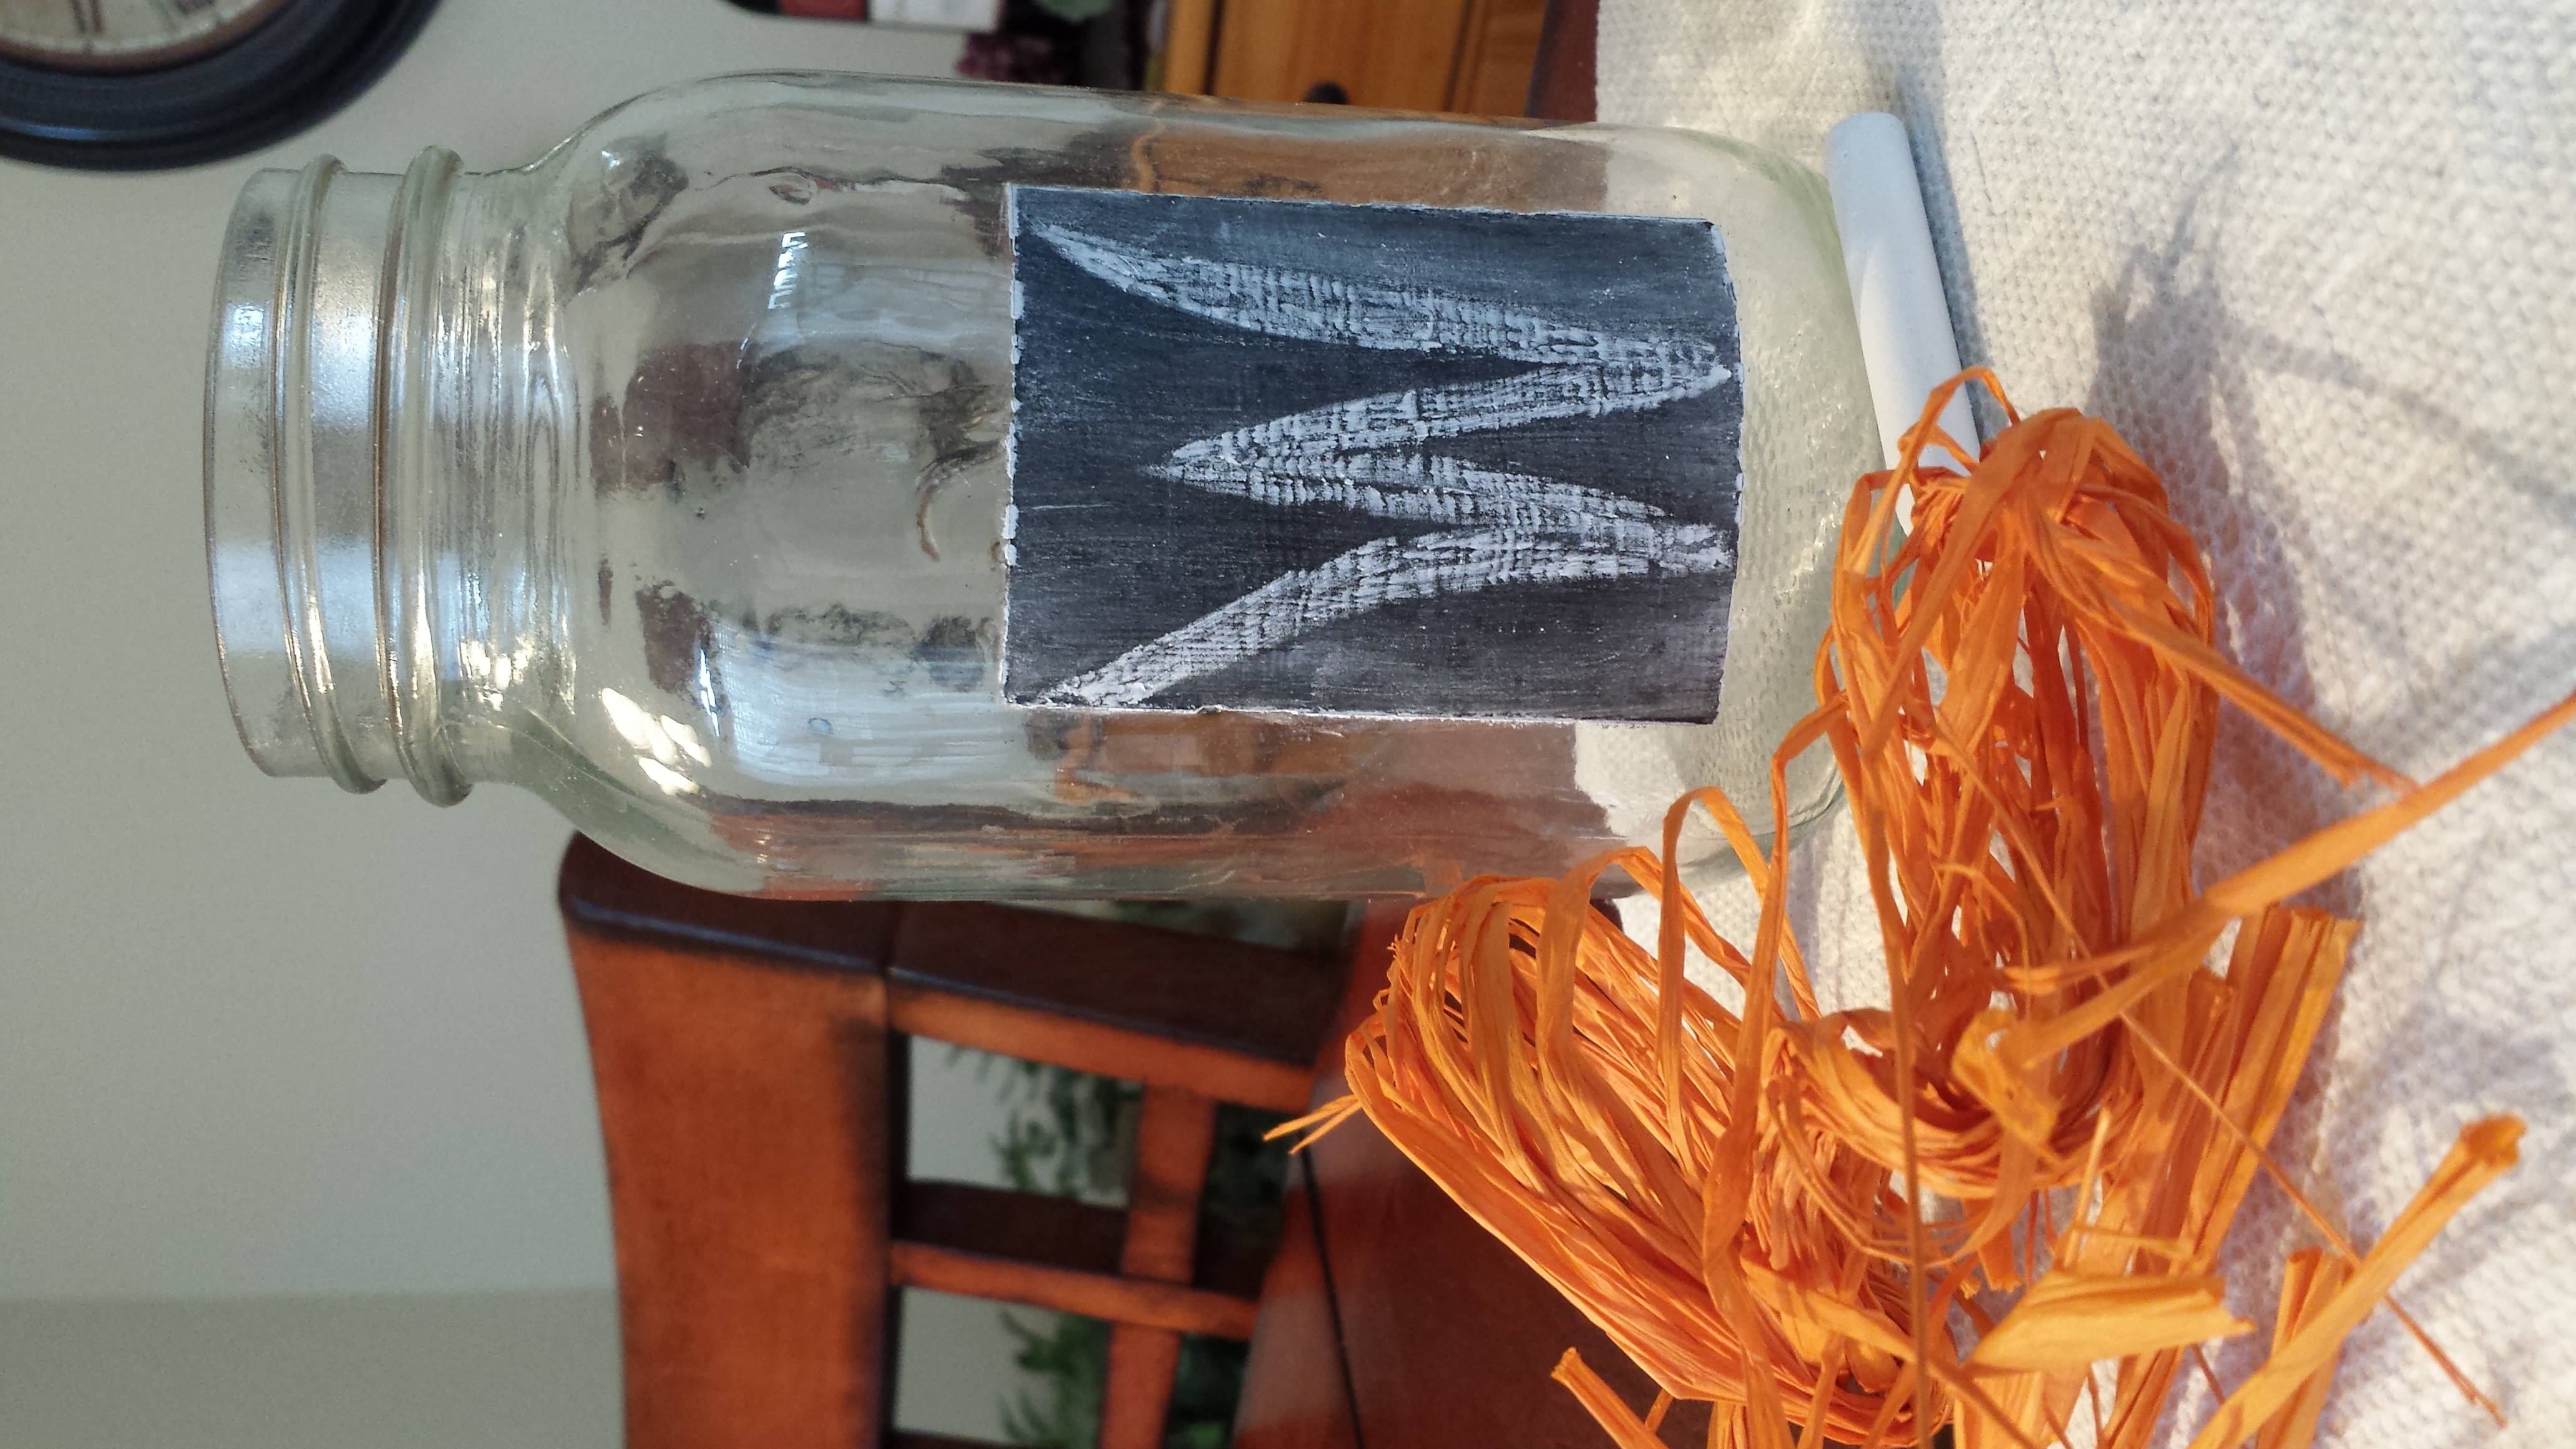
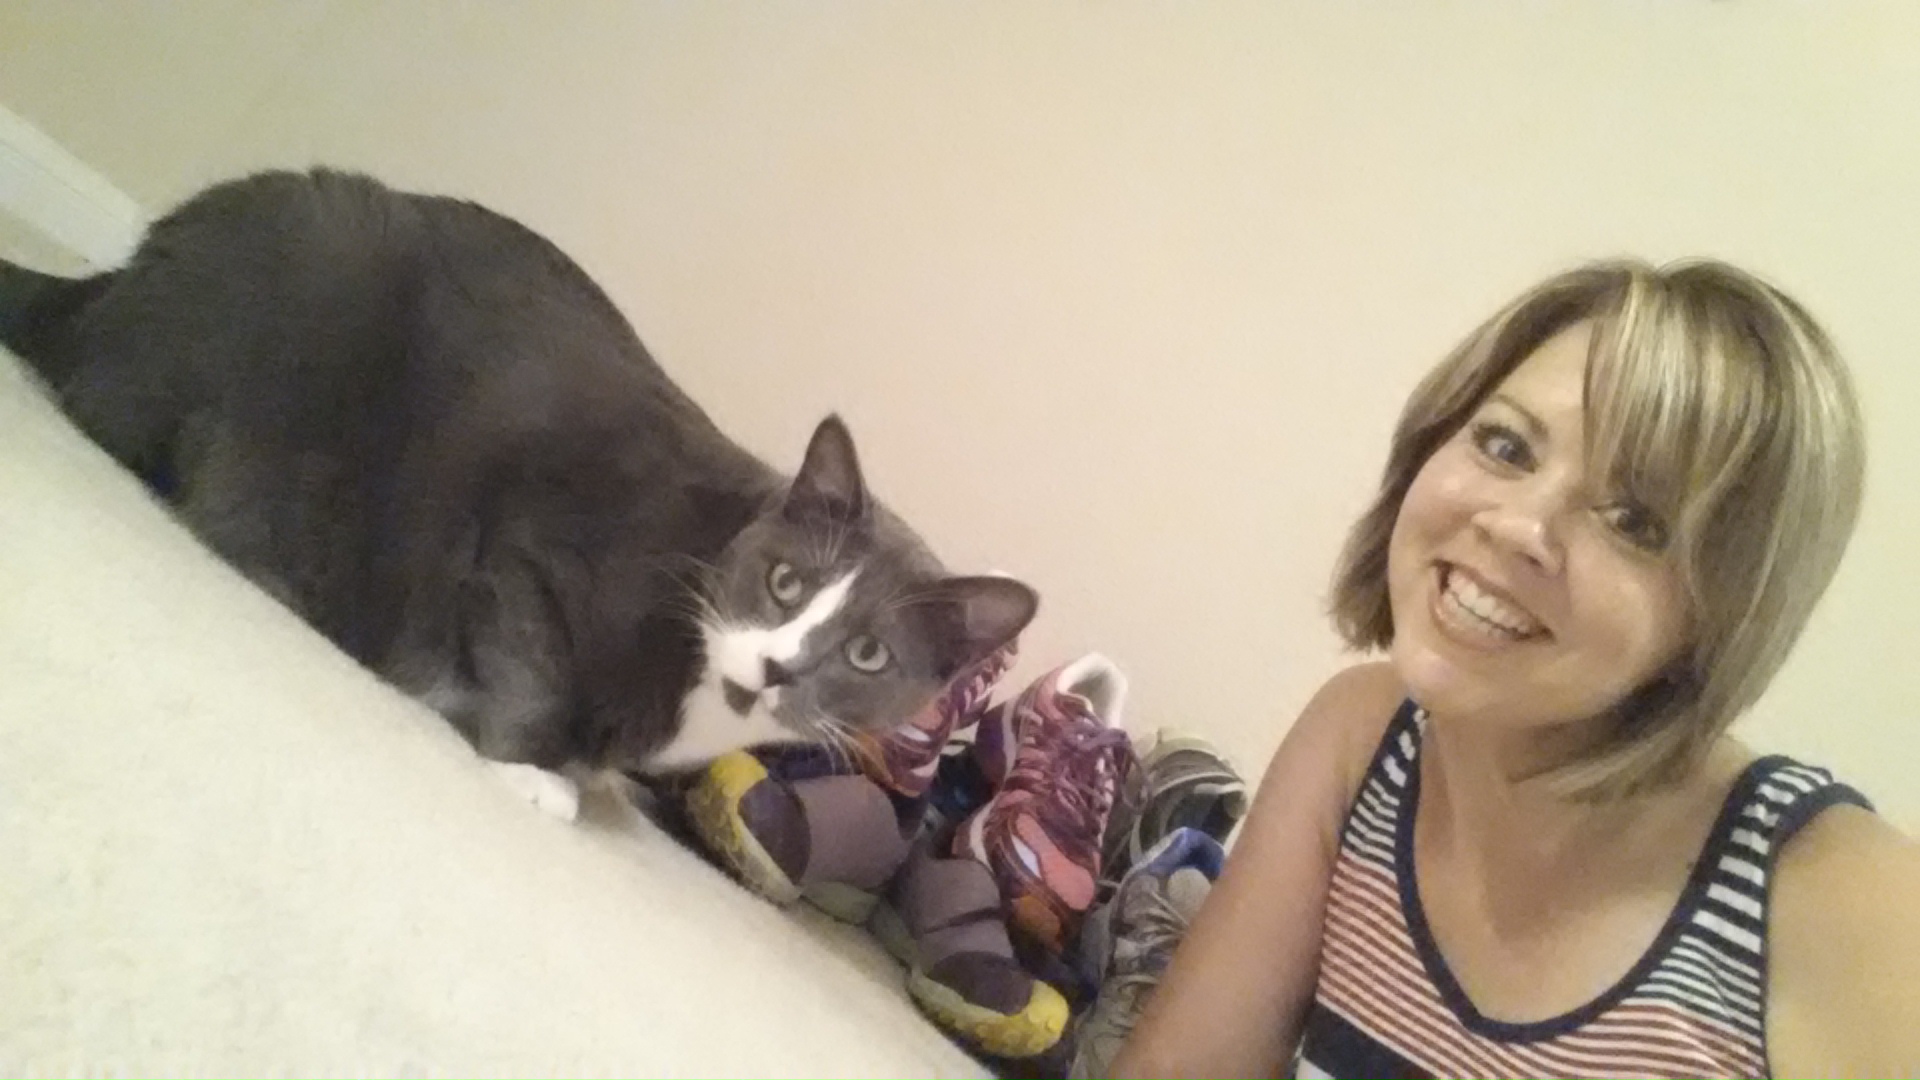
Use chalk to write the letters on the jars to spell “Welcome.” Add raffia around the top rim of the jar for a pop of color and added interest. Sid graciously shared some of his kitty litter to use in the bottom of the jars to hold my battery tea lights in place.
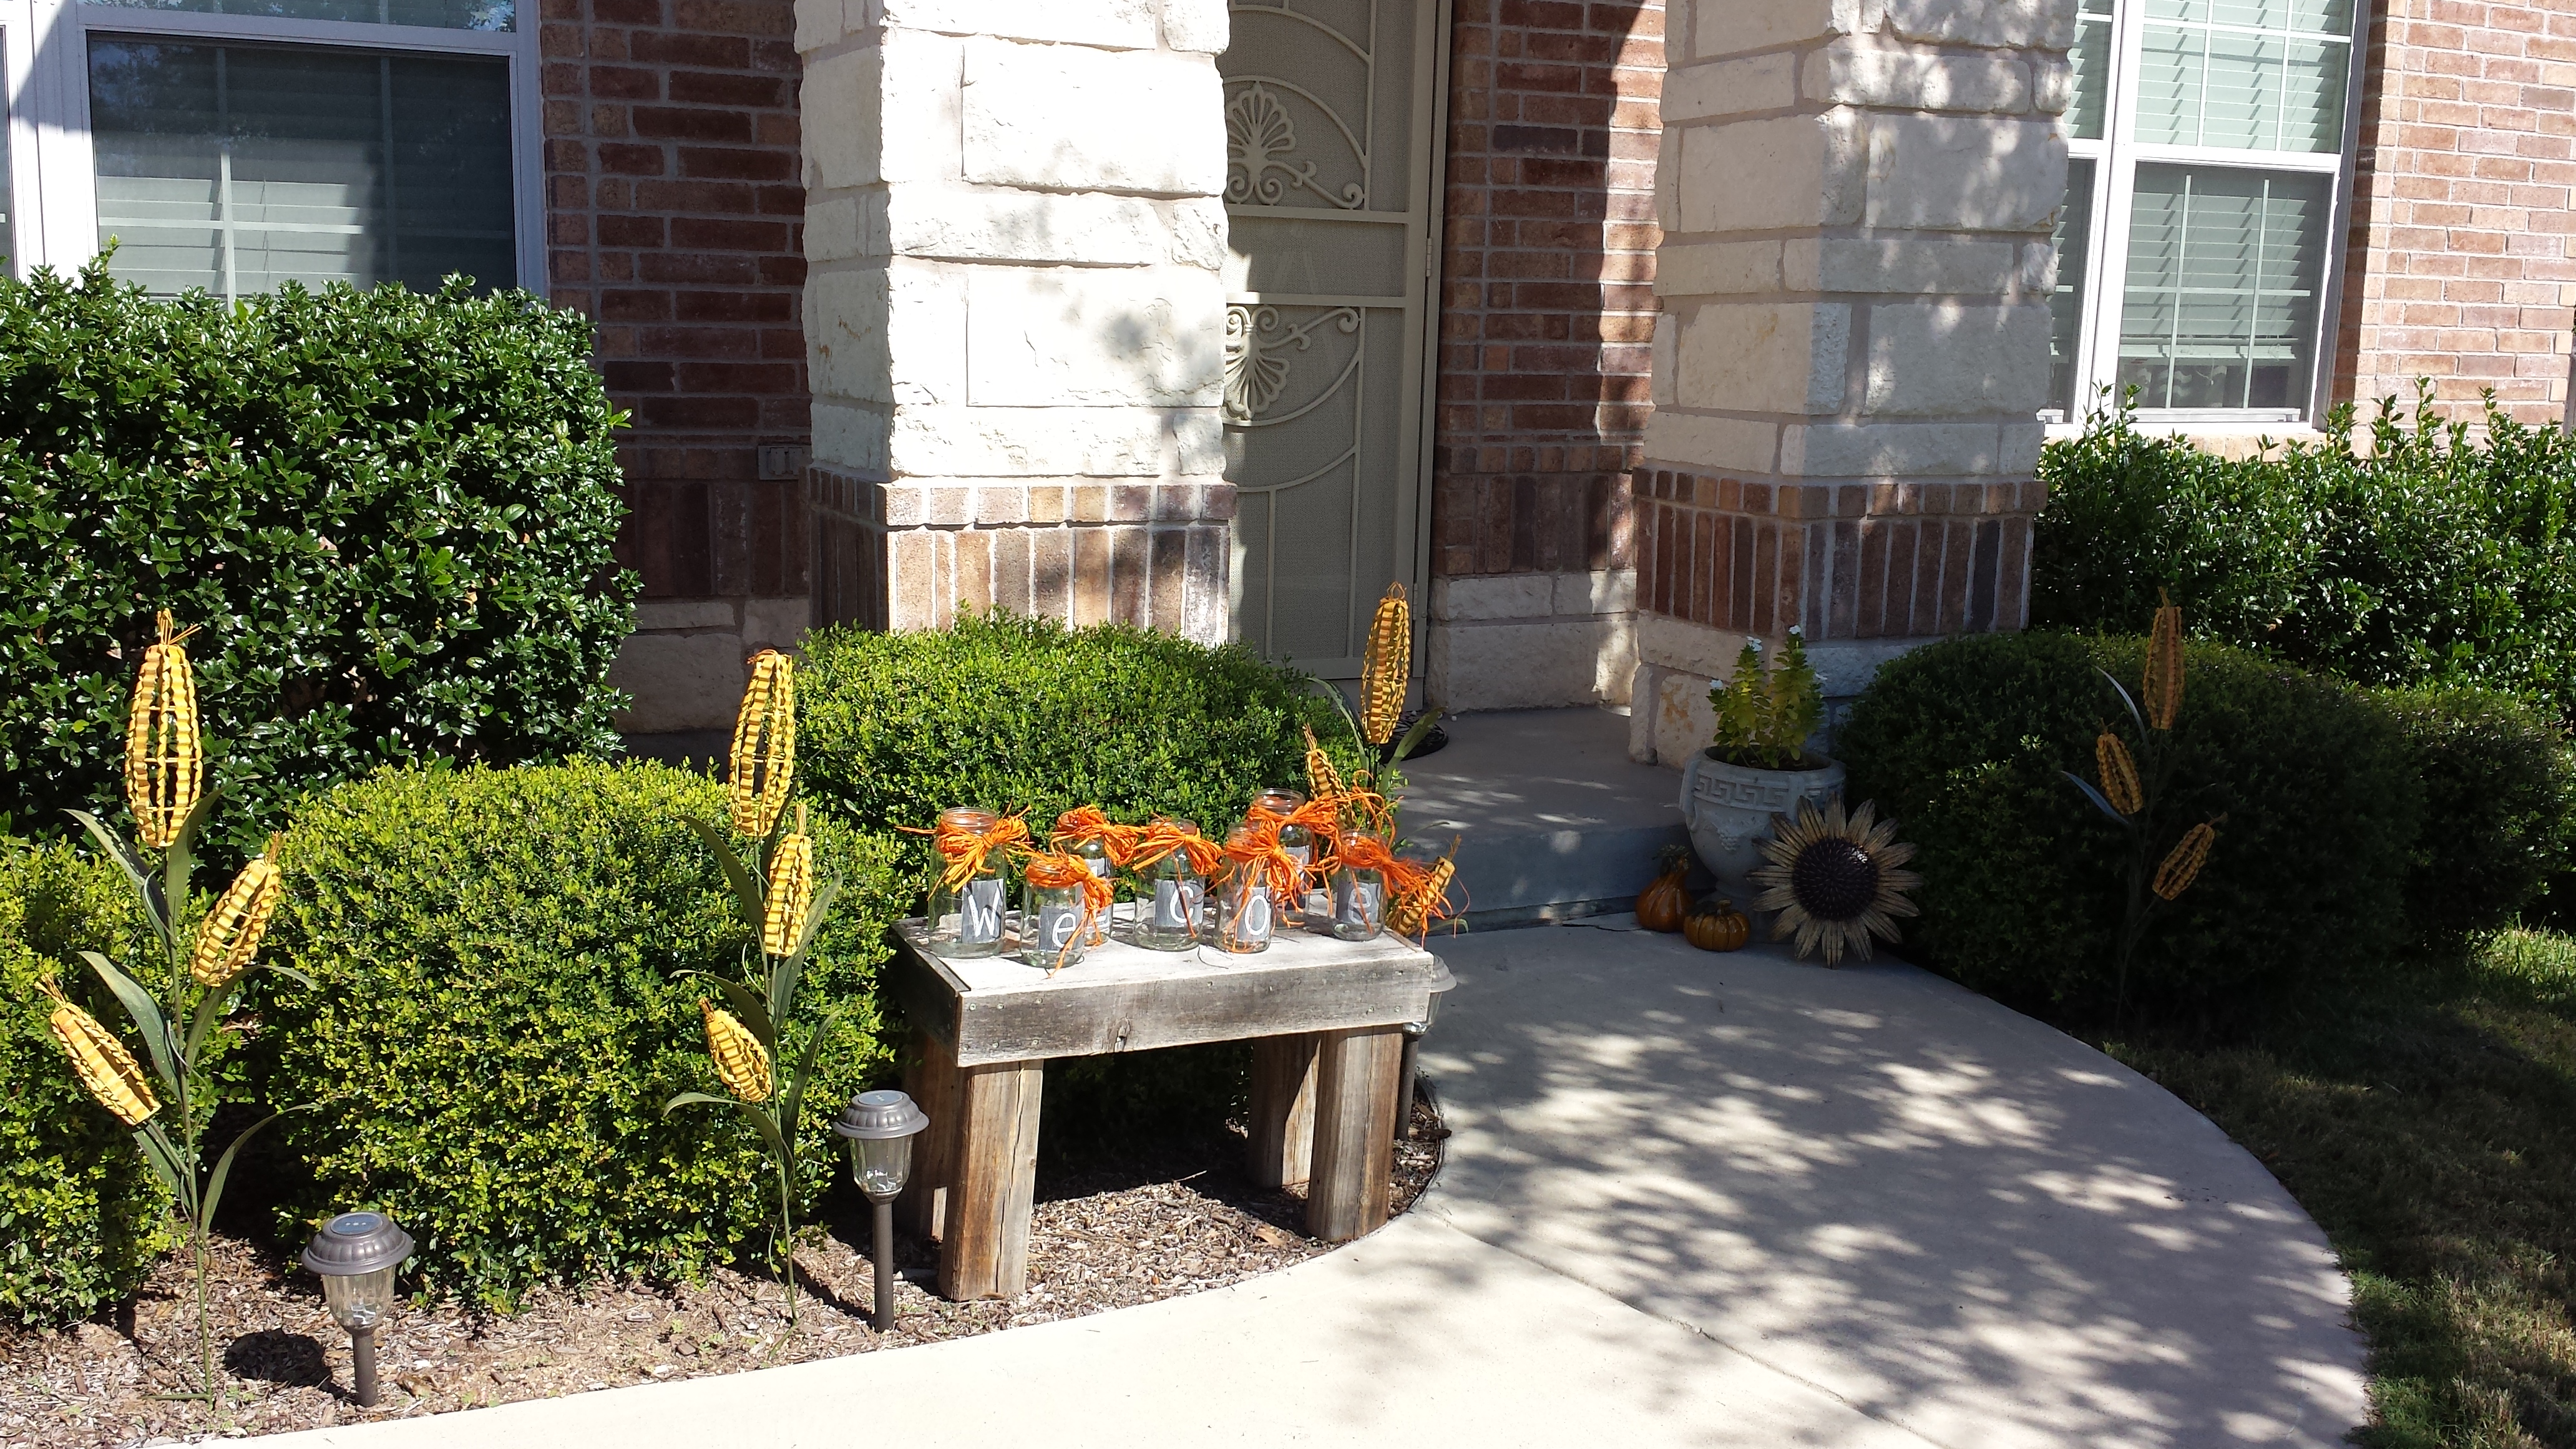
I set my jars on a rustic bench, lighting the path to my front door. You can use them on your dining table, mantel, kitchen island, coffee table, in a guest room or wherever you choose. Get creative and use other words like Give Thanks, Thanksgiving, Harvest, Home, Gratitude, etc. You can easily change the words and raffia as the seasons change.
Christmas “BE MERRY” Jars
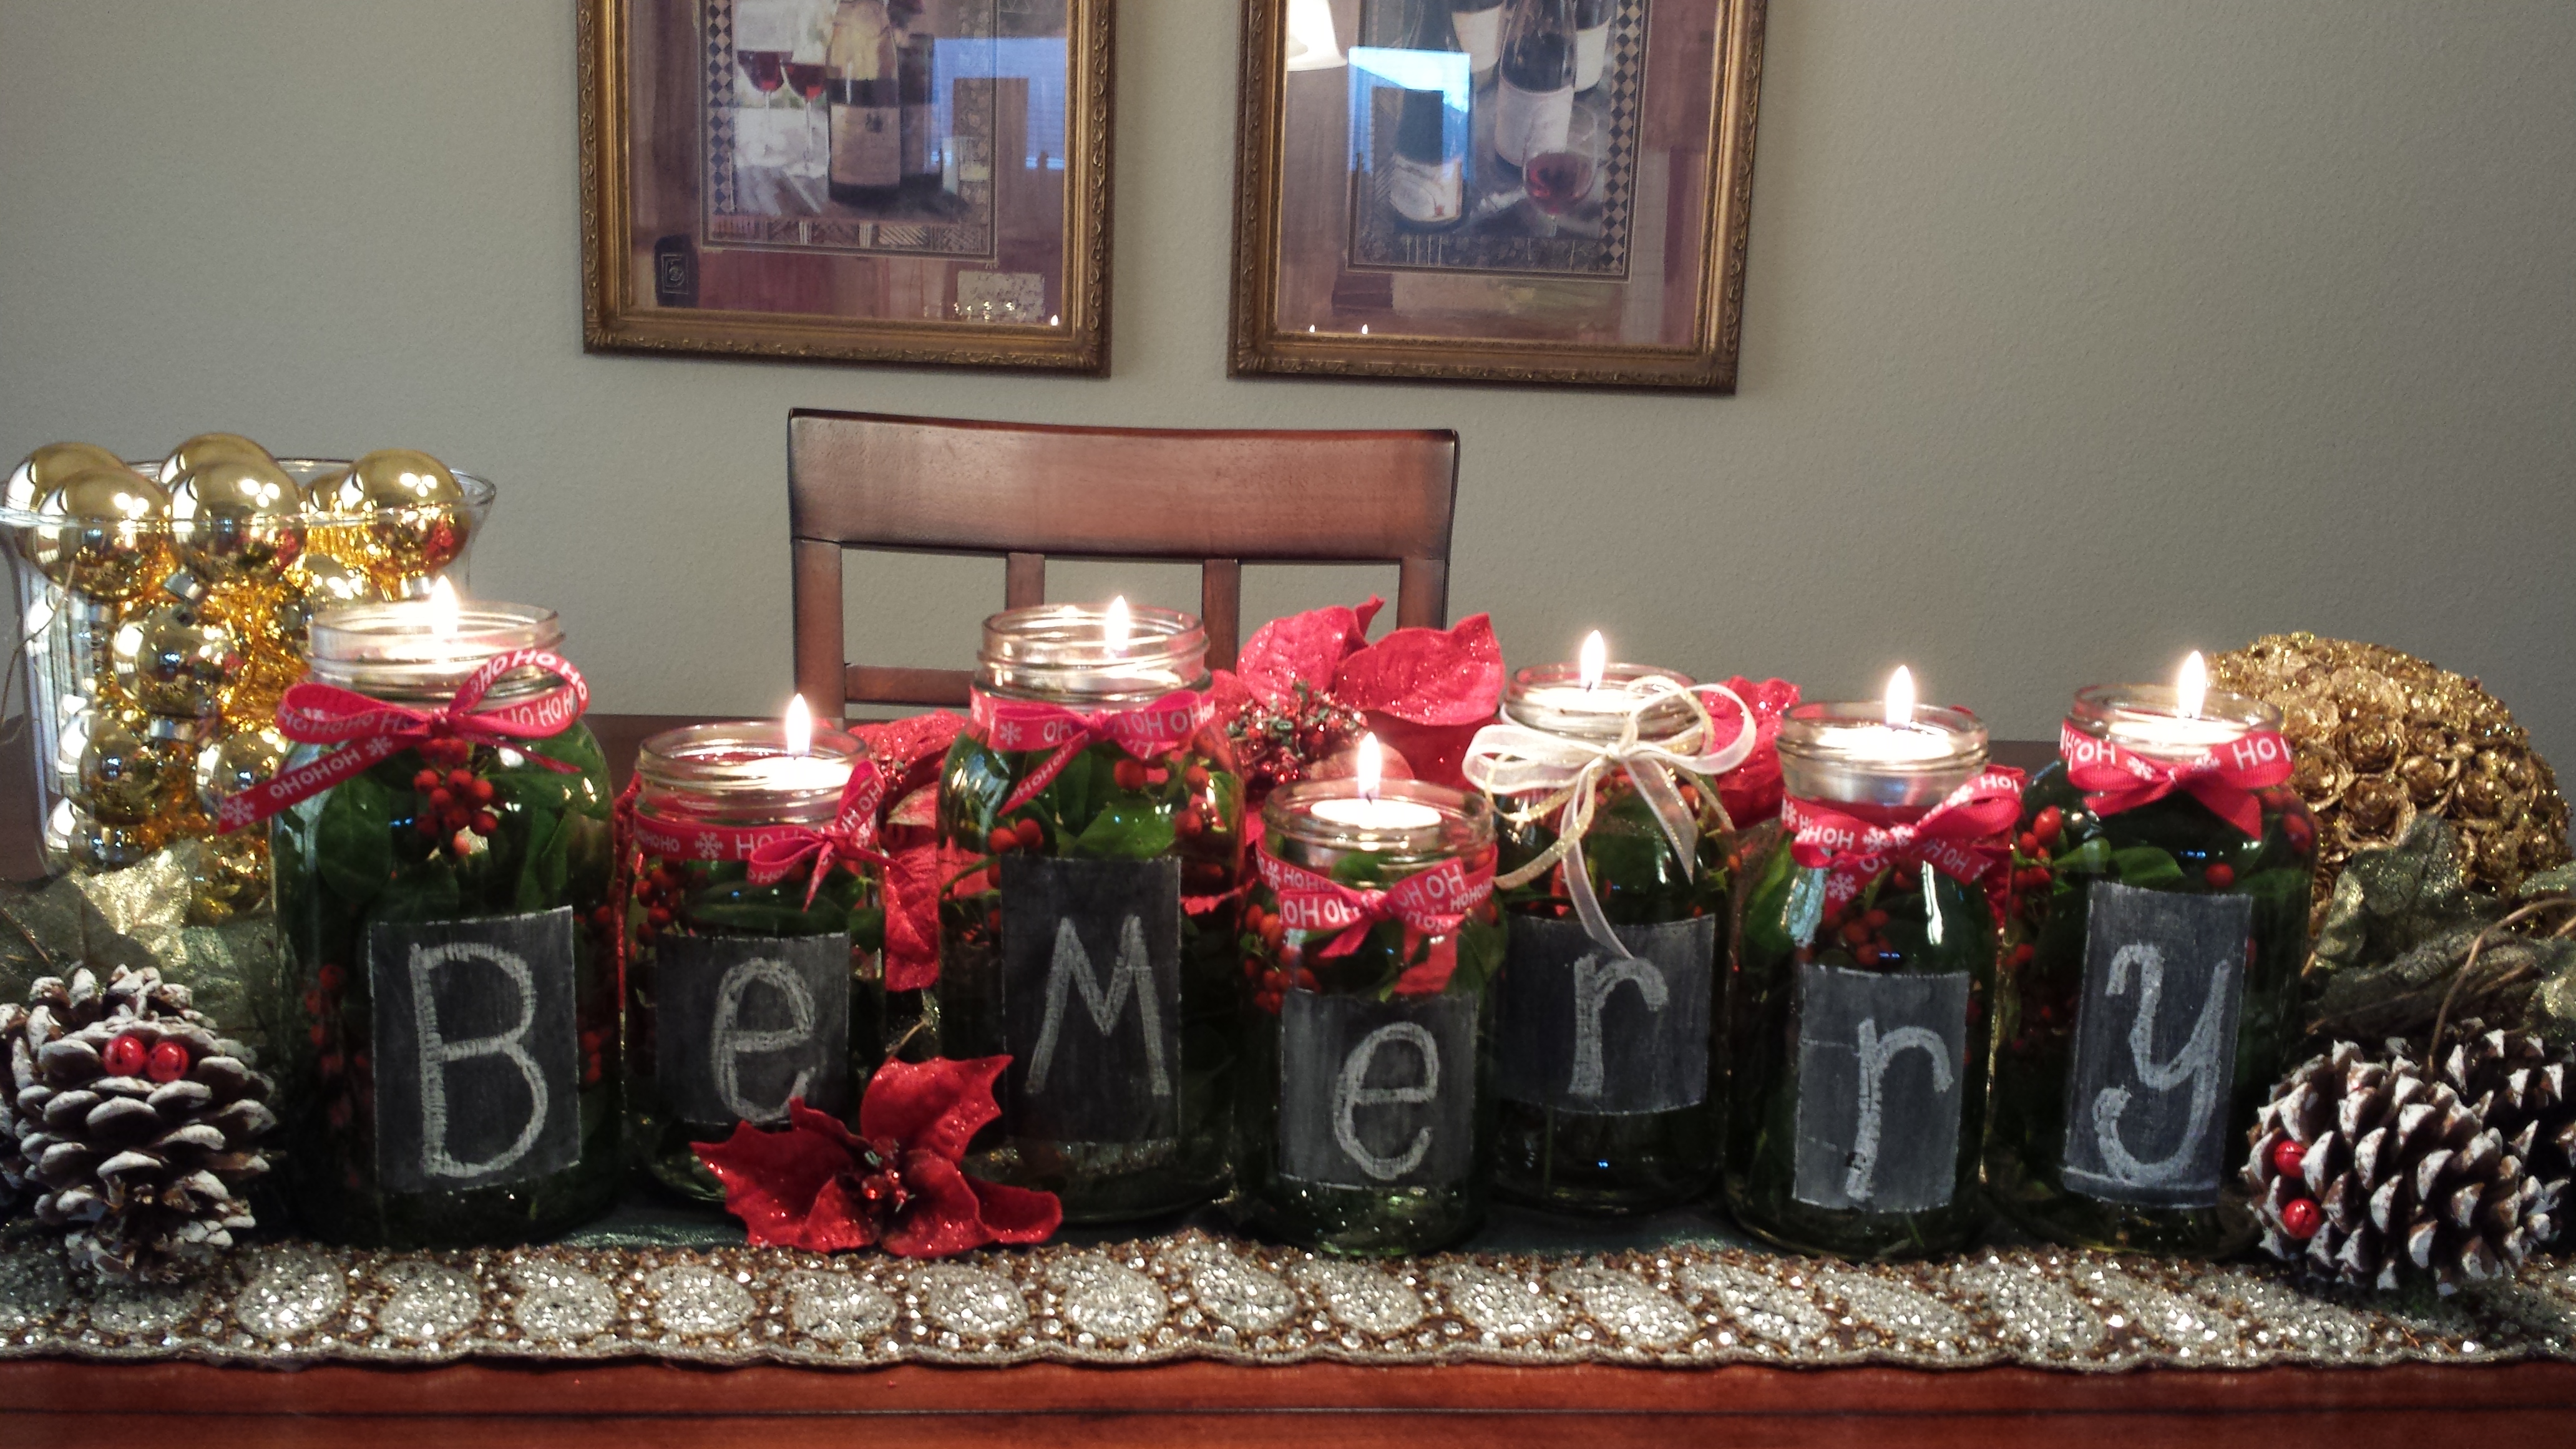
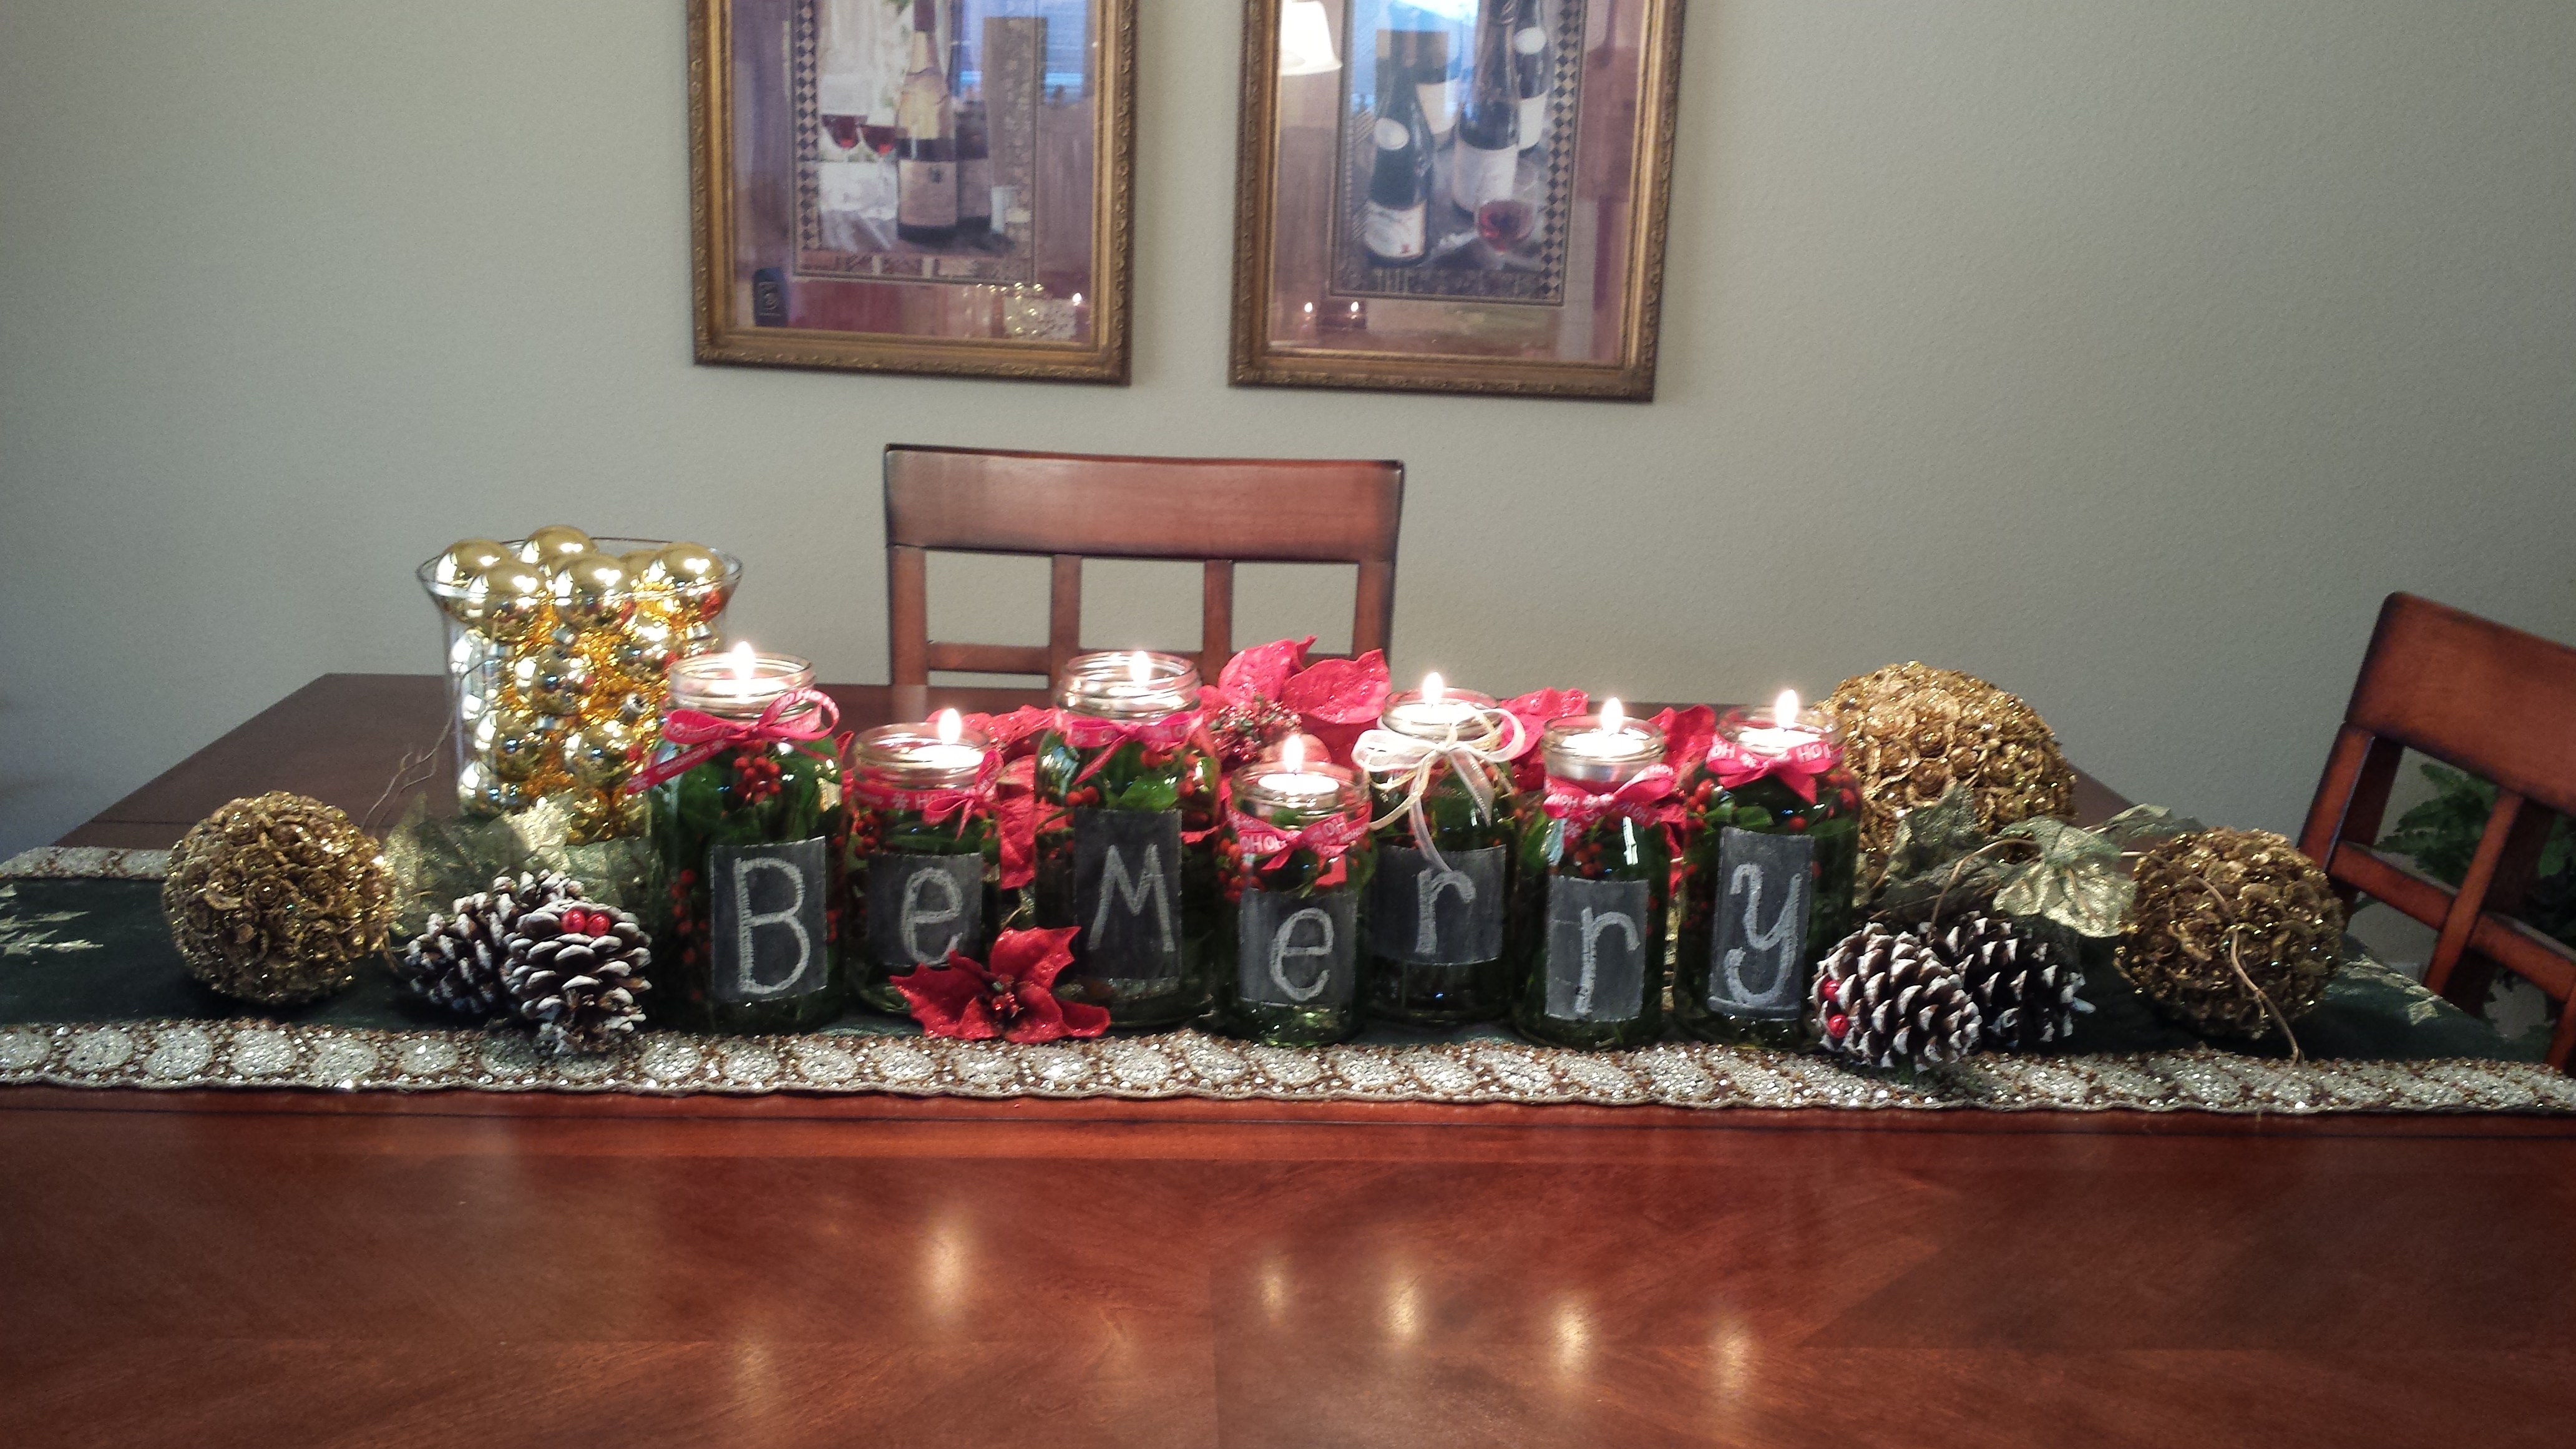
Add a clever, decorative touch to your holiday gathering by simply updating your Fall “WELCOME” jars into festive Christmas jars.
Remove the raffia, and clean out the inside of the jars. Make sure all traces of the kitty litter are gone. Change the letters to spell a Christmas sentiment like “Be Merry” or “Believe.”
Go outside and clip stems of holly leaves and berries from your holly bush. Wash them off so dirt will not make the water in the jars murky. Trim the stems into different lengths to fit into your jars. I found that cutting some really short and putting them at the bottom first, helped fill gaps in the jar. You may want to use a chopstick to help maneuver some of the pieces in the taller jars. Fill the jar in a way so that you will be able to completely cover the greenery with water.
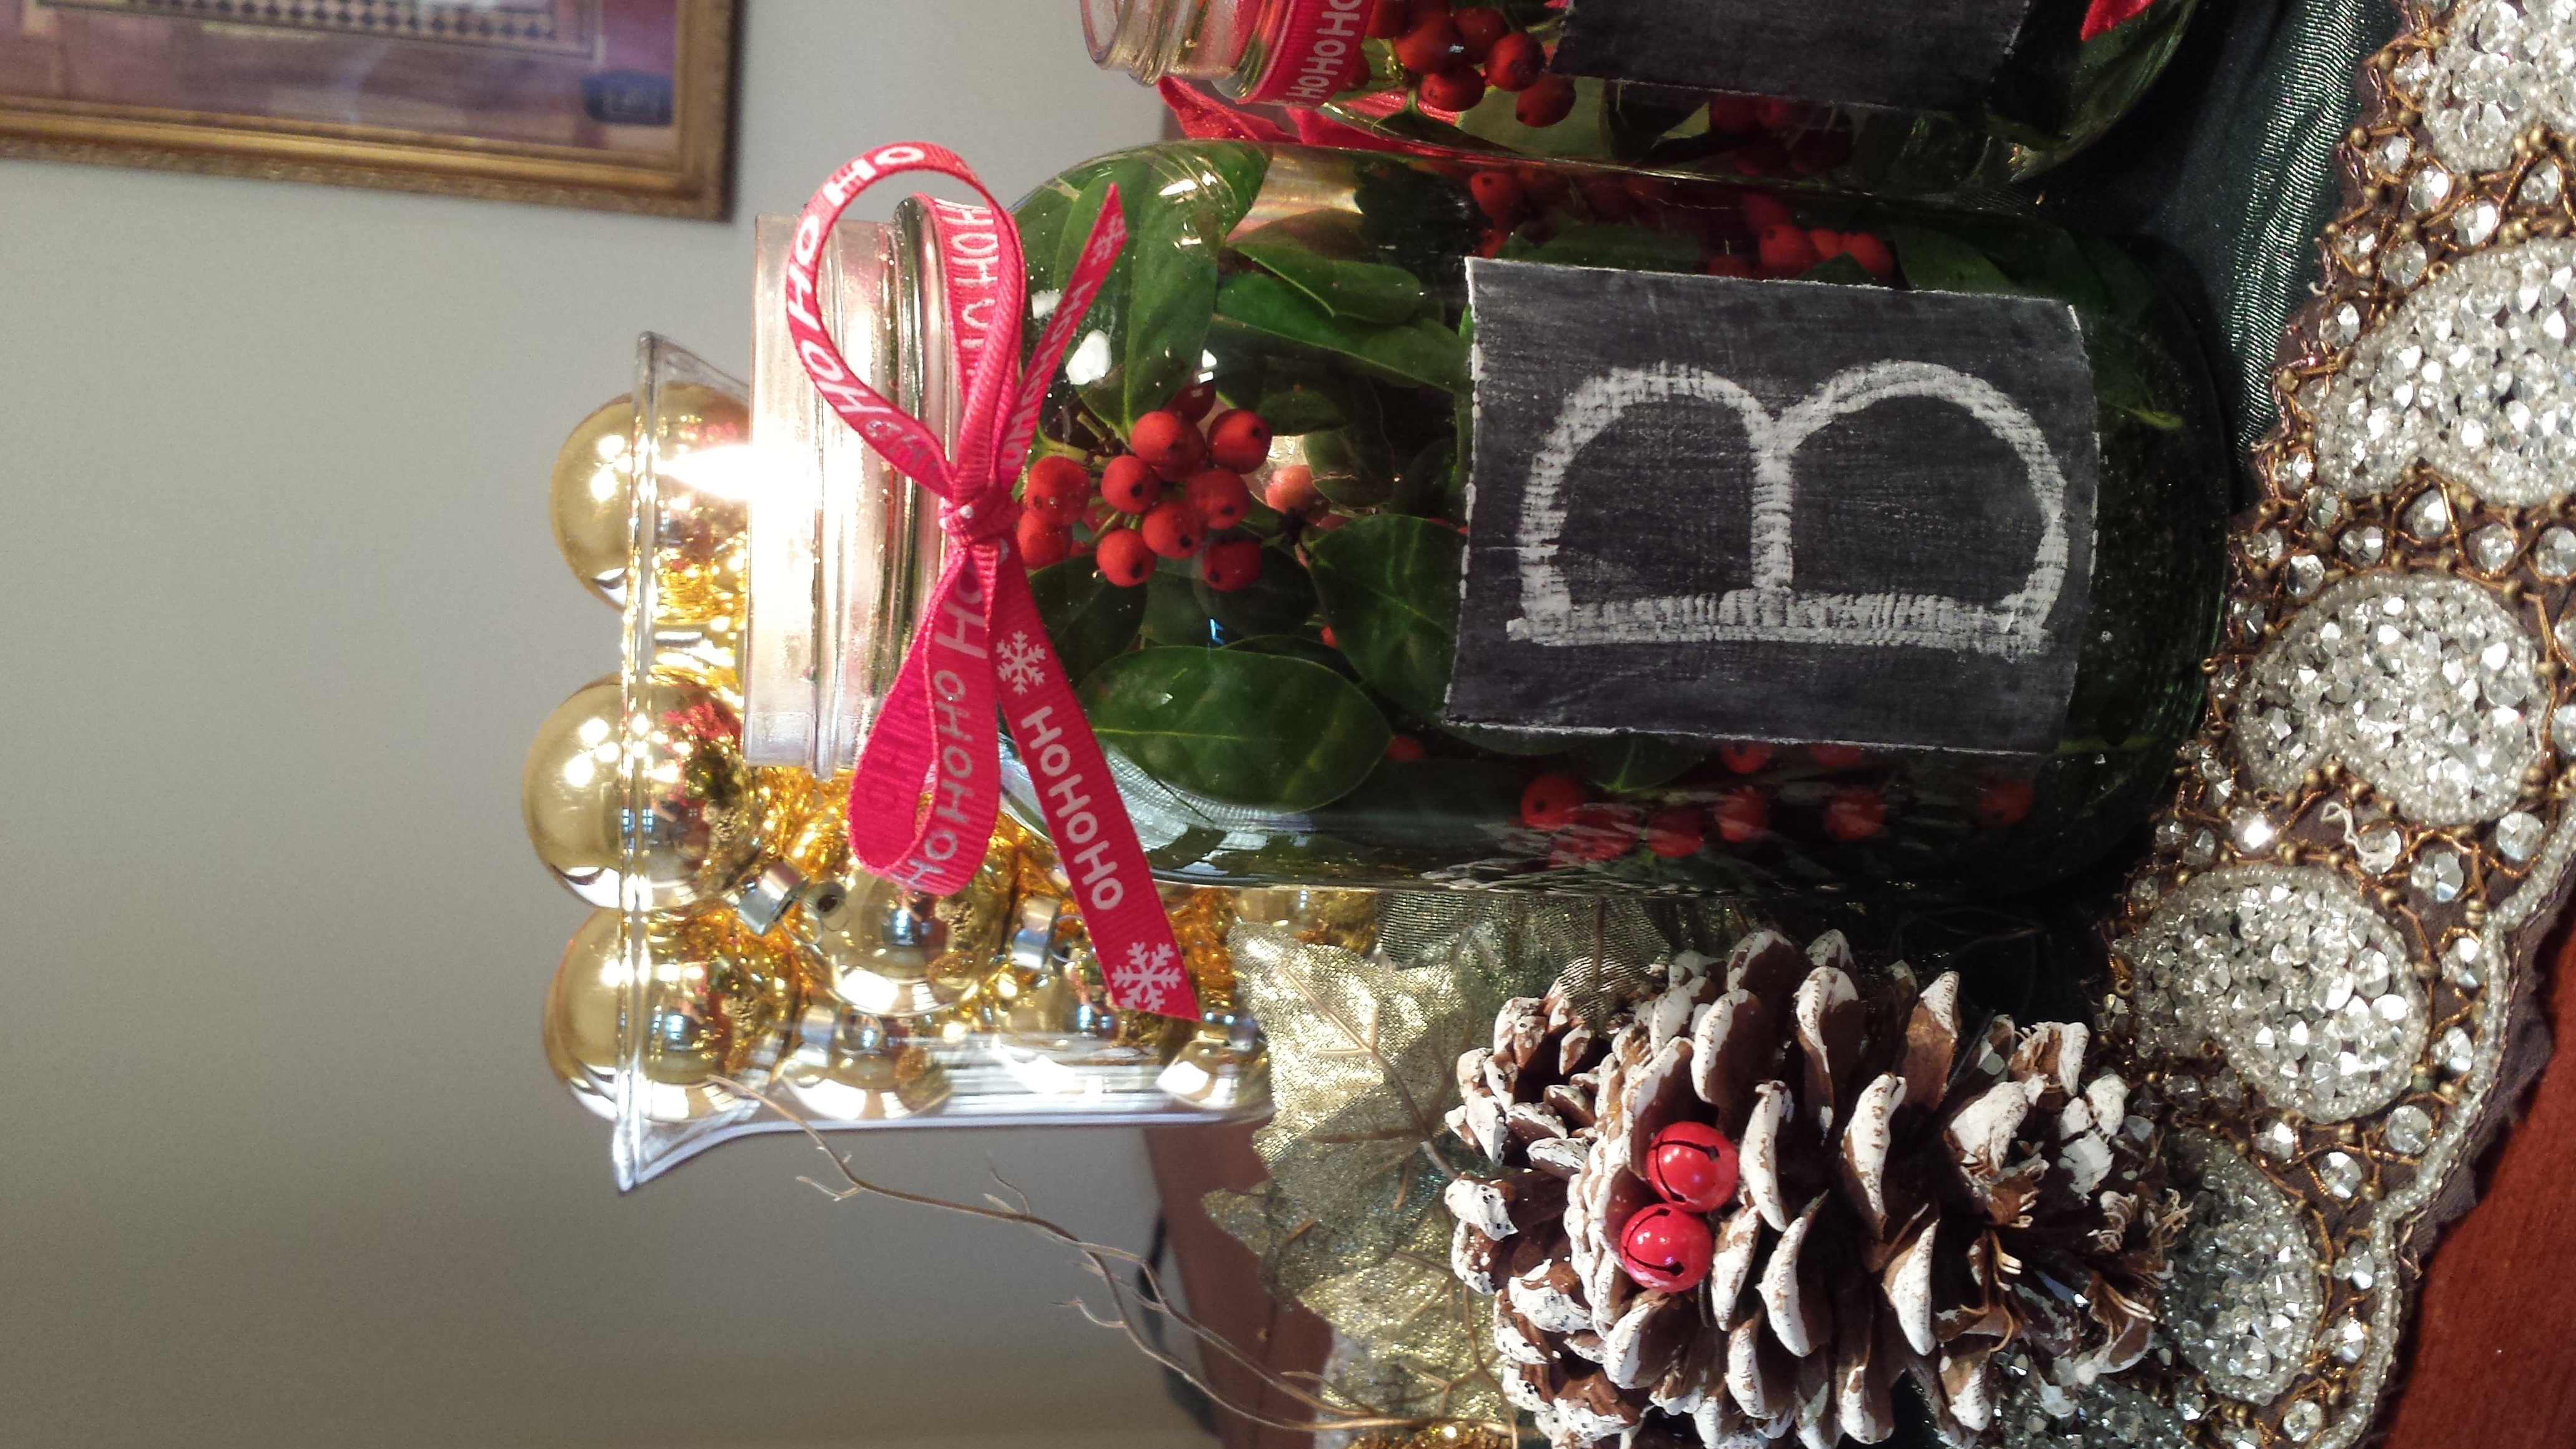
Tie a festive ribbon around the neck of the jar. If you’re buying ribbon, I recommend buying two rolls. Carefully fill the jars with water, completely covering the greenery. Place a regular tea light (NOT a battery one!) in the jar so that it floats on the water. Light the candles, and enjoy the beauty of nature, an inspiring message of the season, and a warm holiday glow.
Beautiful Bows & Creative Gift Wrapping
How to make a beautiful bow:
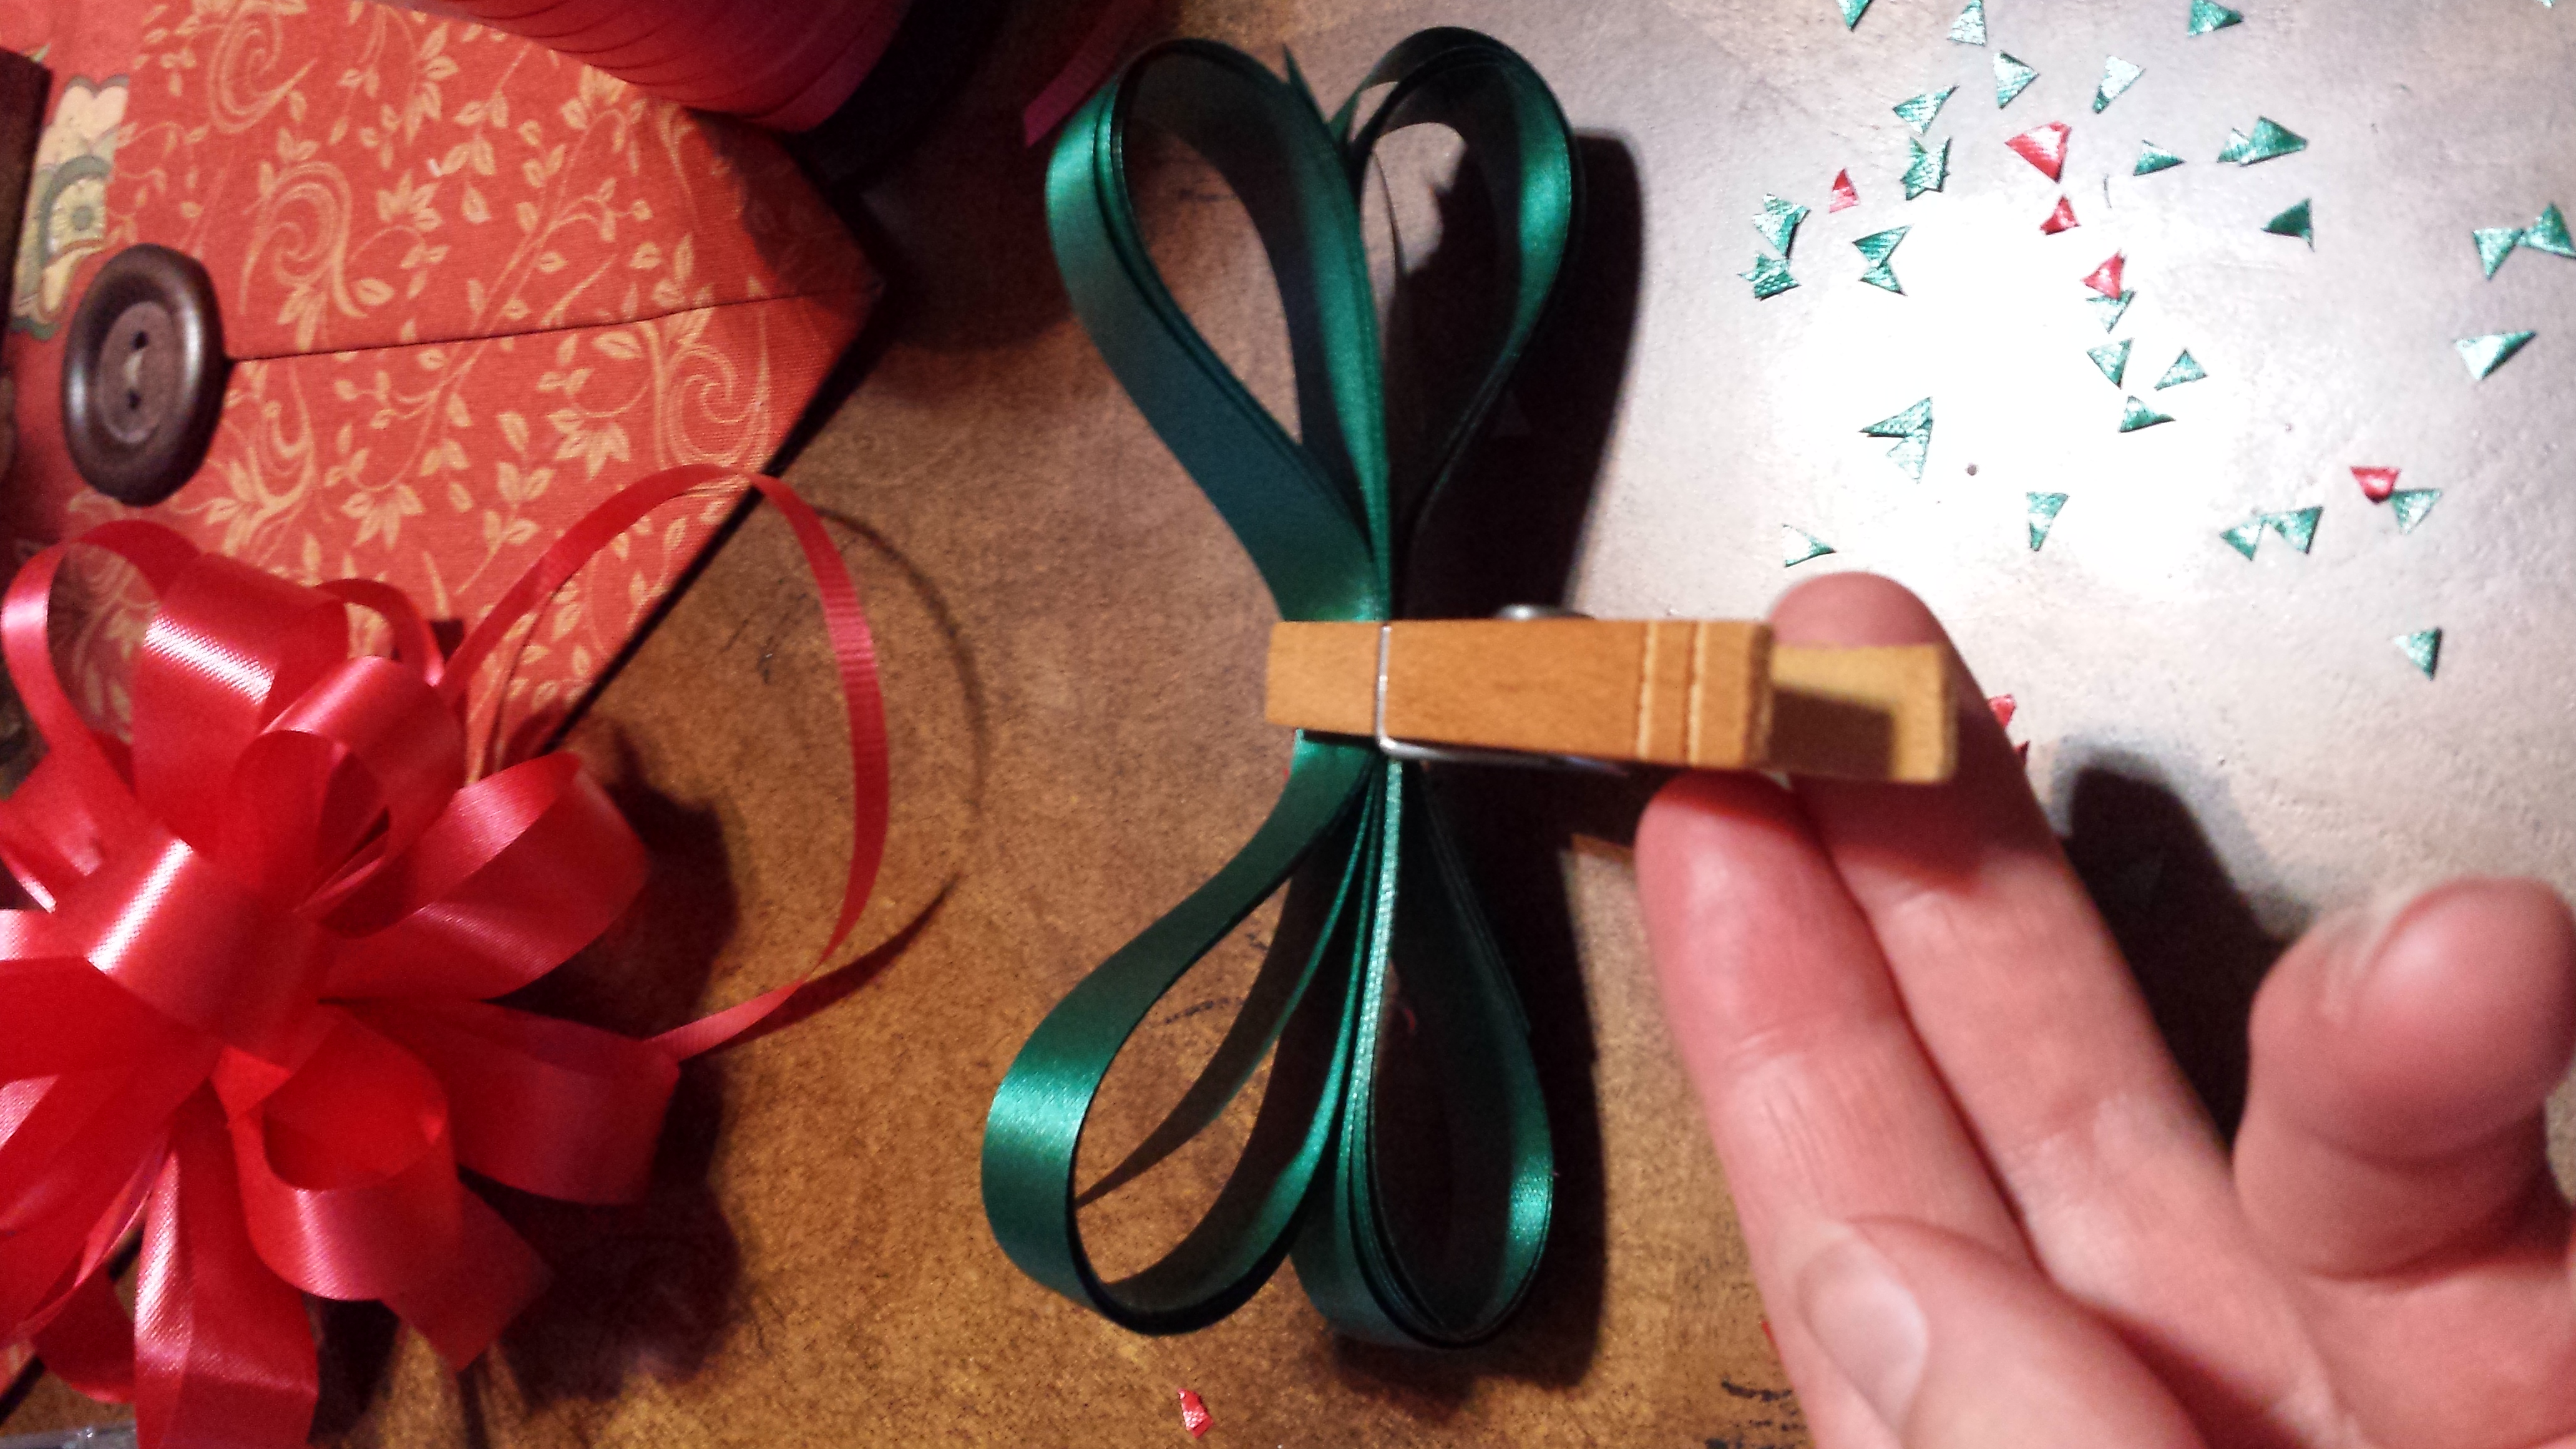
You will need: gift wrapping ribbon, curling ribbon, scissors, clothespin, and a piece of cardboard
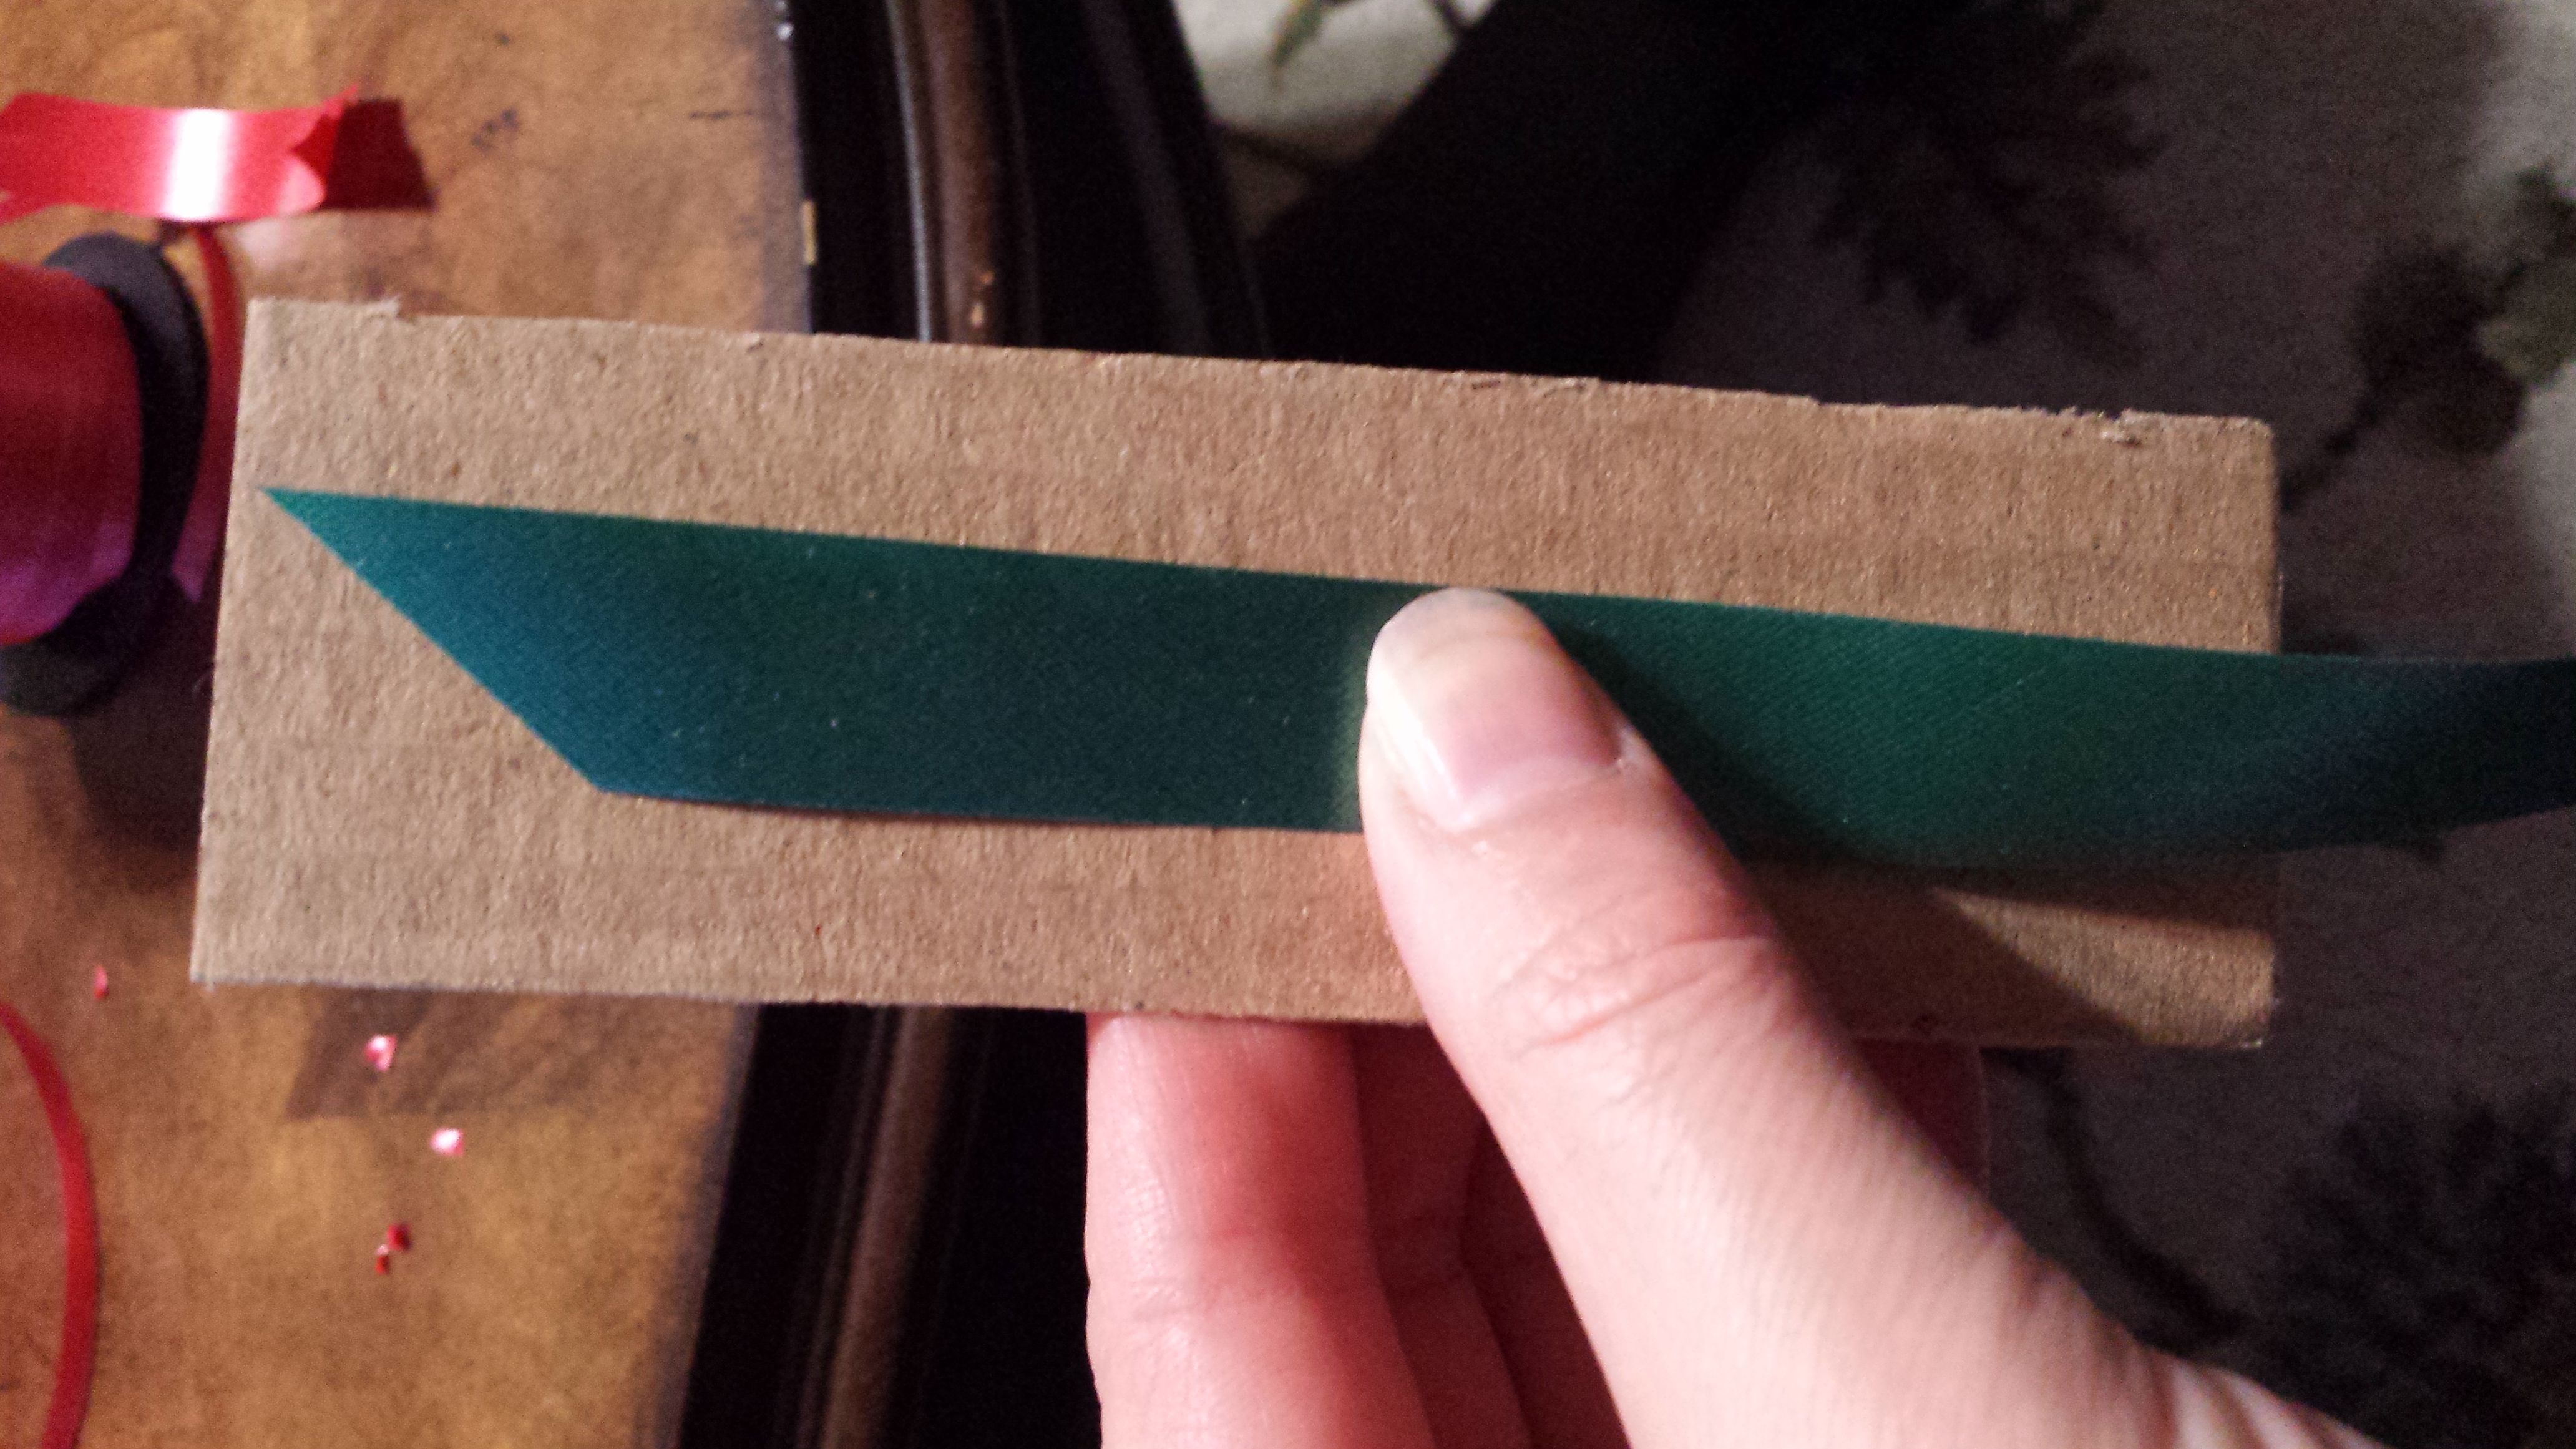
To begin, I cut a piece of cardboard the size I wanted to make my bow. For an average bow, it should be about 5 inches in length. Of course you can make it larger or smaller based on your needs. You can also use a cd case or other items around the house for your pattern. Cutting the end of the ribbon at an angle makes a more finished and professional looking product.

Wrap the ribbon around the piece of cardboard 5 to 6 times. You can do it free form. I just used the cardboard to keep the bow a uniform size.
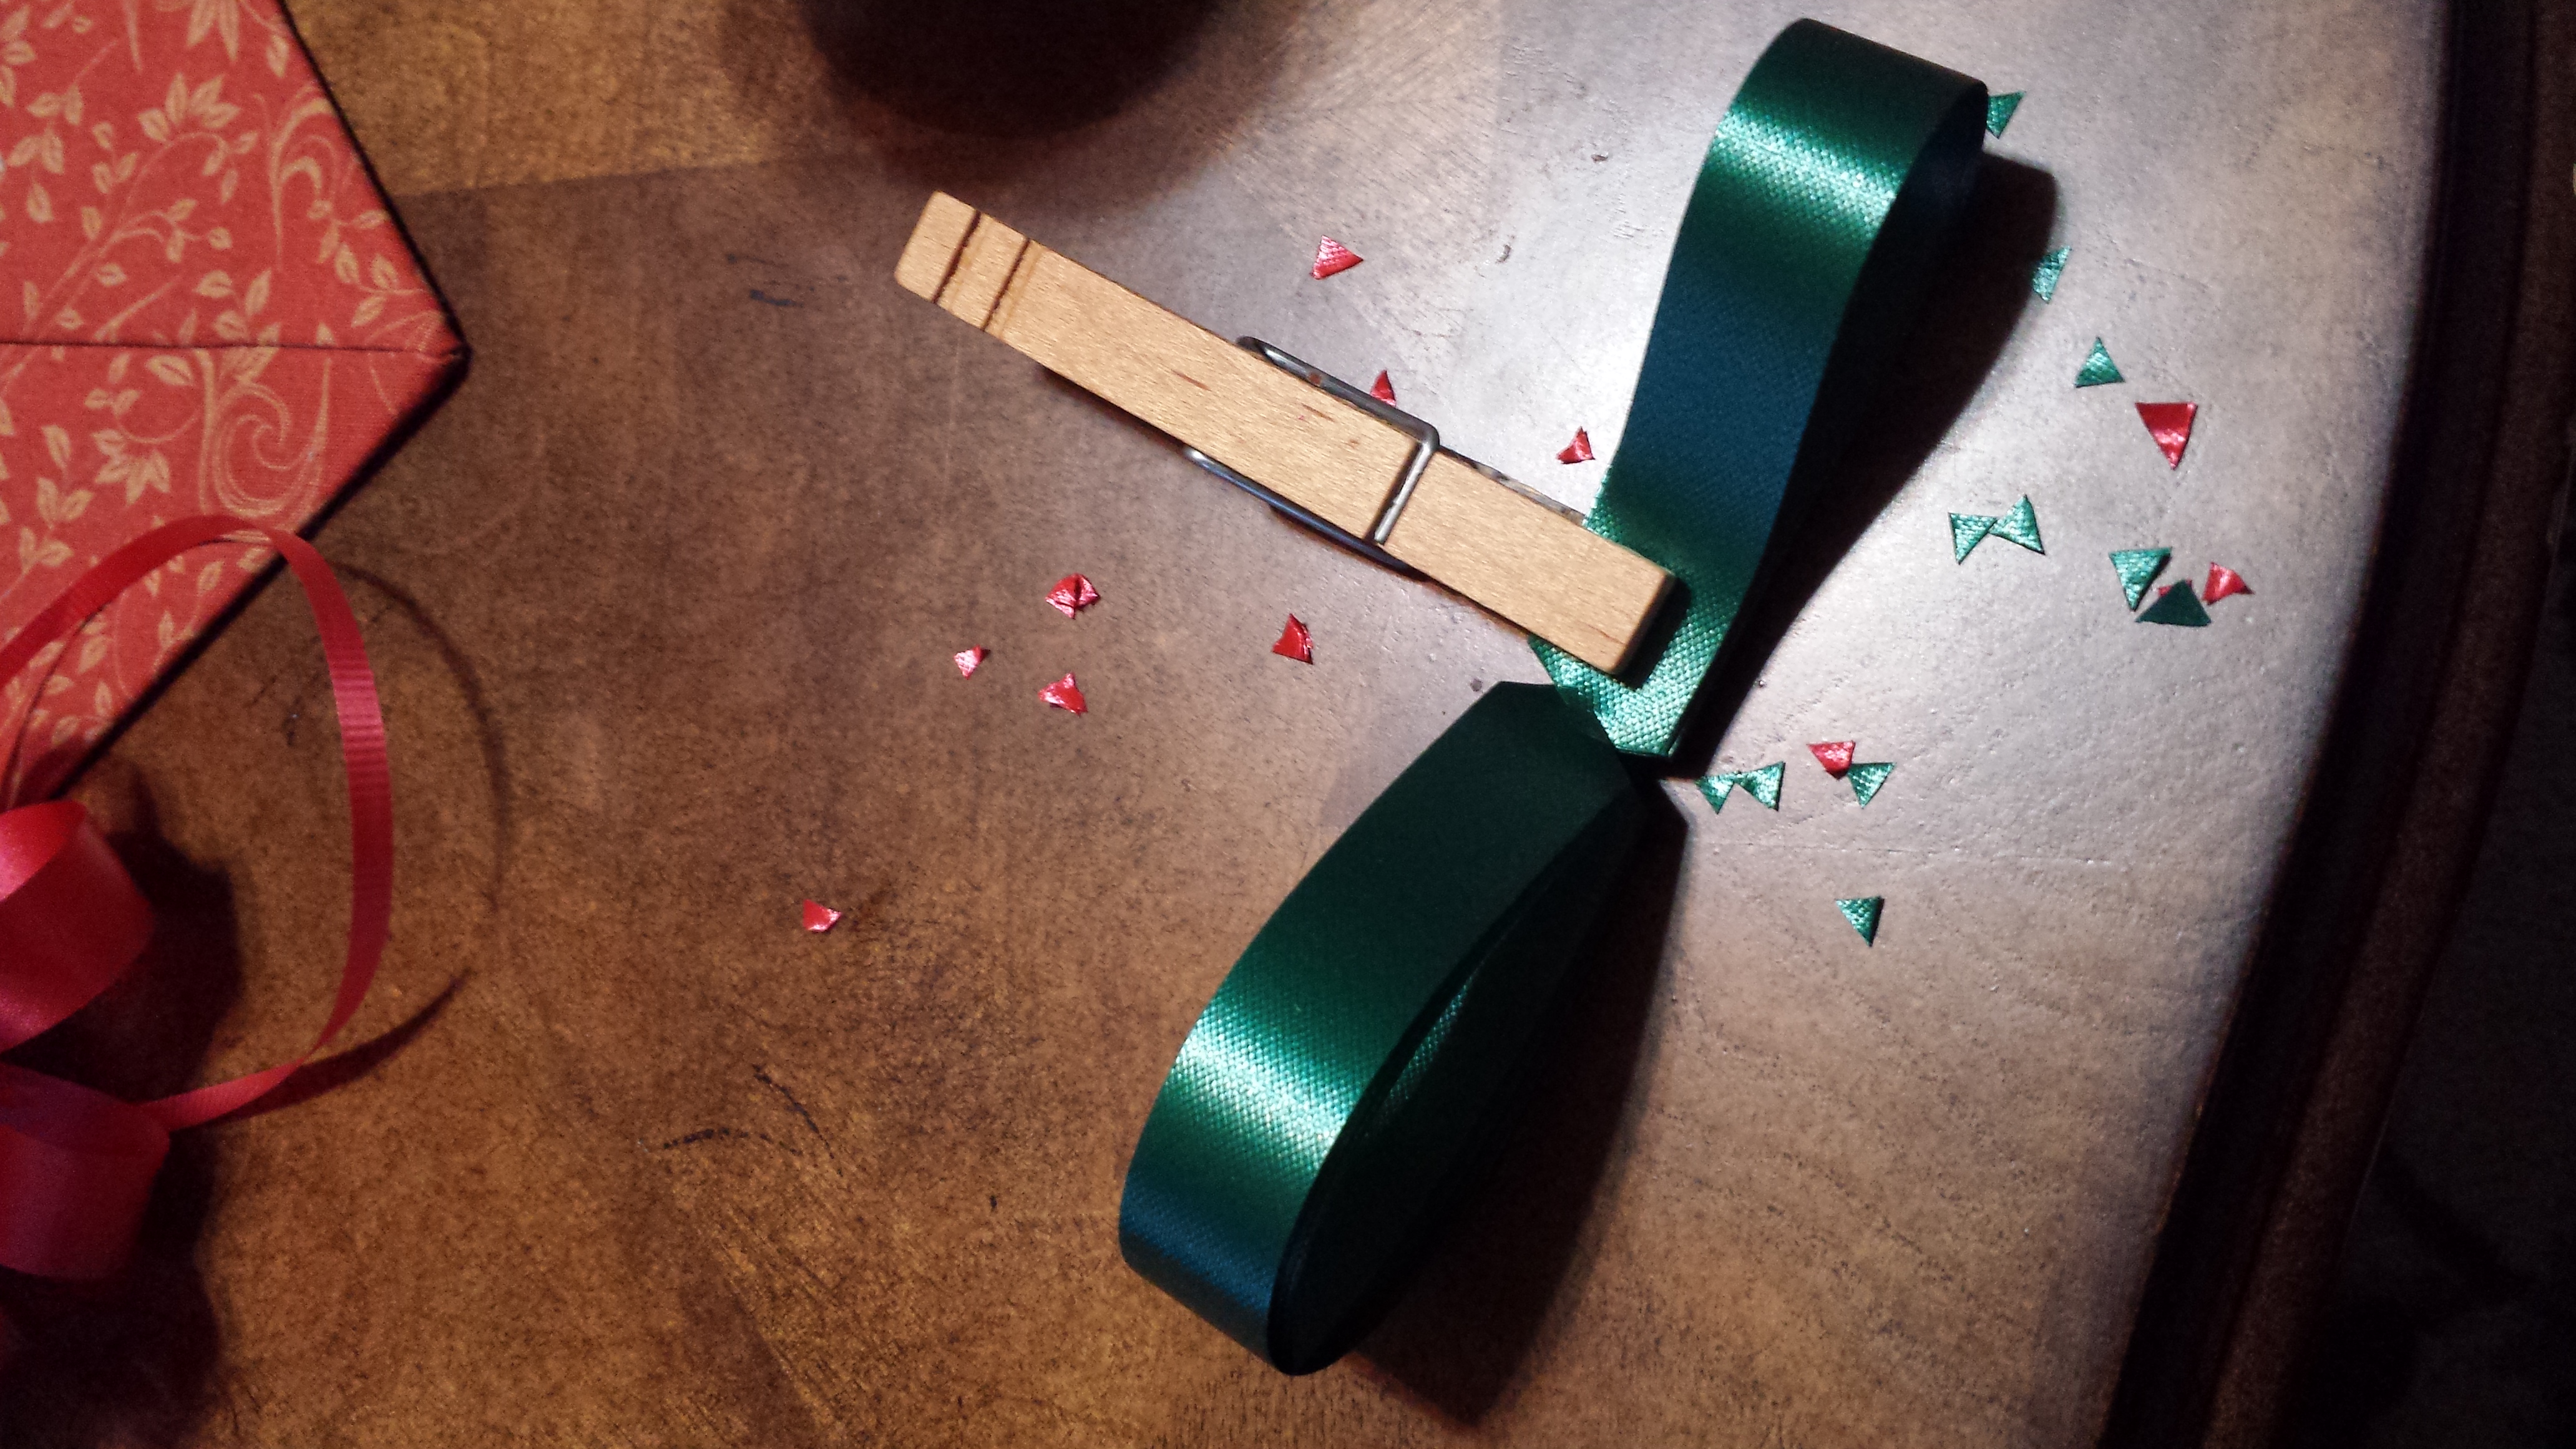
With a scissors, cut two small triangles out of each side of the center. Use a clothespin to hold it together.
Repeat the process, and stack them together.
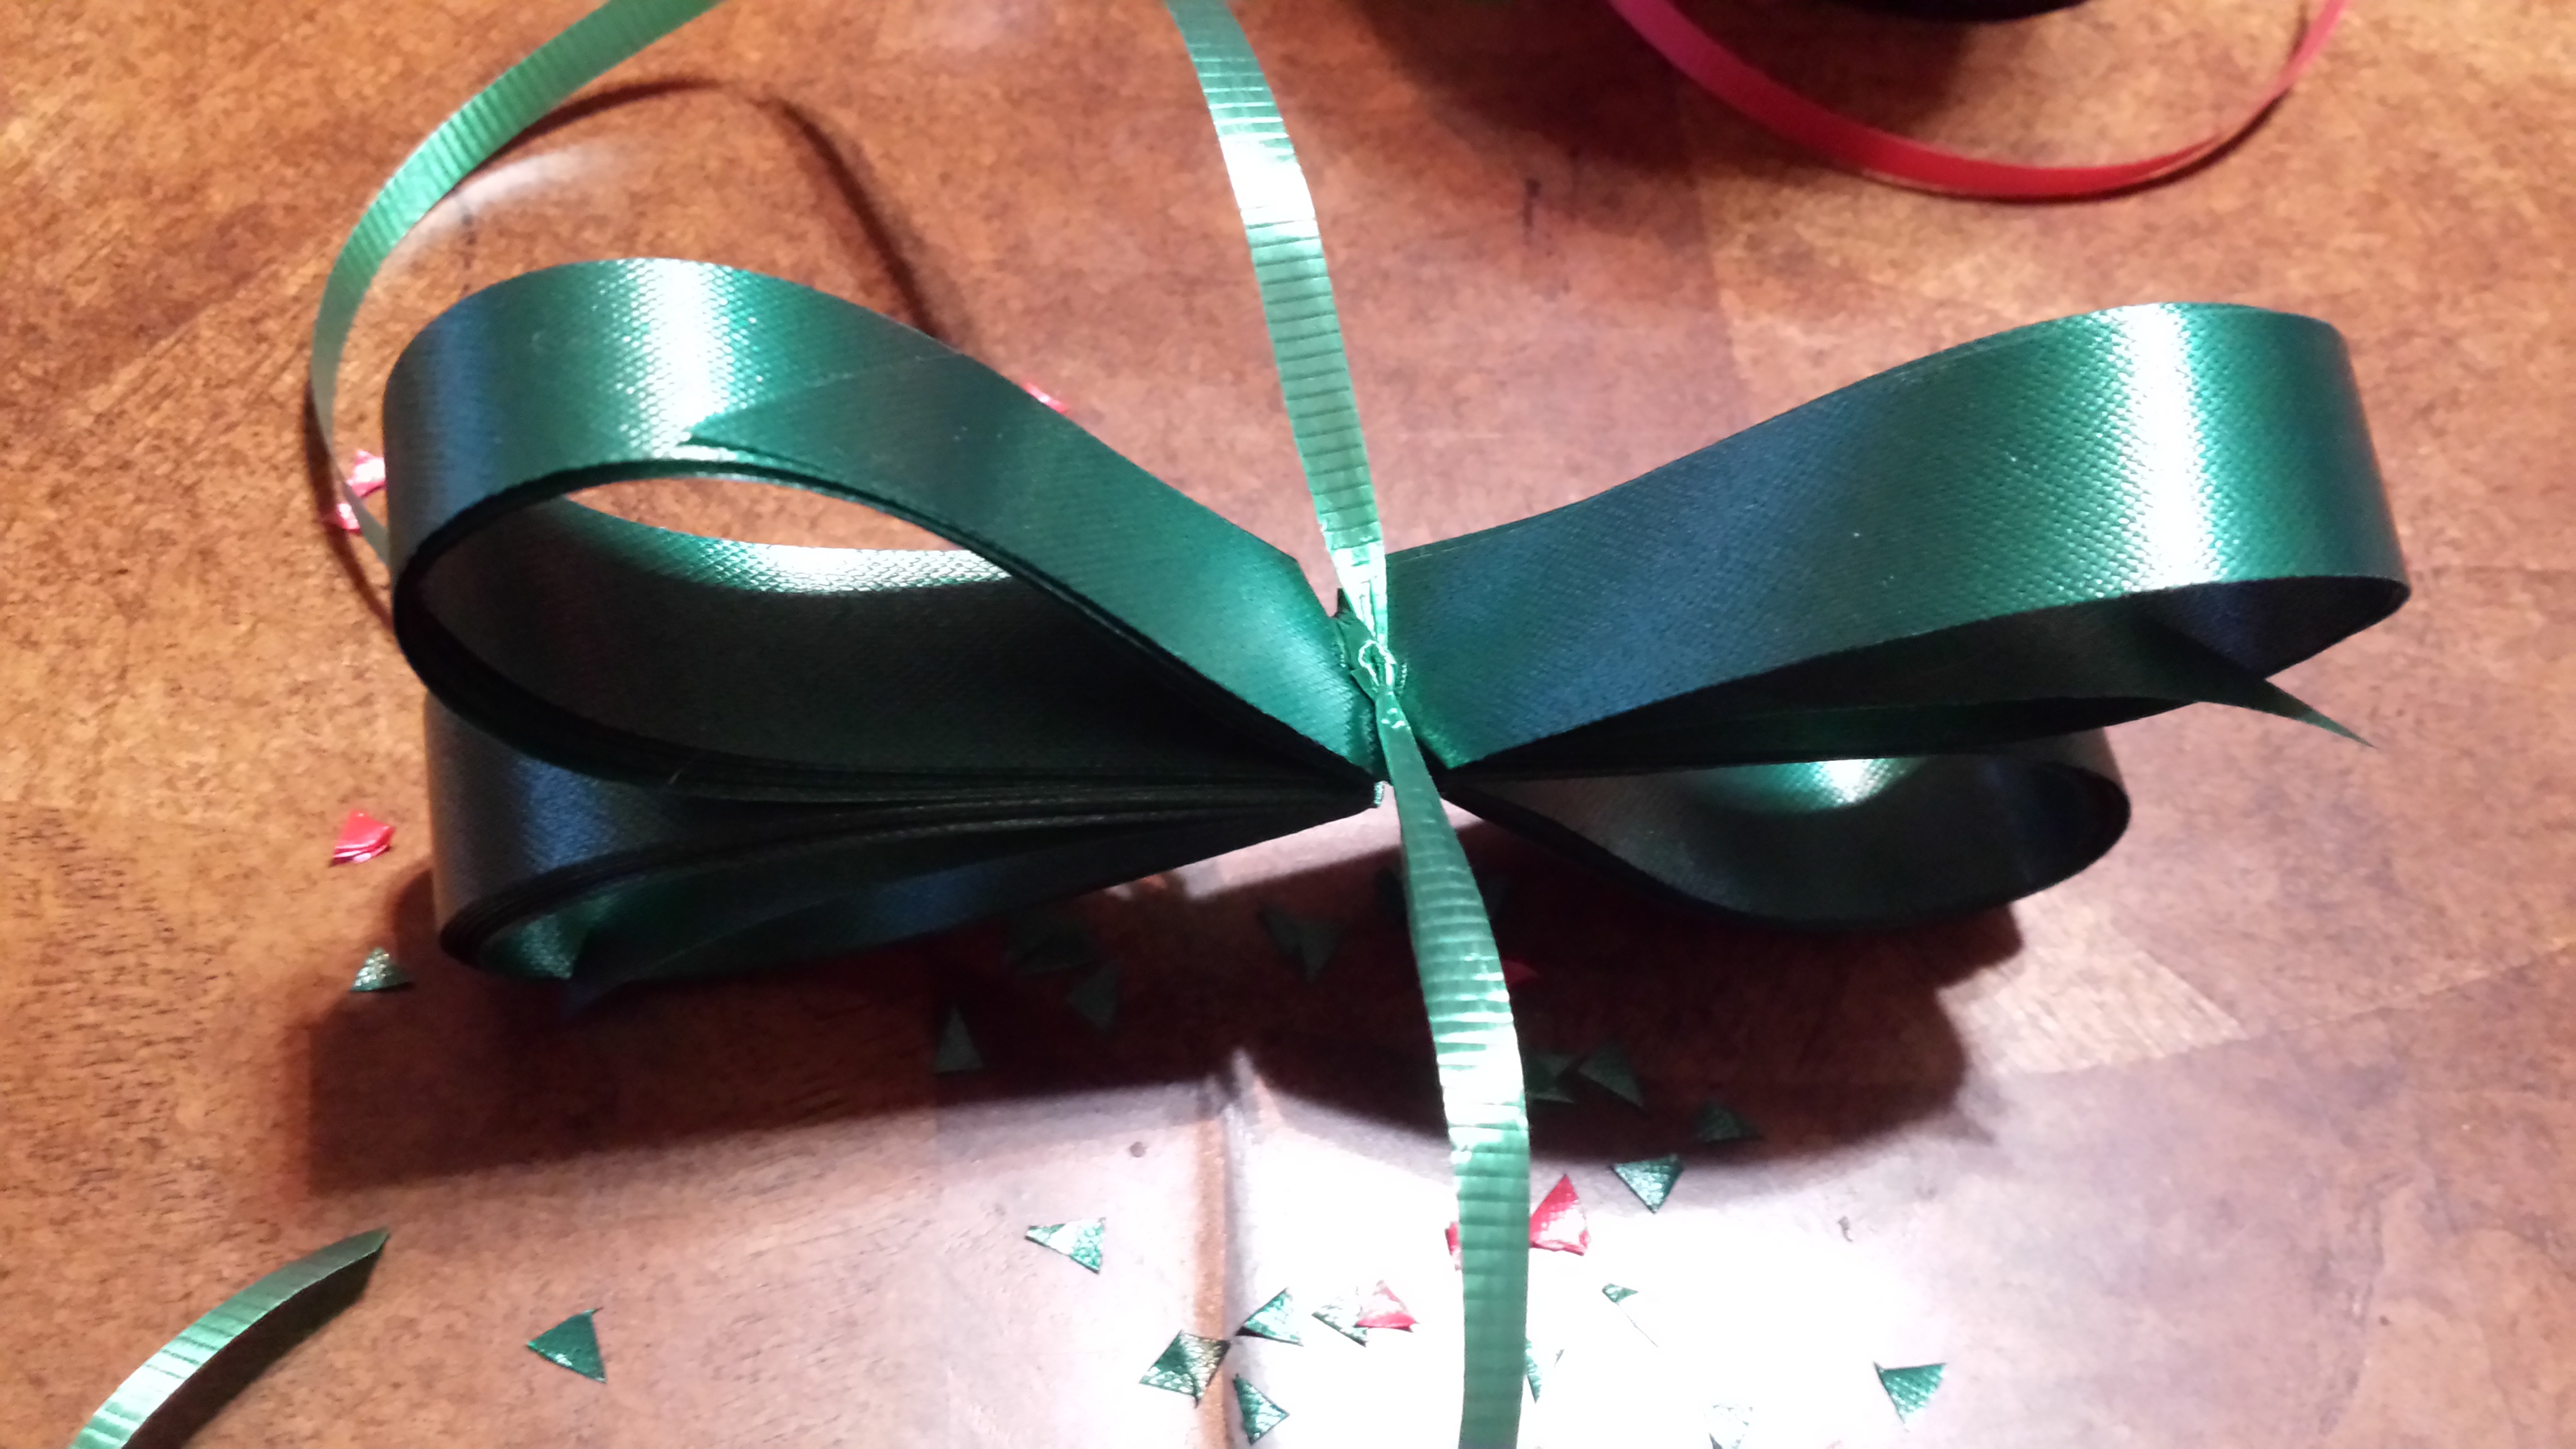
Cut a piece of curling ribbon long enough to tie around and have tails to curl. Tie the curling ribbon around the center cuts. The knot side is the bottom side of the bow.
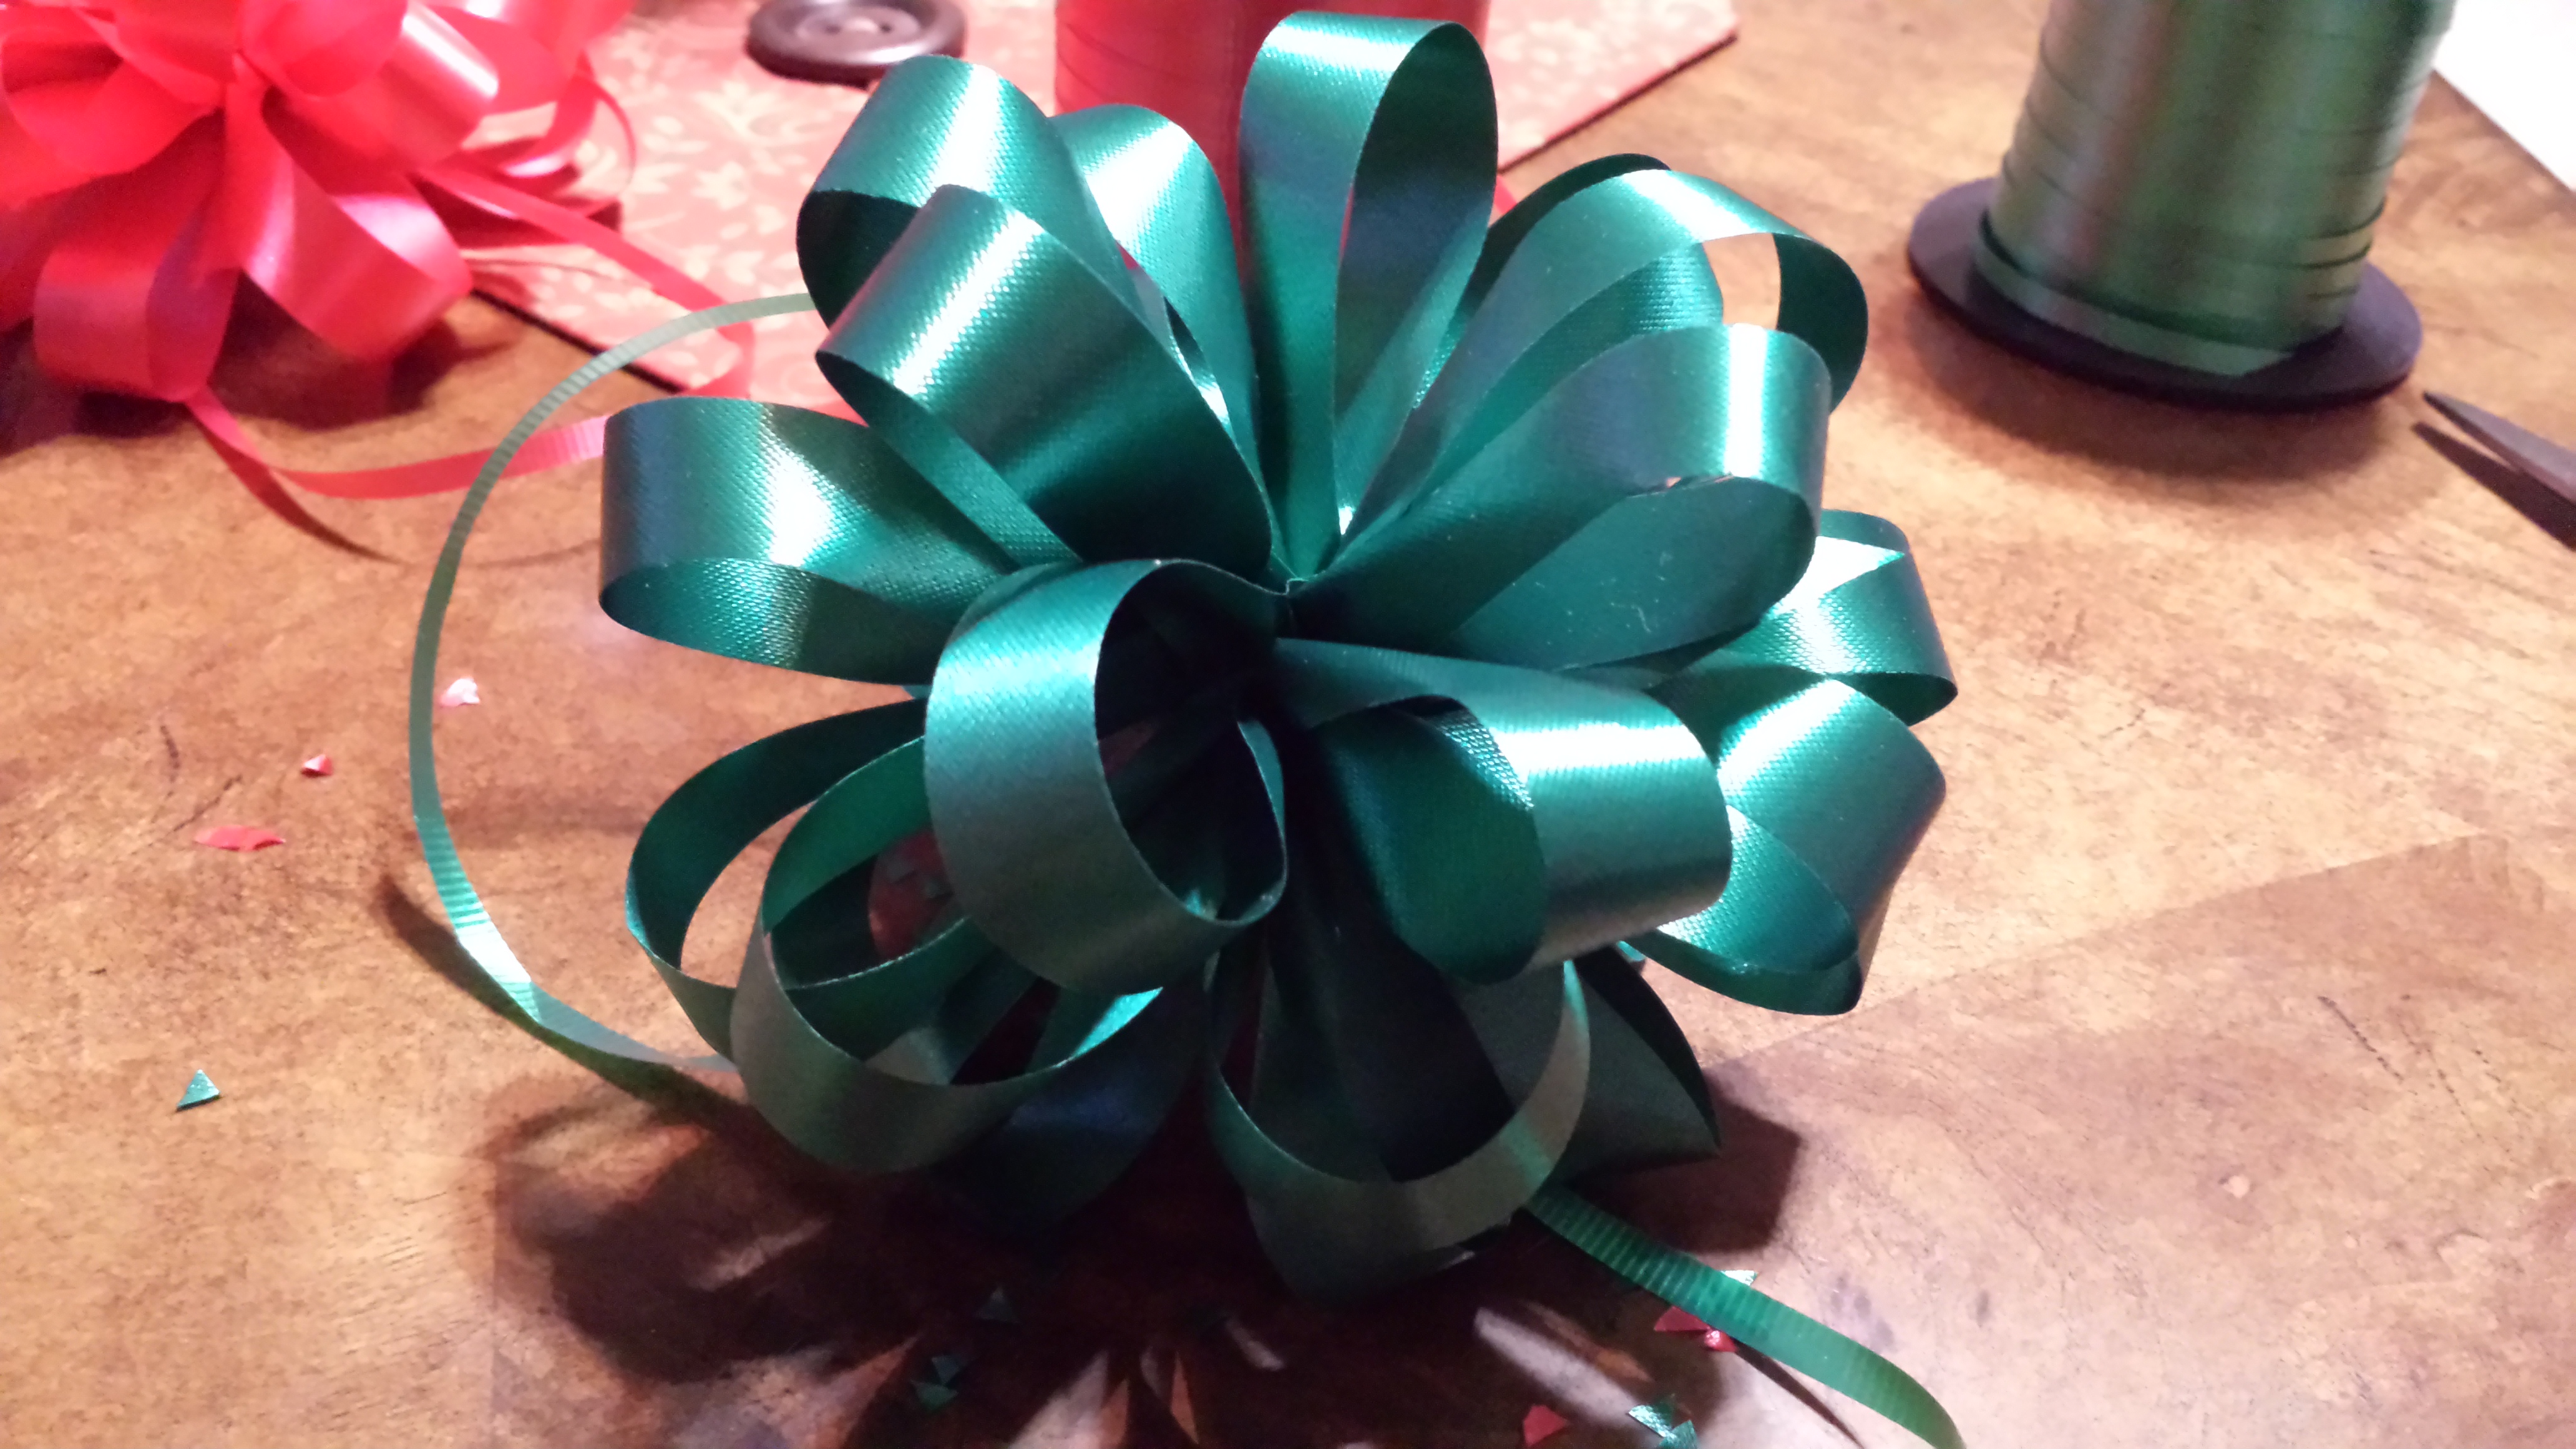
The top will be smooth.
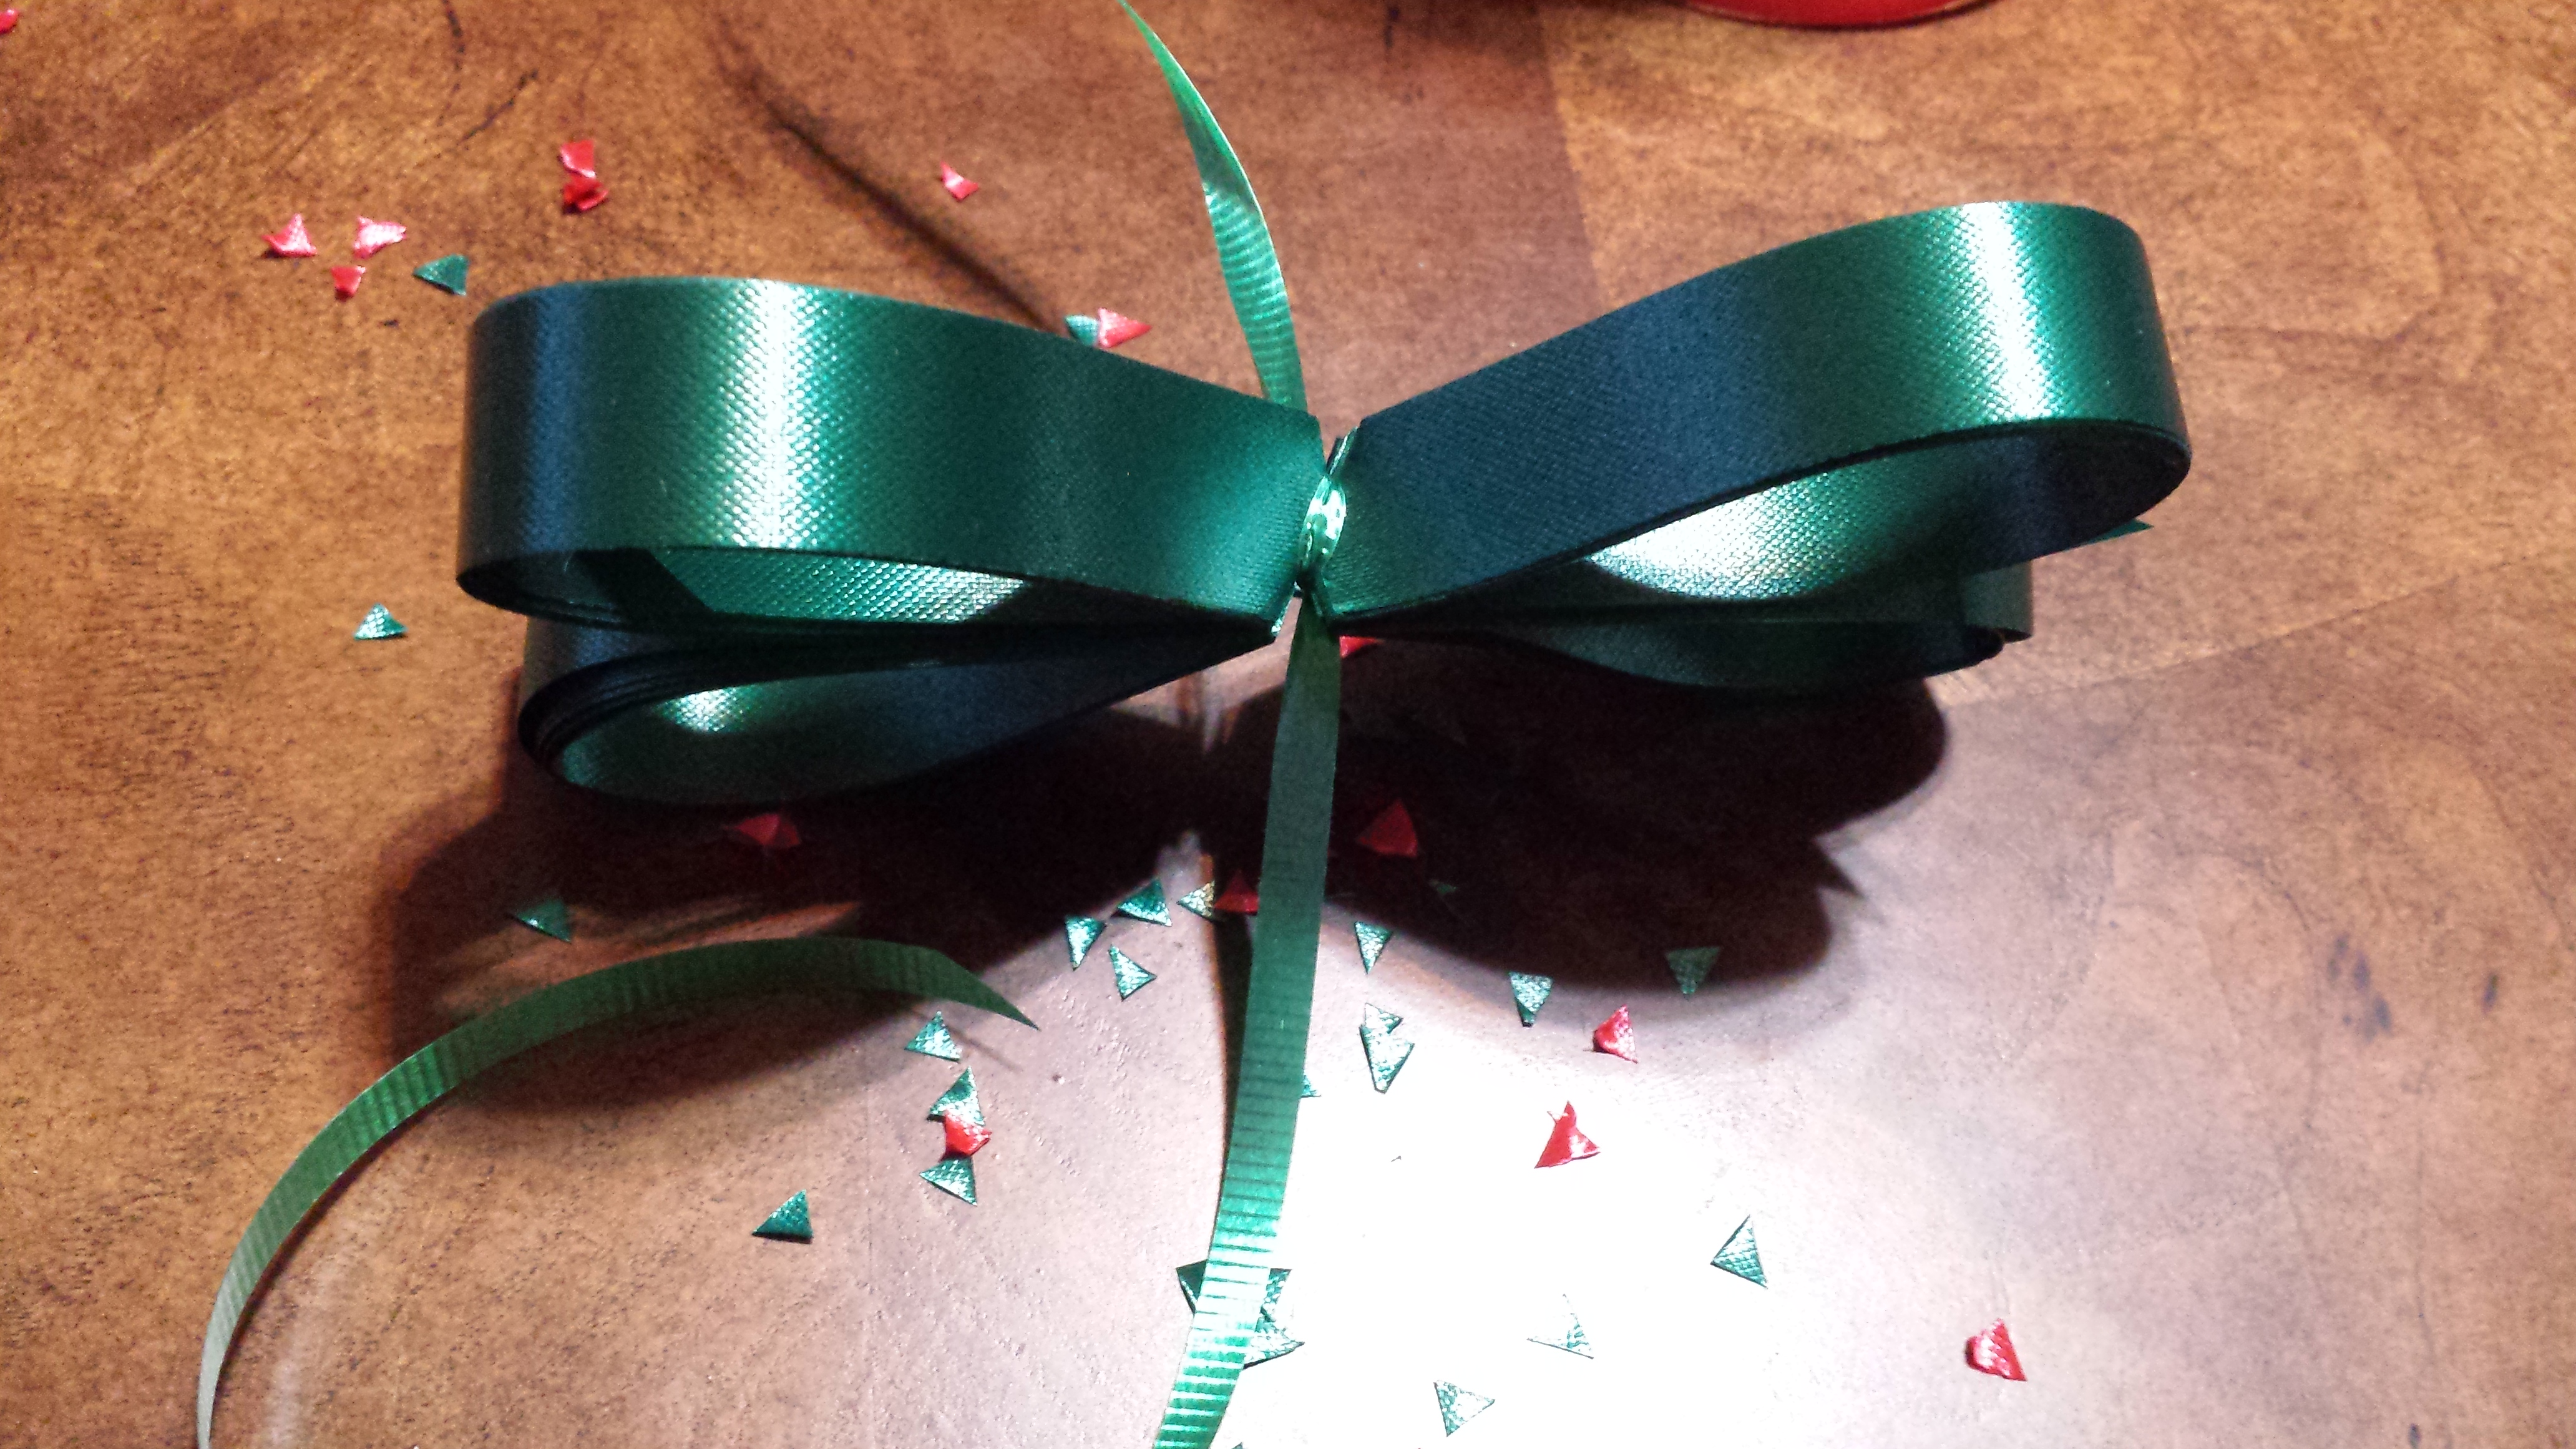
Starting with the bow upside down (knot up) and on one side, pull the ribbon out from the inside of the loop alternating right, left, right, left, etc. until you’ve pulled out each loop on that side. As you pull, pull it away from you and give it a slight twist downward. Repeat on the other side of the bottom section.
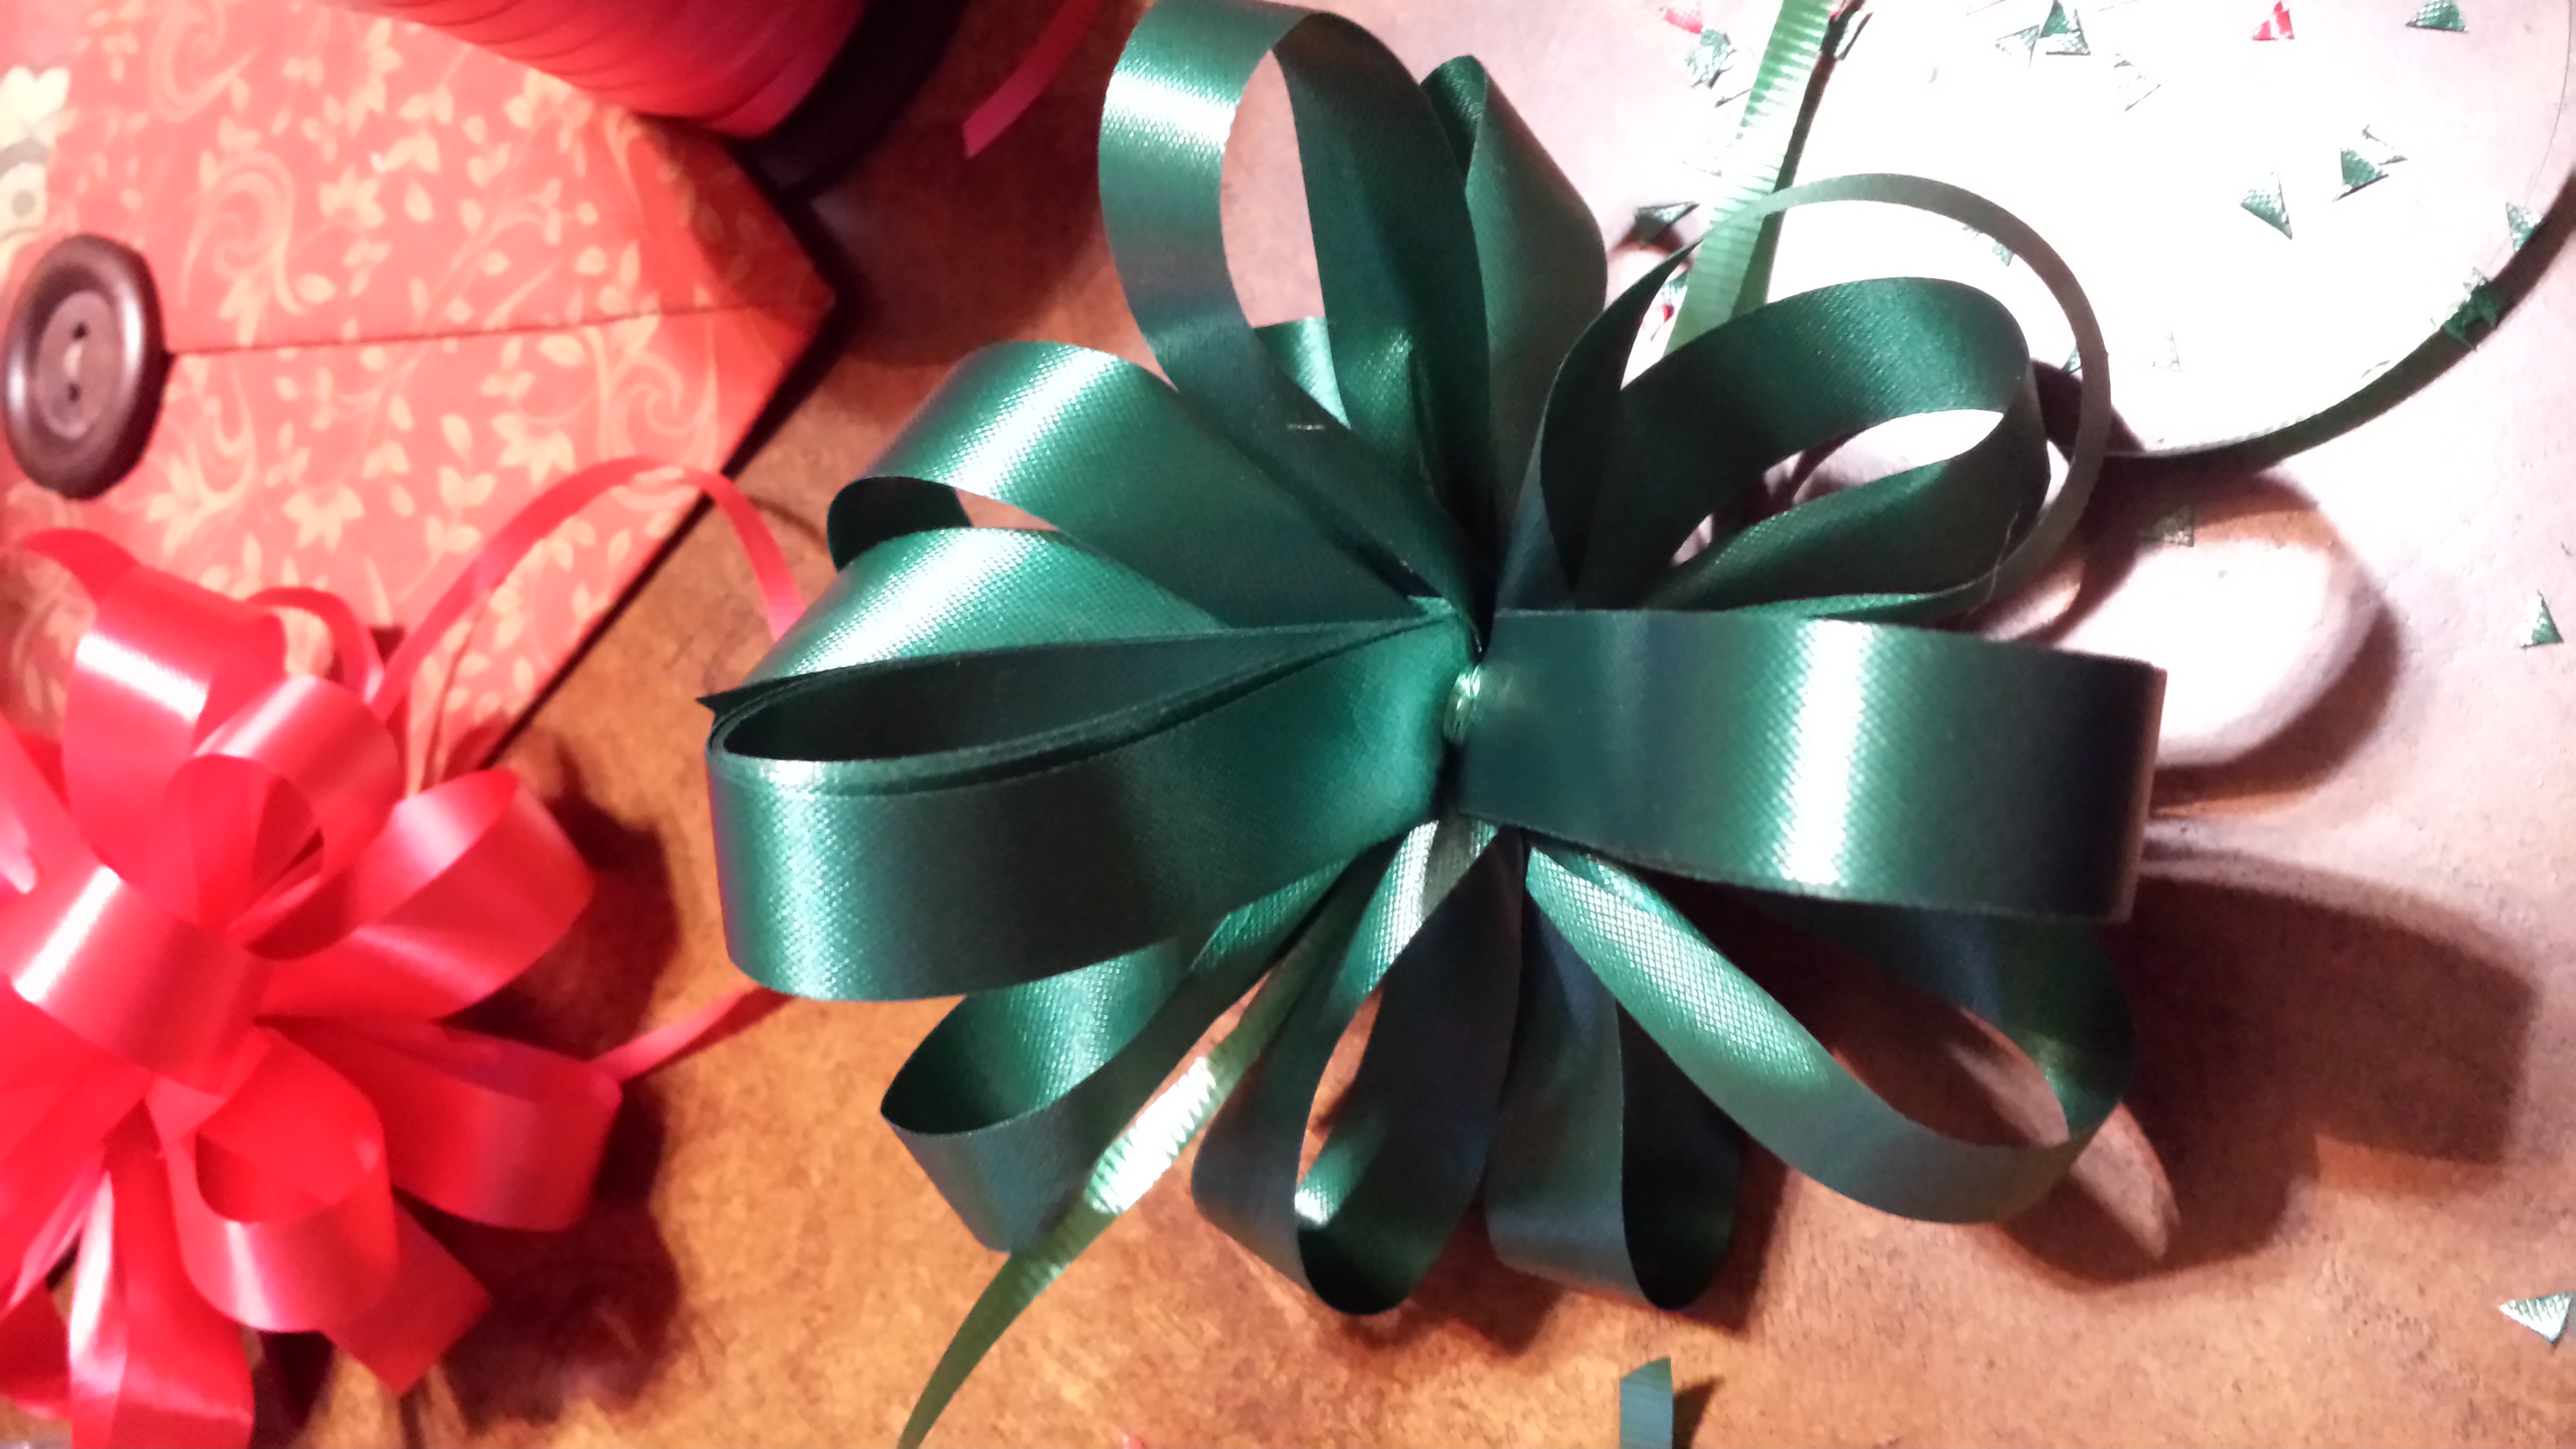
Flip it over, and repeat the process on the top.
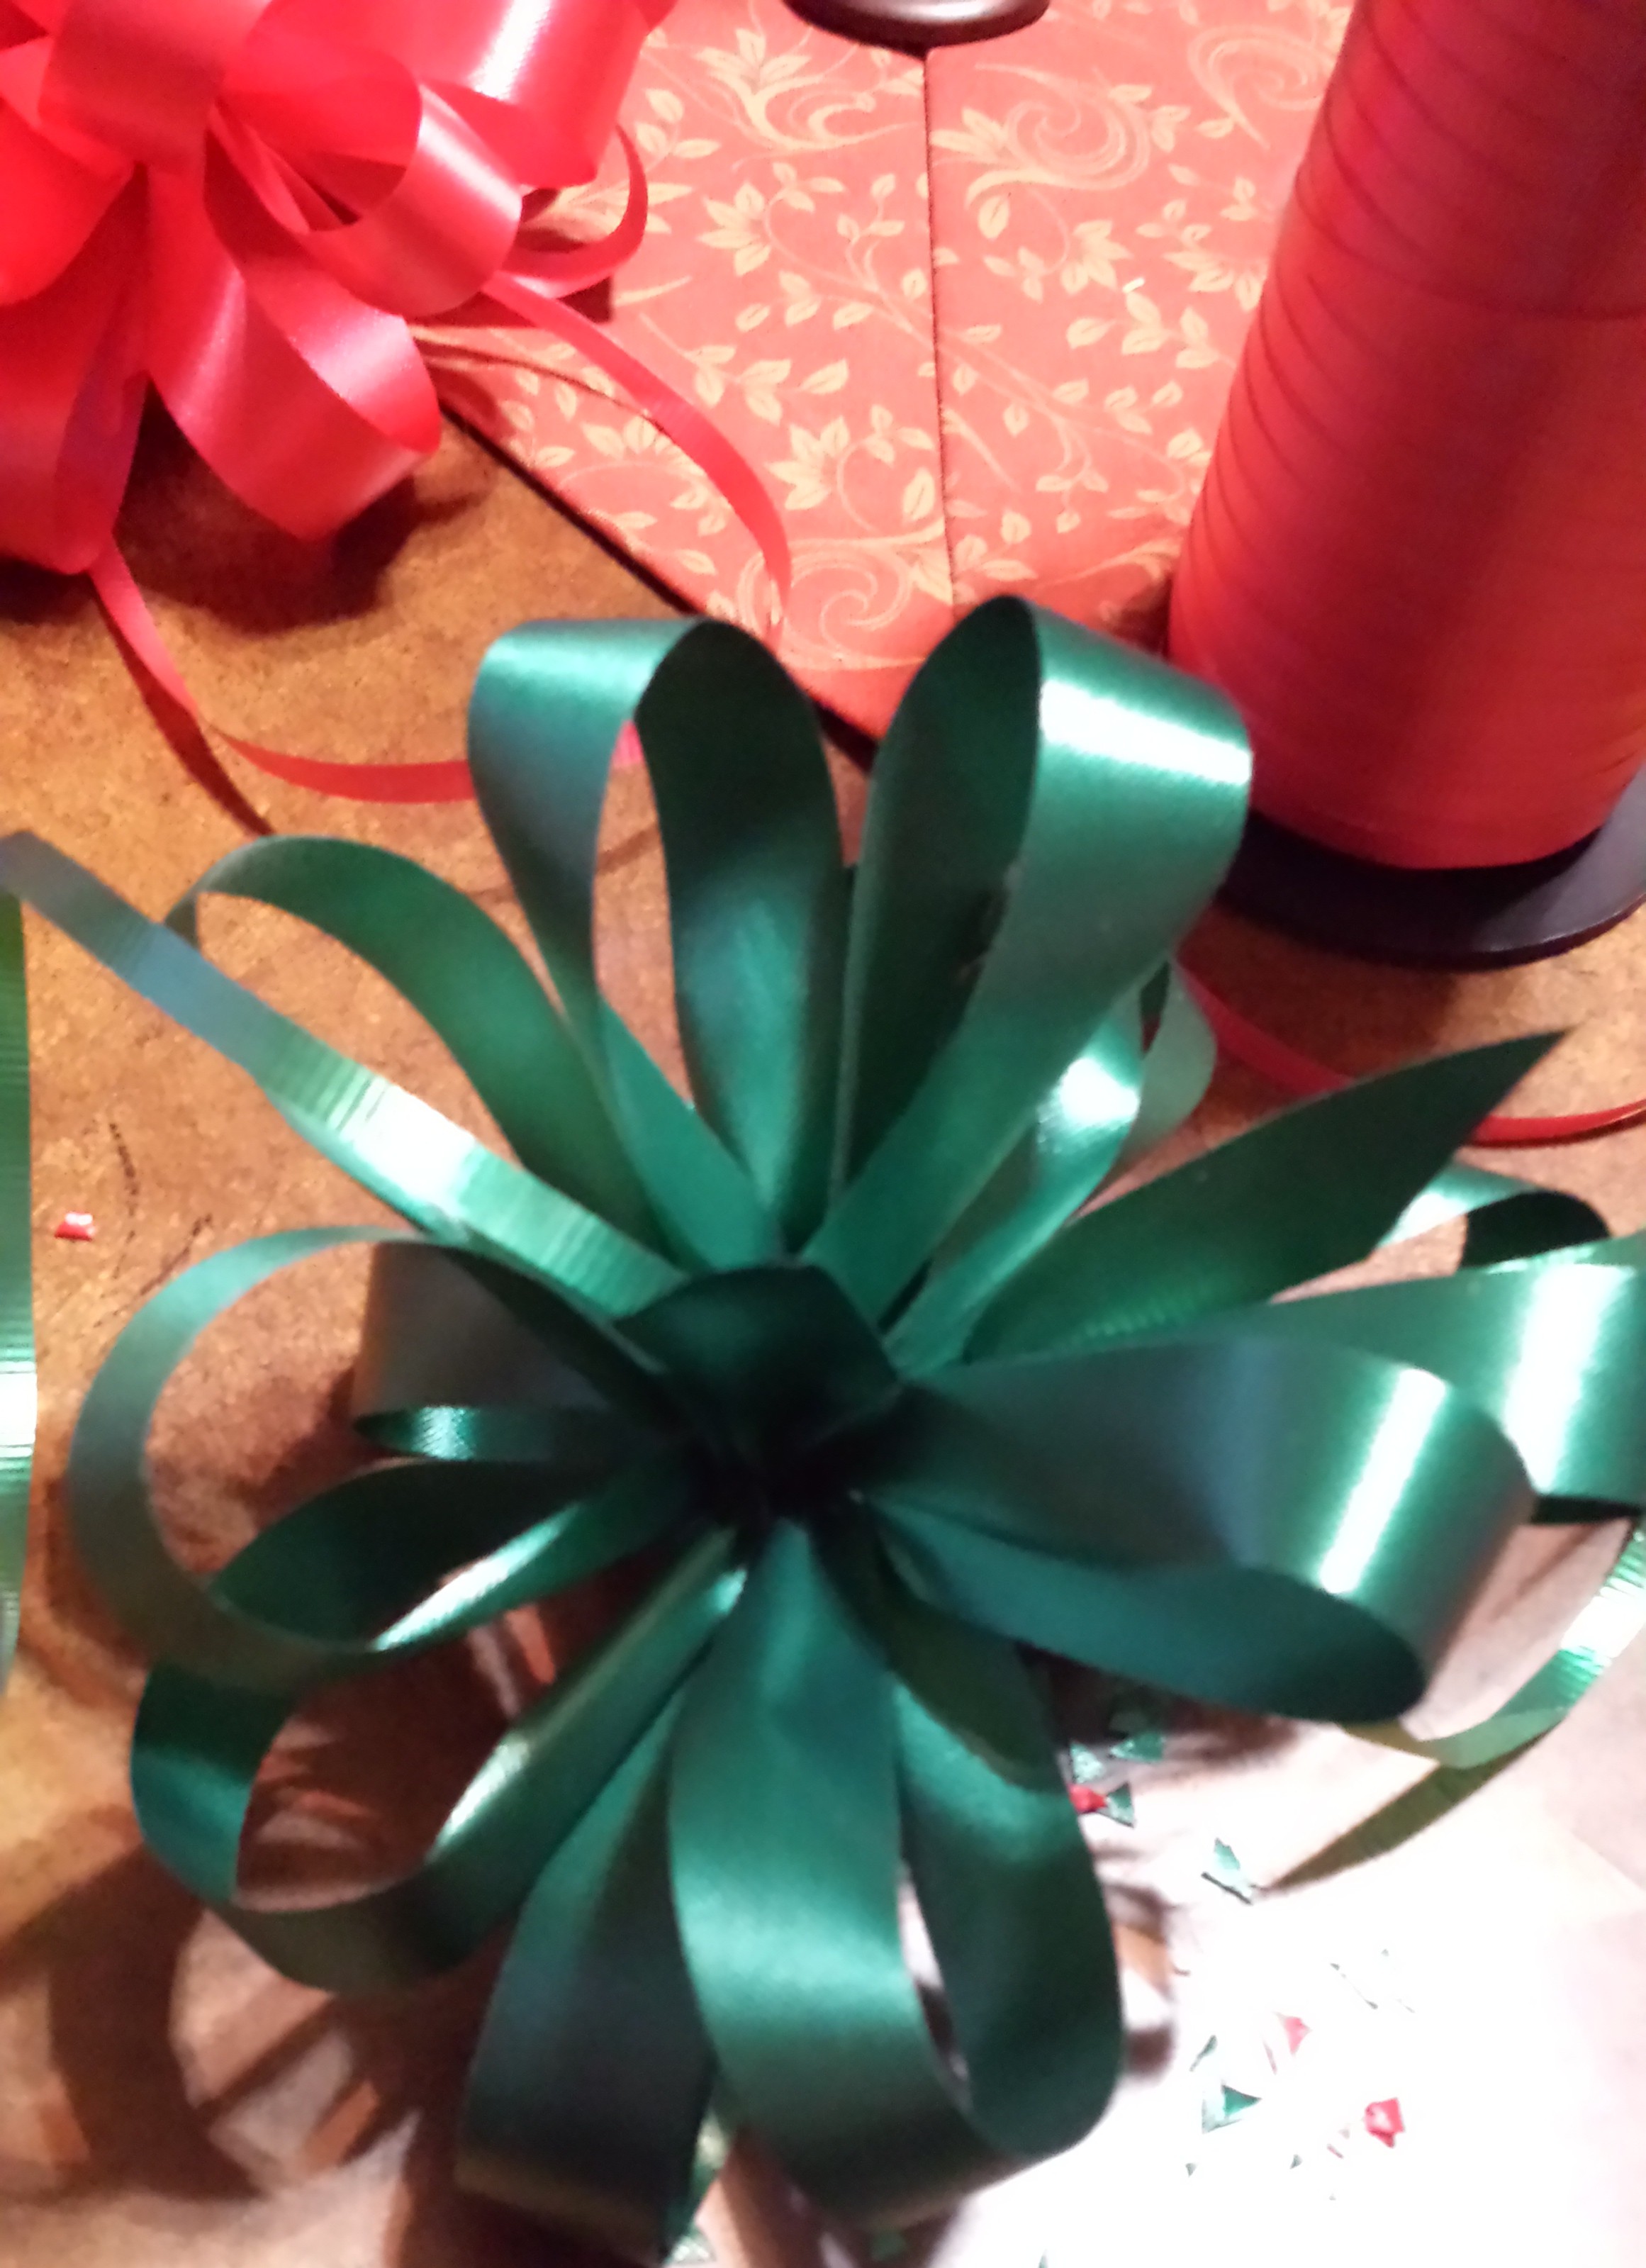
Voila! A beautiful homemade bow to wrap up a heartfelt gift for someone you love.
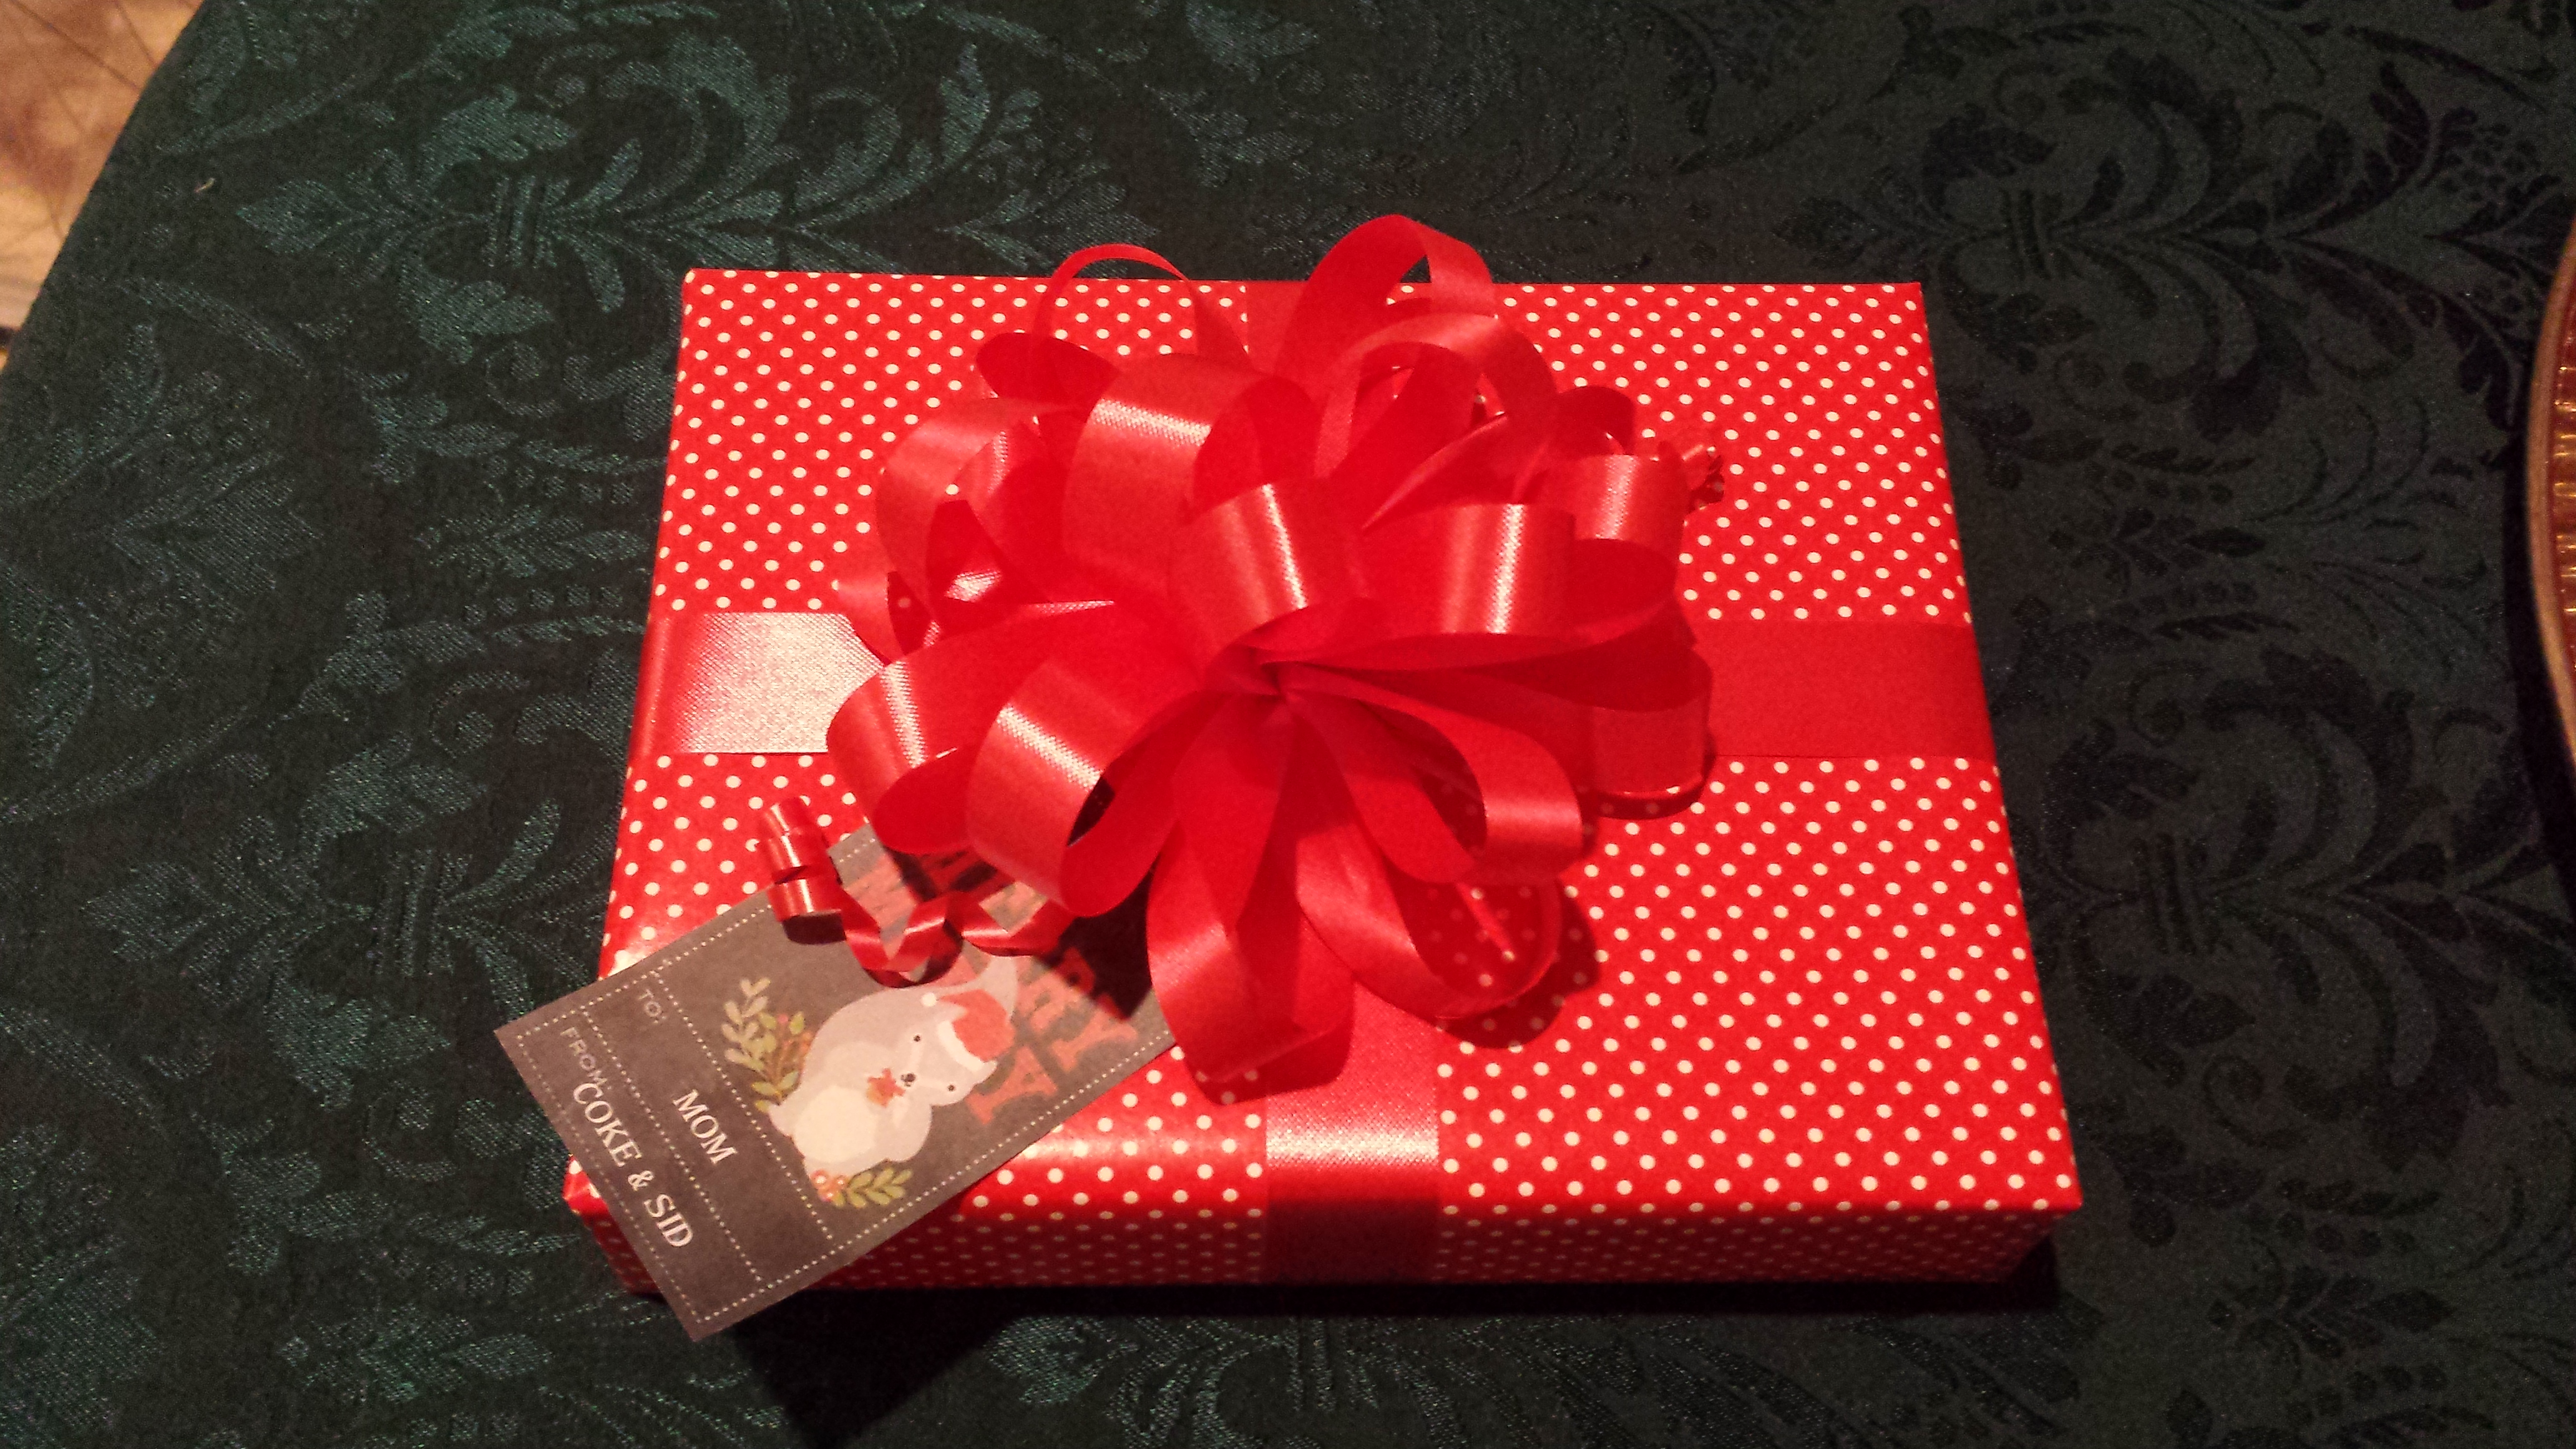
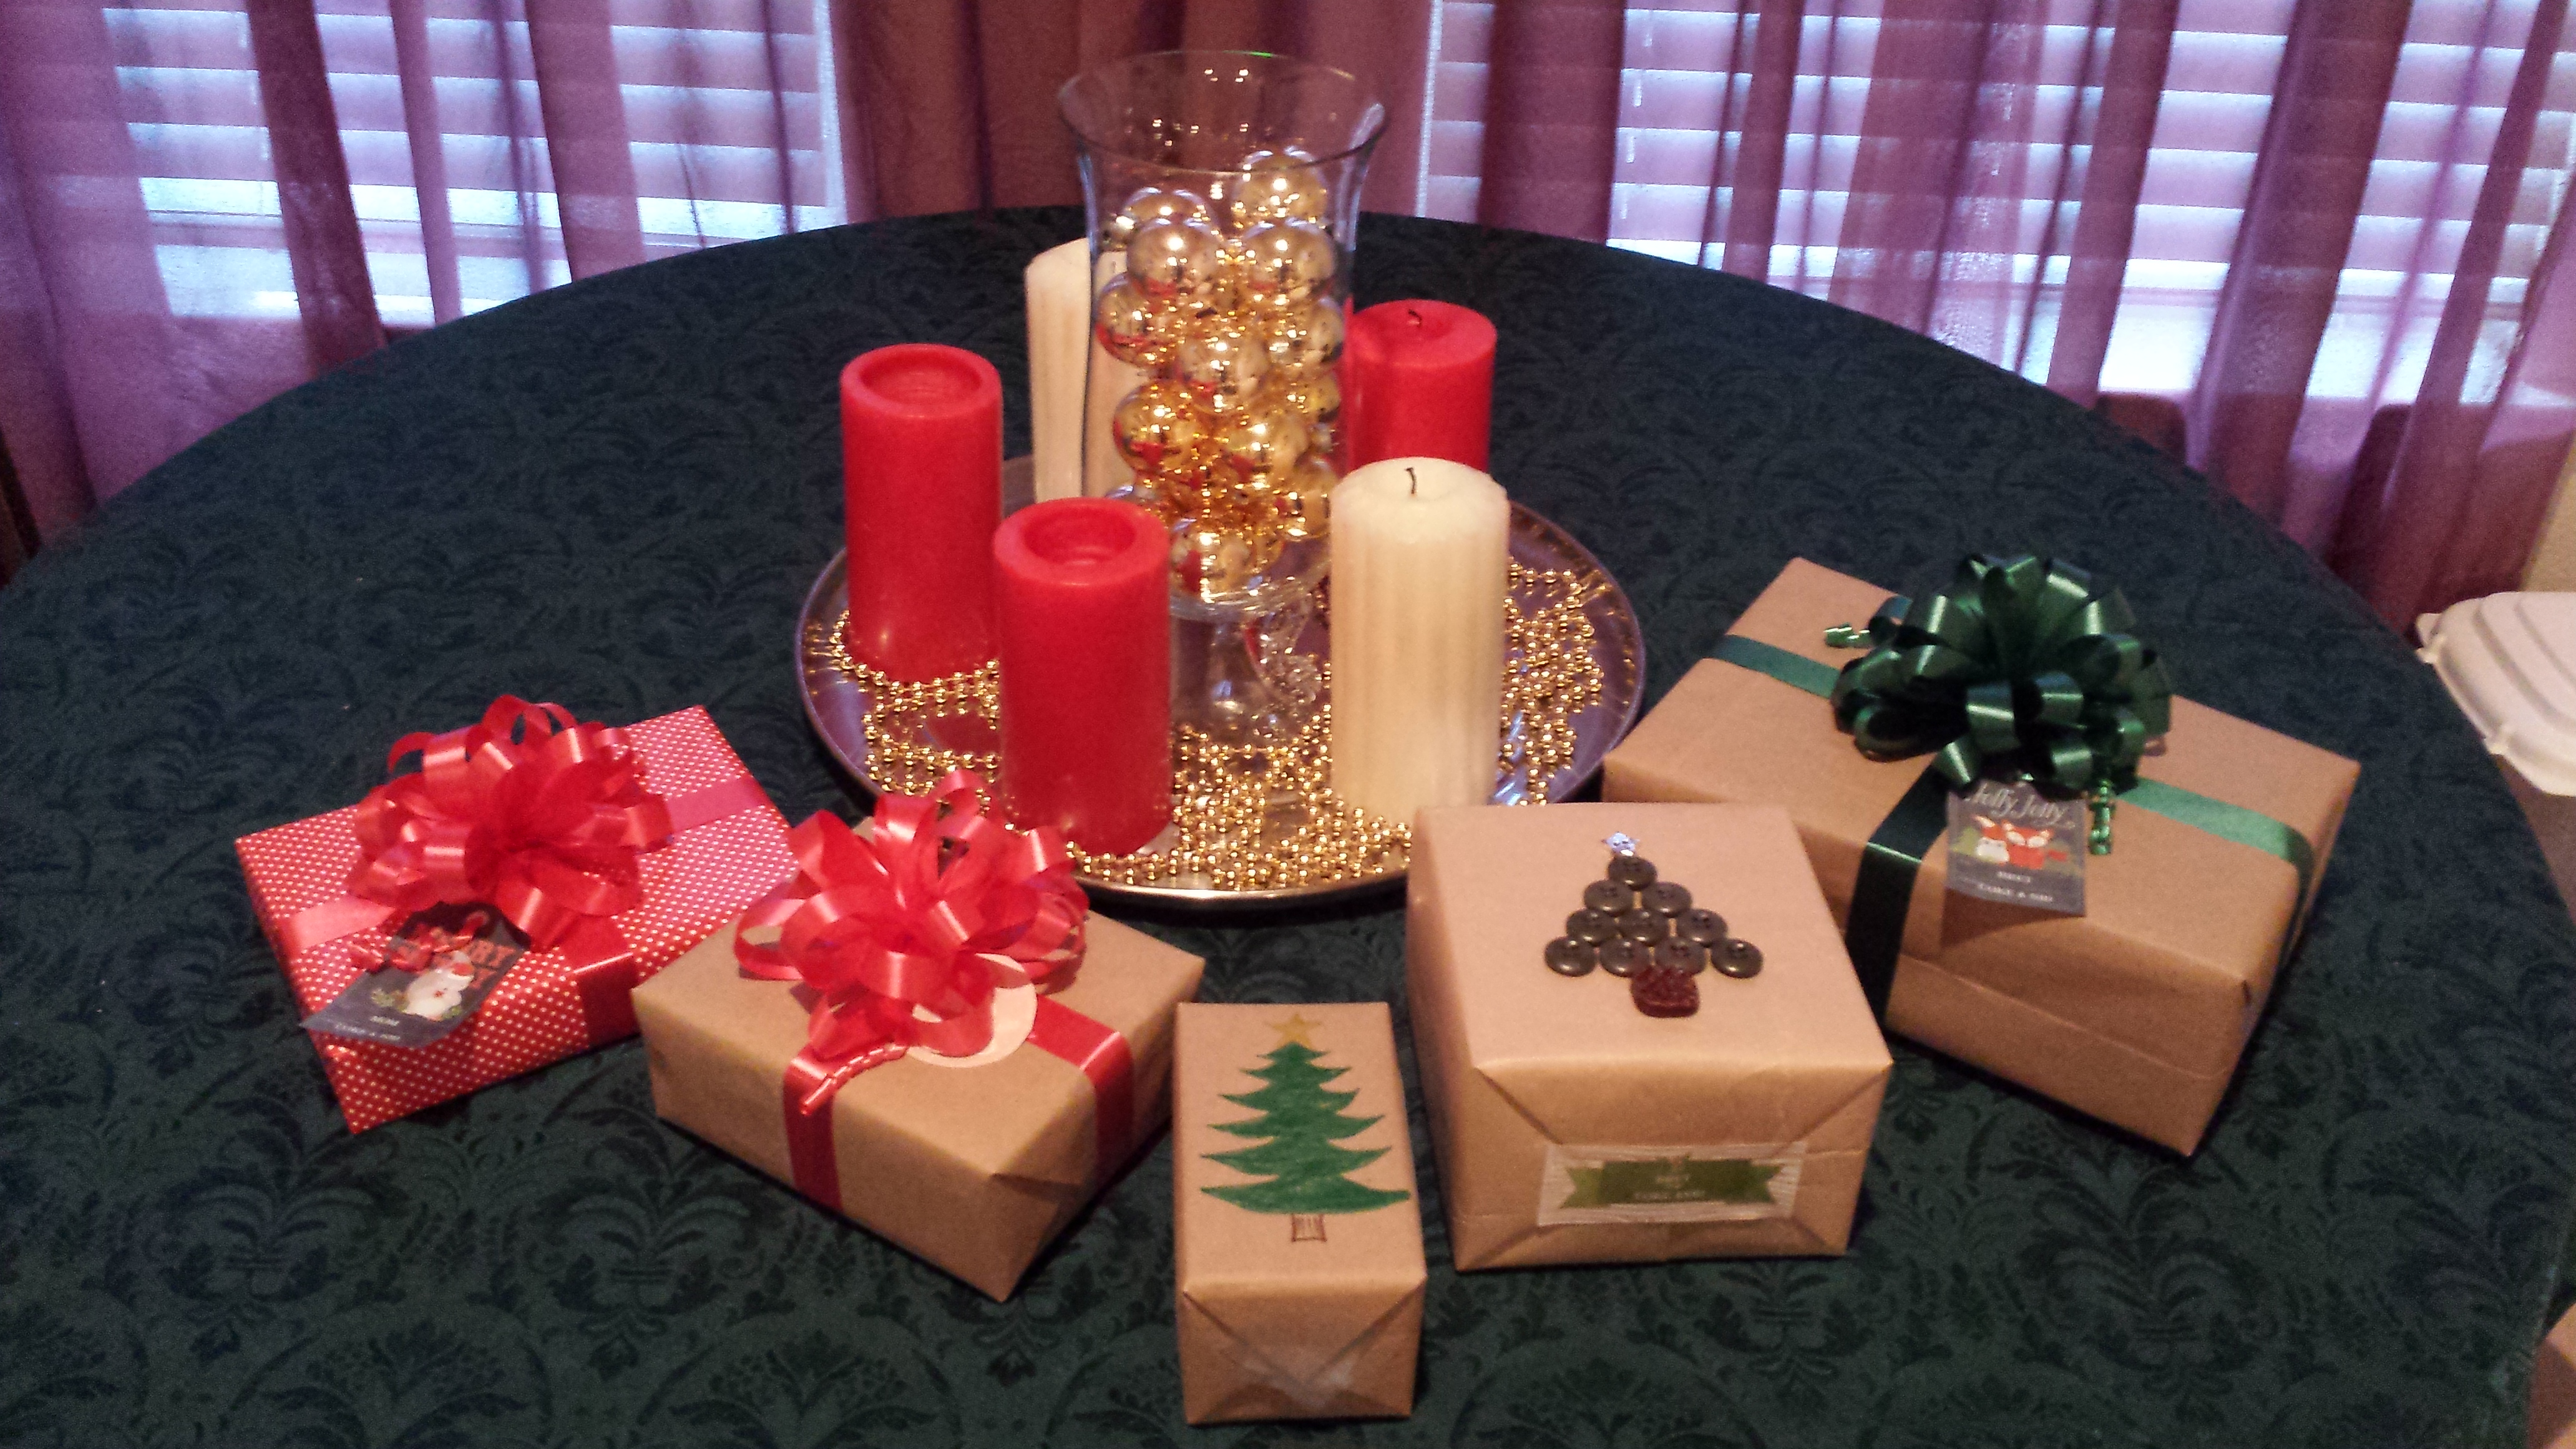
Wrap your present with the wrapping paper of your choice. I prefer a wider ribbon to wrap around the package, but you can use the same size as you used to make the bow. Attach the bow by taping the top of the curling ribbon to the box. Use a scissors to curl the curling ribbon.
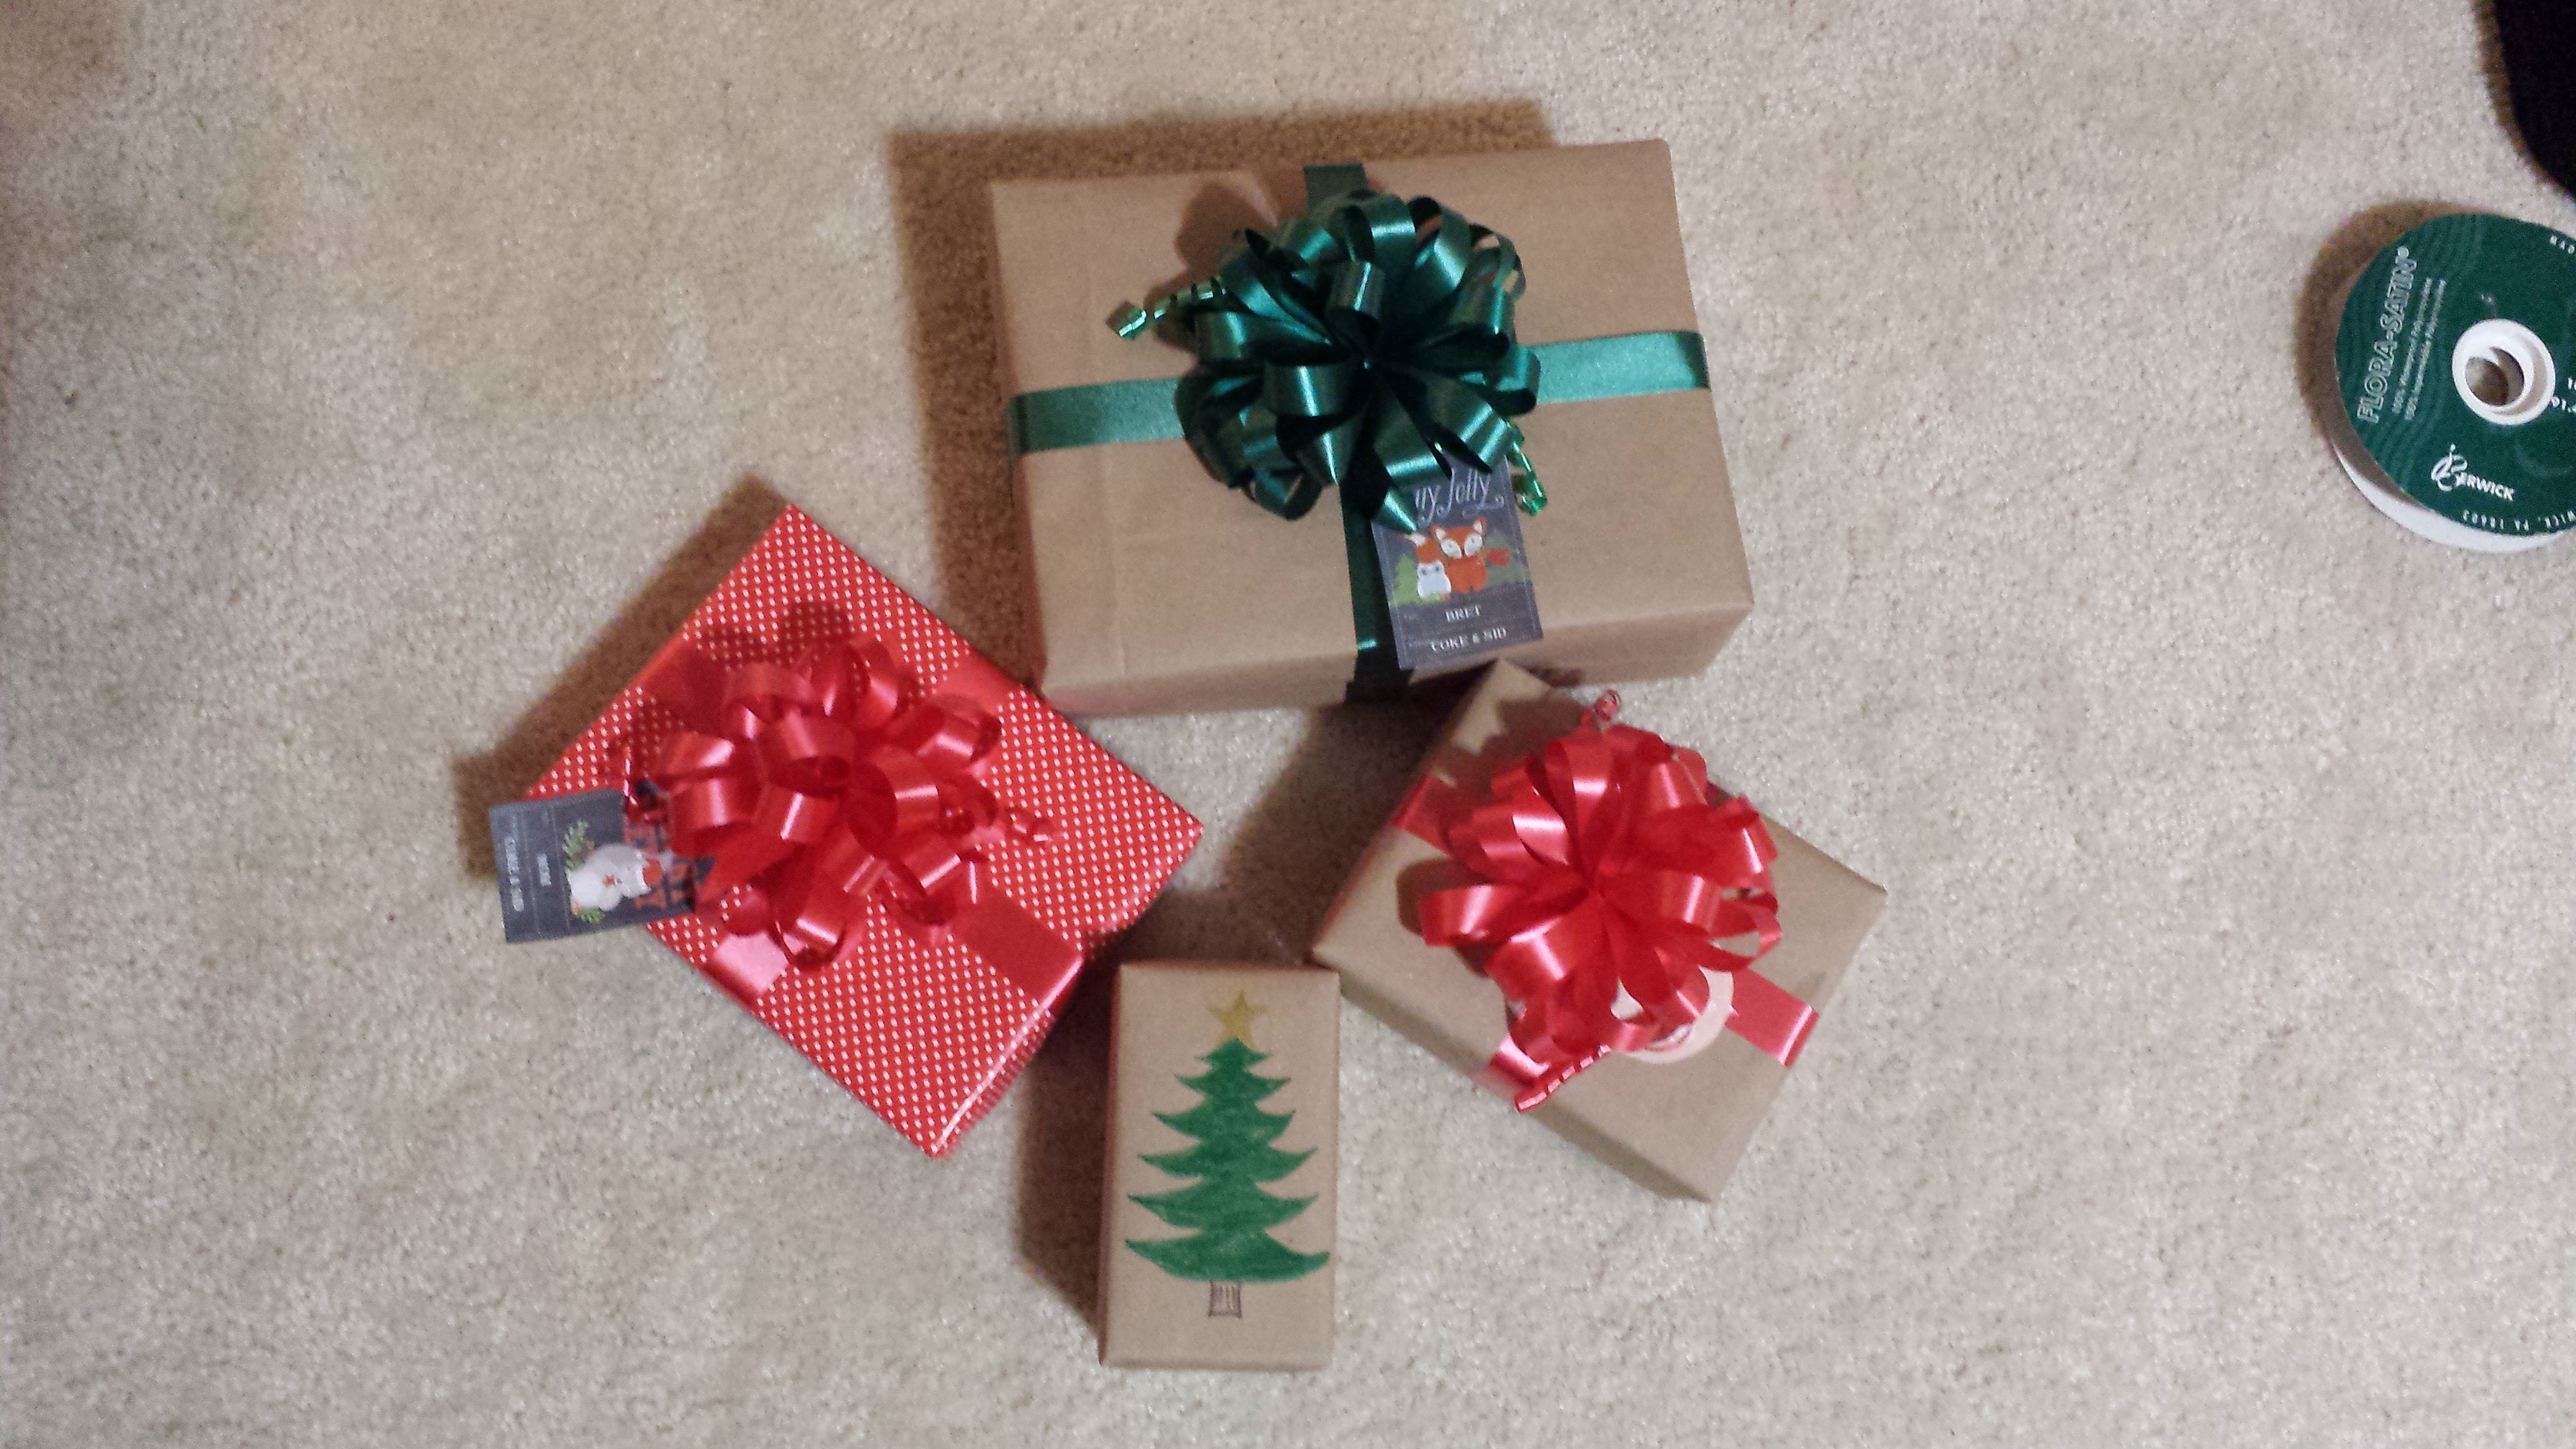
Now it’s time to have fun and get creative! You don’t have to have fancy wrapping paper to create a beautiful present.
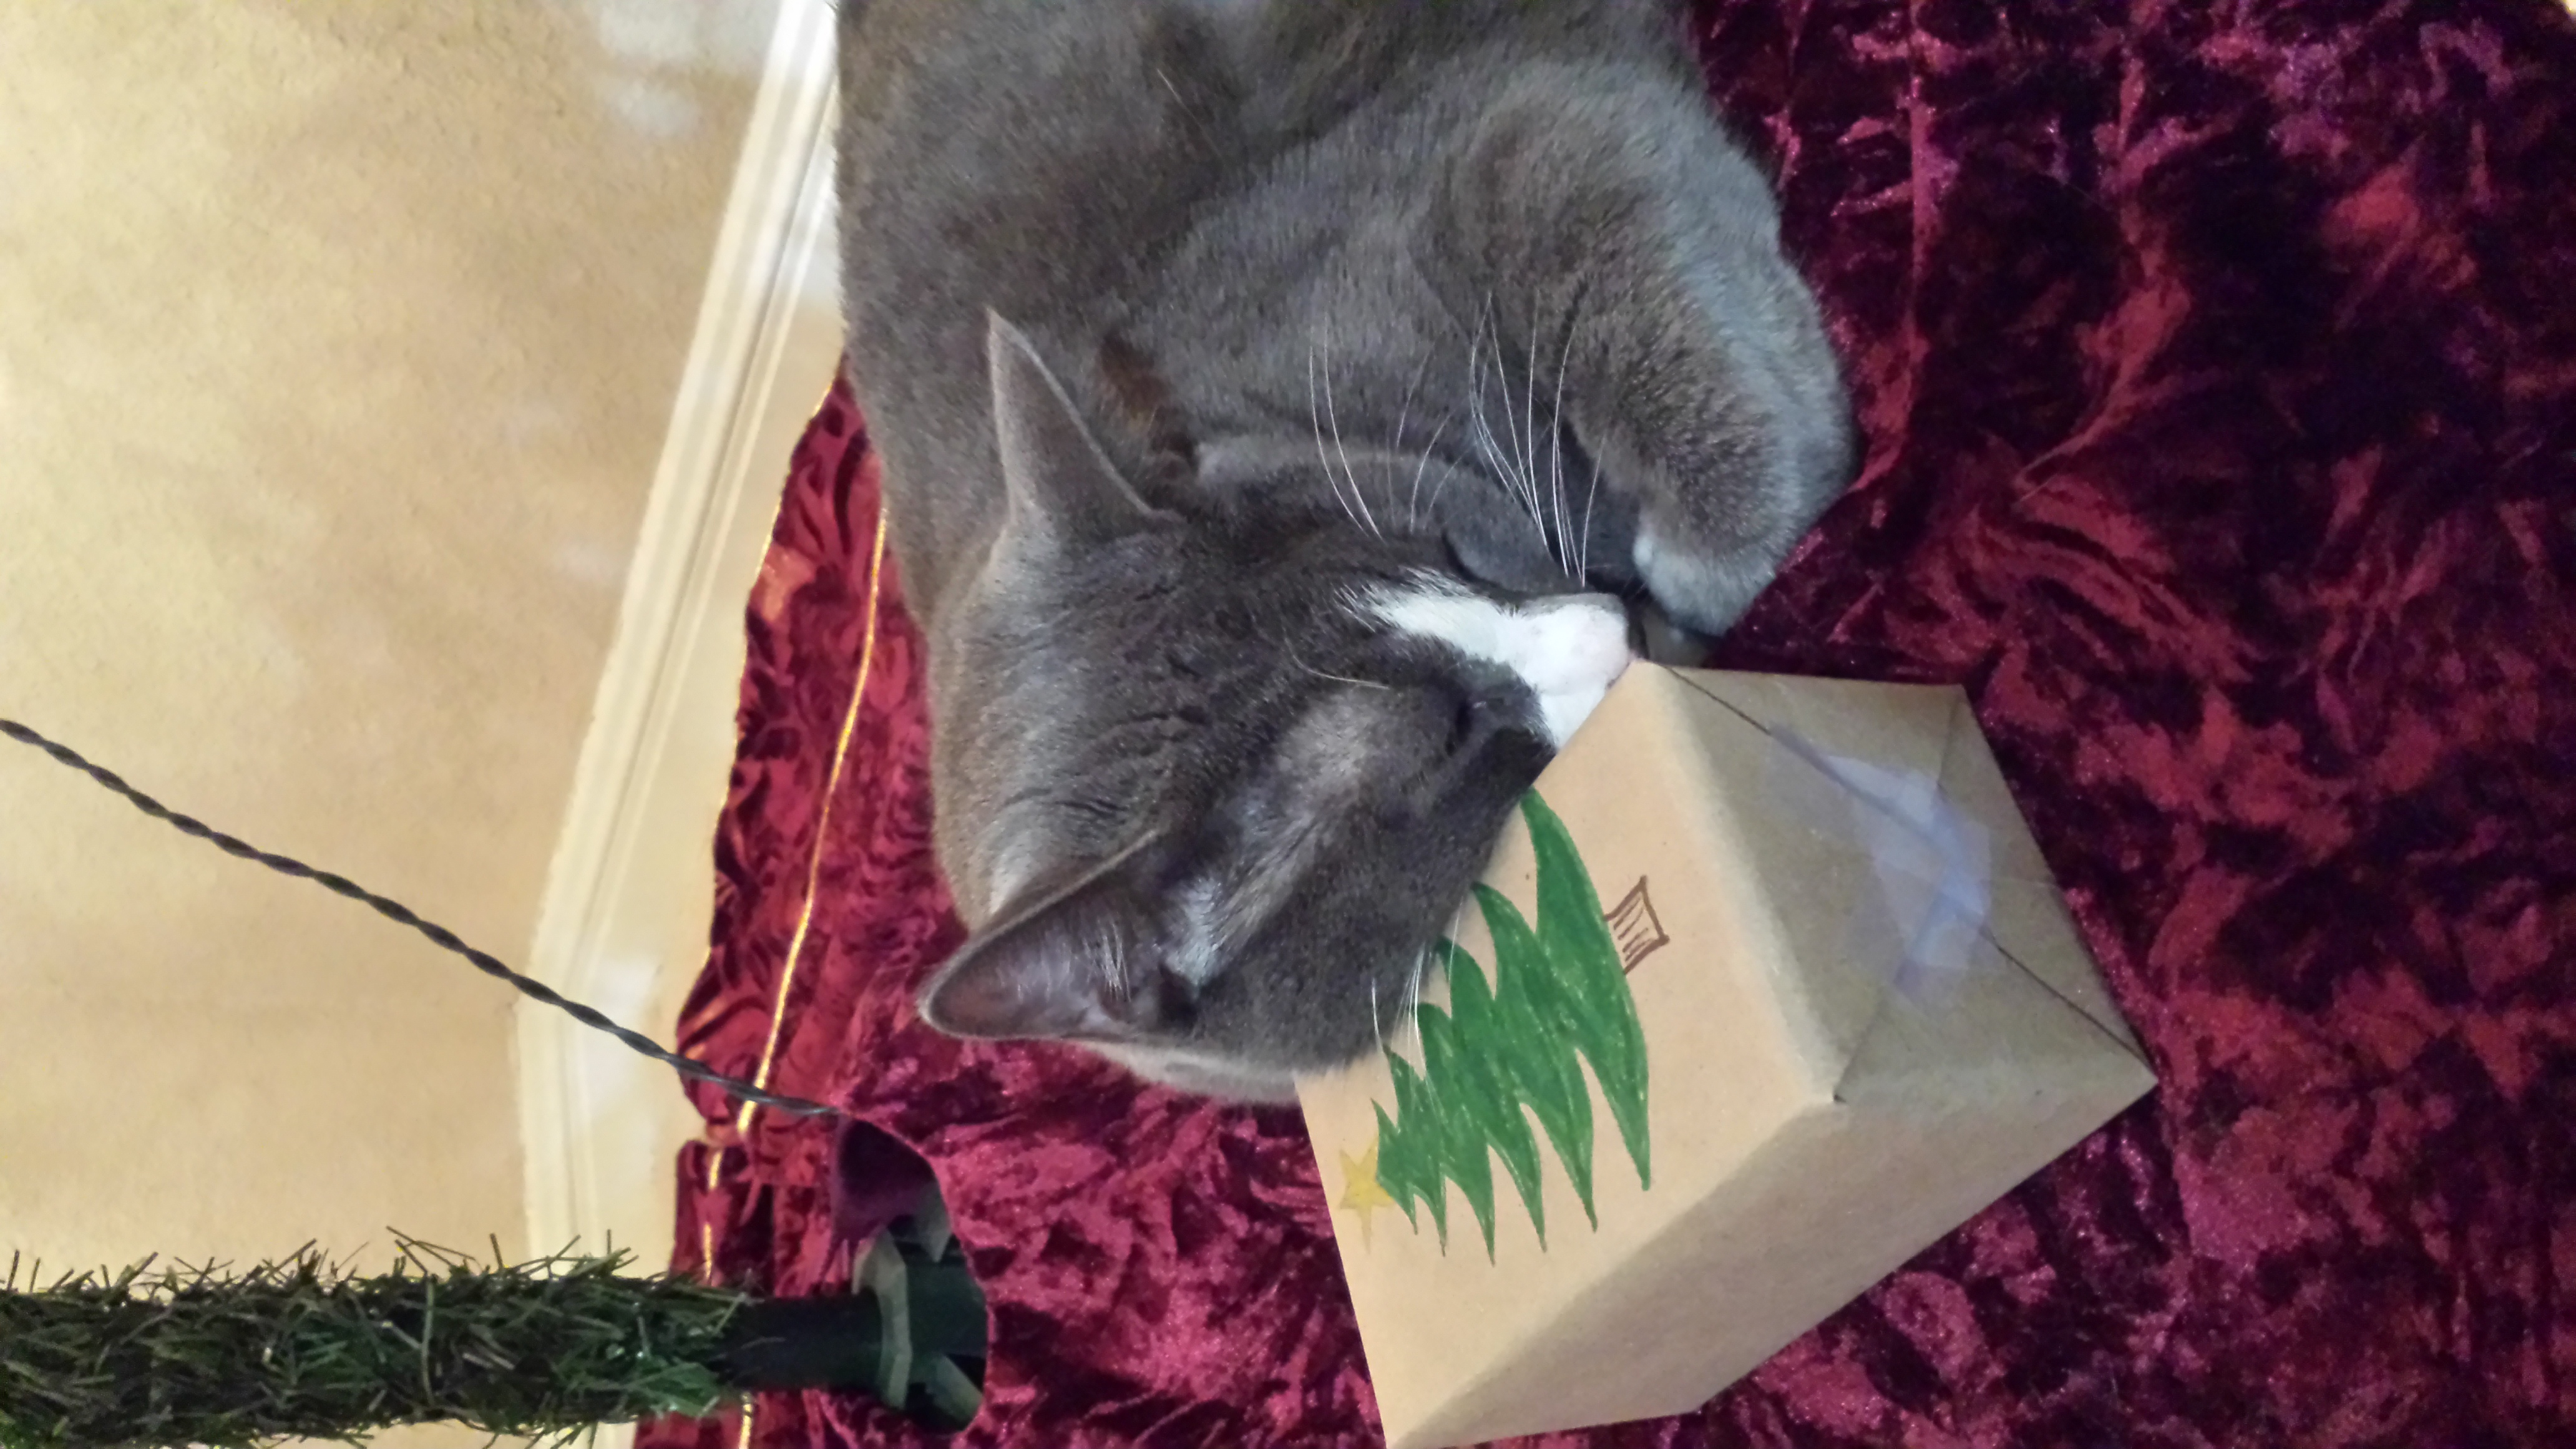
Wrap gifts in craft paper or even use paper bags. Let your kids or grandchildren use markers and crayons to create one of a kind masterpieces. That’s a gift in and of itself.
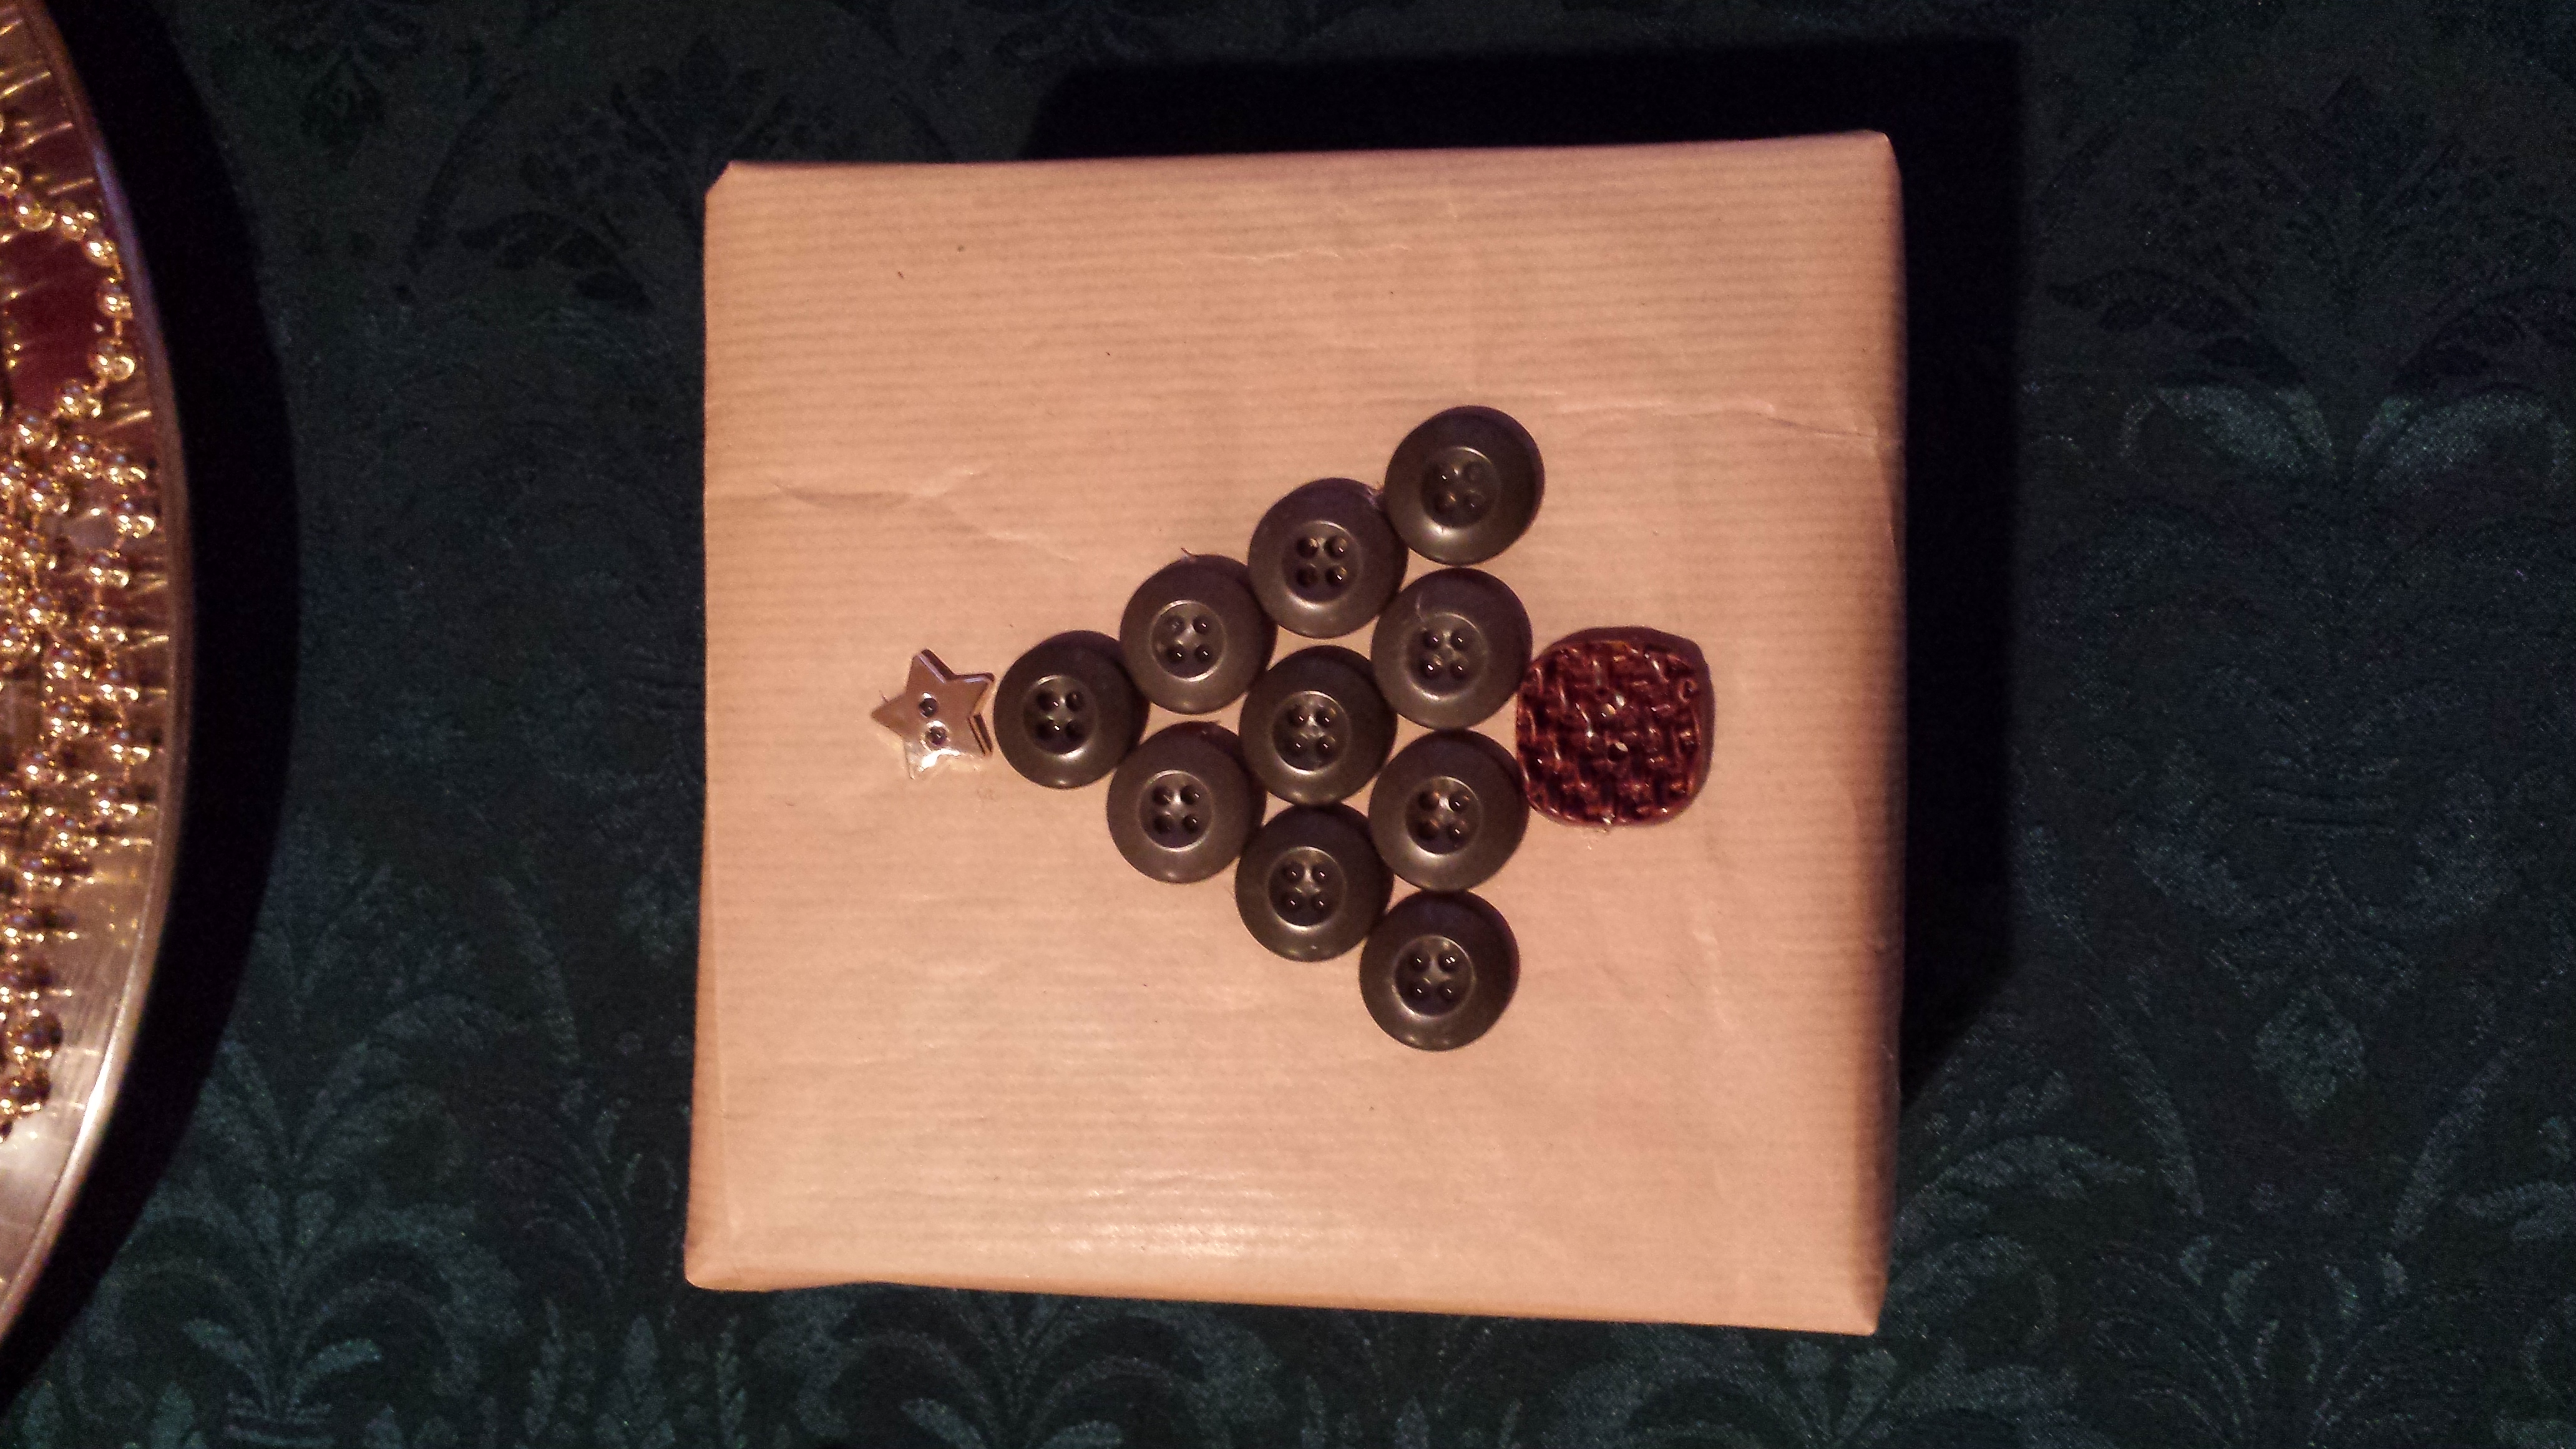
Dig through your old button jar to create unique works of art. I simply used my low temp glue gun to adhere the buttons to the package. If you don’t have a bunch of buttons lying around, you can buy containers of them at a craft store. Watch for sales and/or use coupons to get a good price on them. Going forward, save buttons off of old clothes for future projects. Again, this is a great idea for kids or something to do as a family. Use cotton balls to make fluffy snowmen or snowy scenes. Shop your house and the great outdoors for inspiration. Sticks could be fun for a rustic lodge look. Just let your imagination go wild. Create beautiful packages and, more importantly, wonderful memories.
Very cute and inexpensive decorating idea!