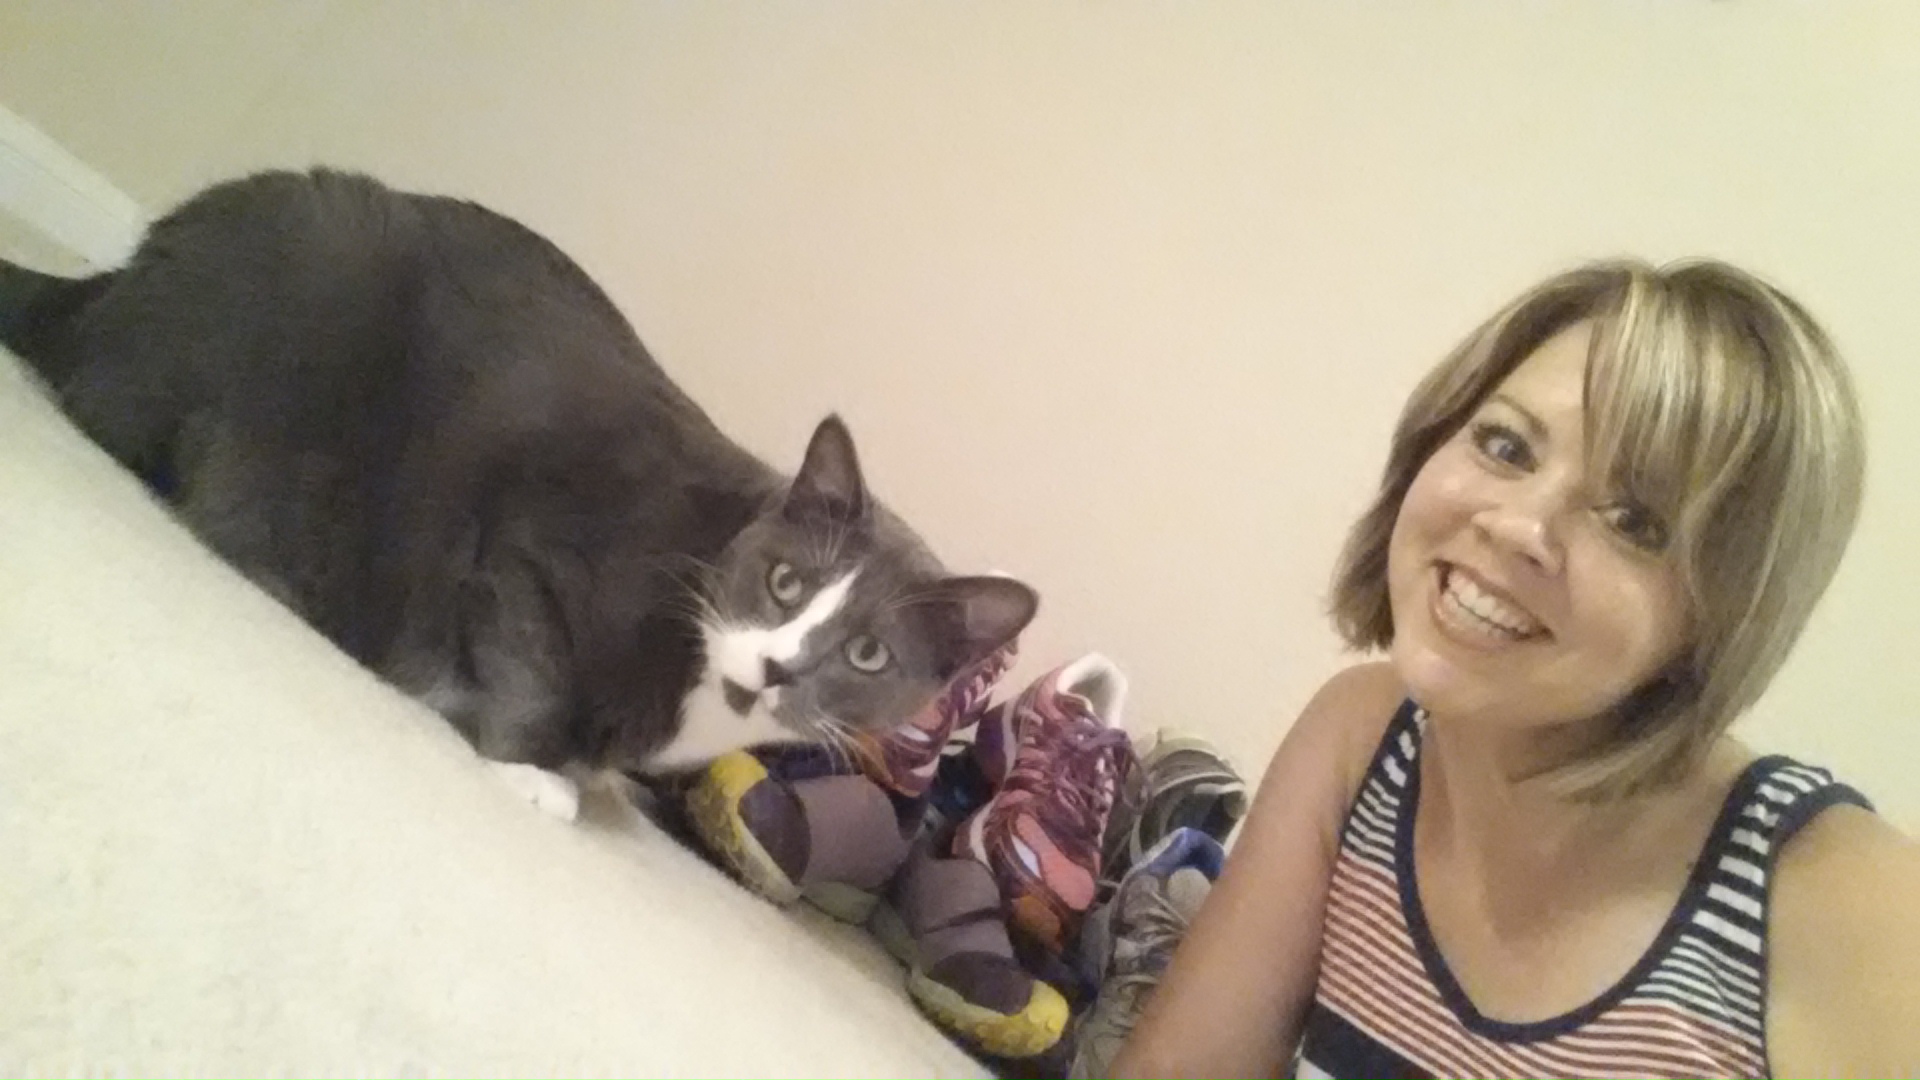
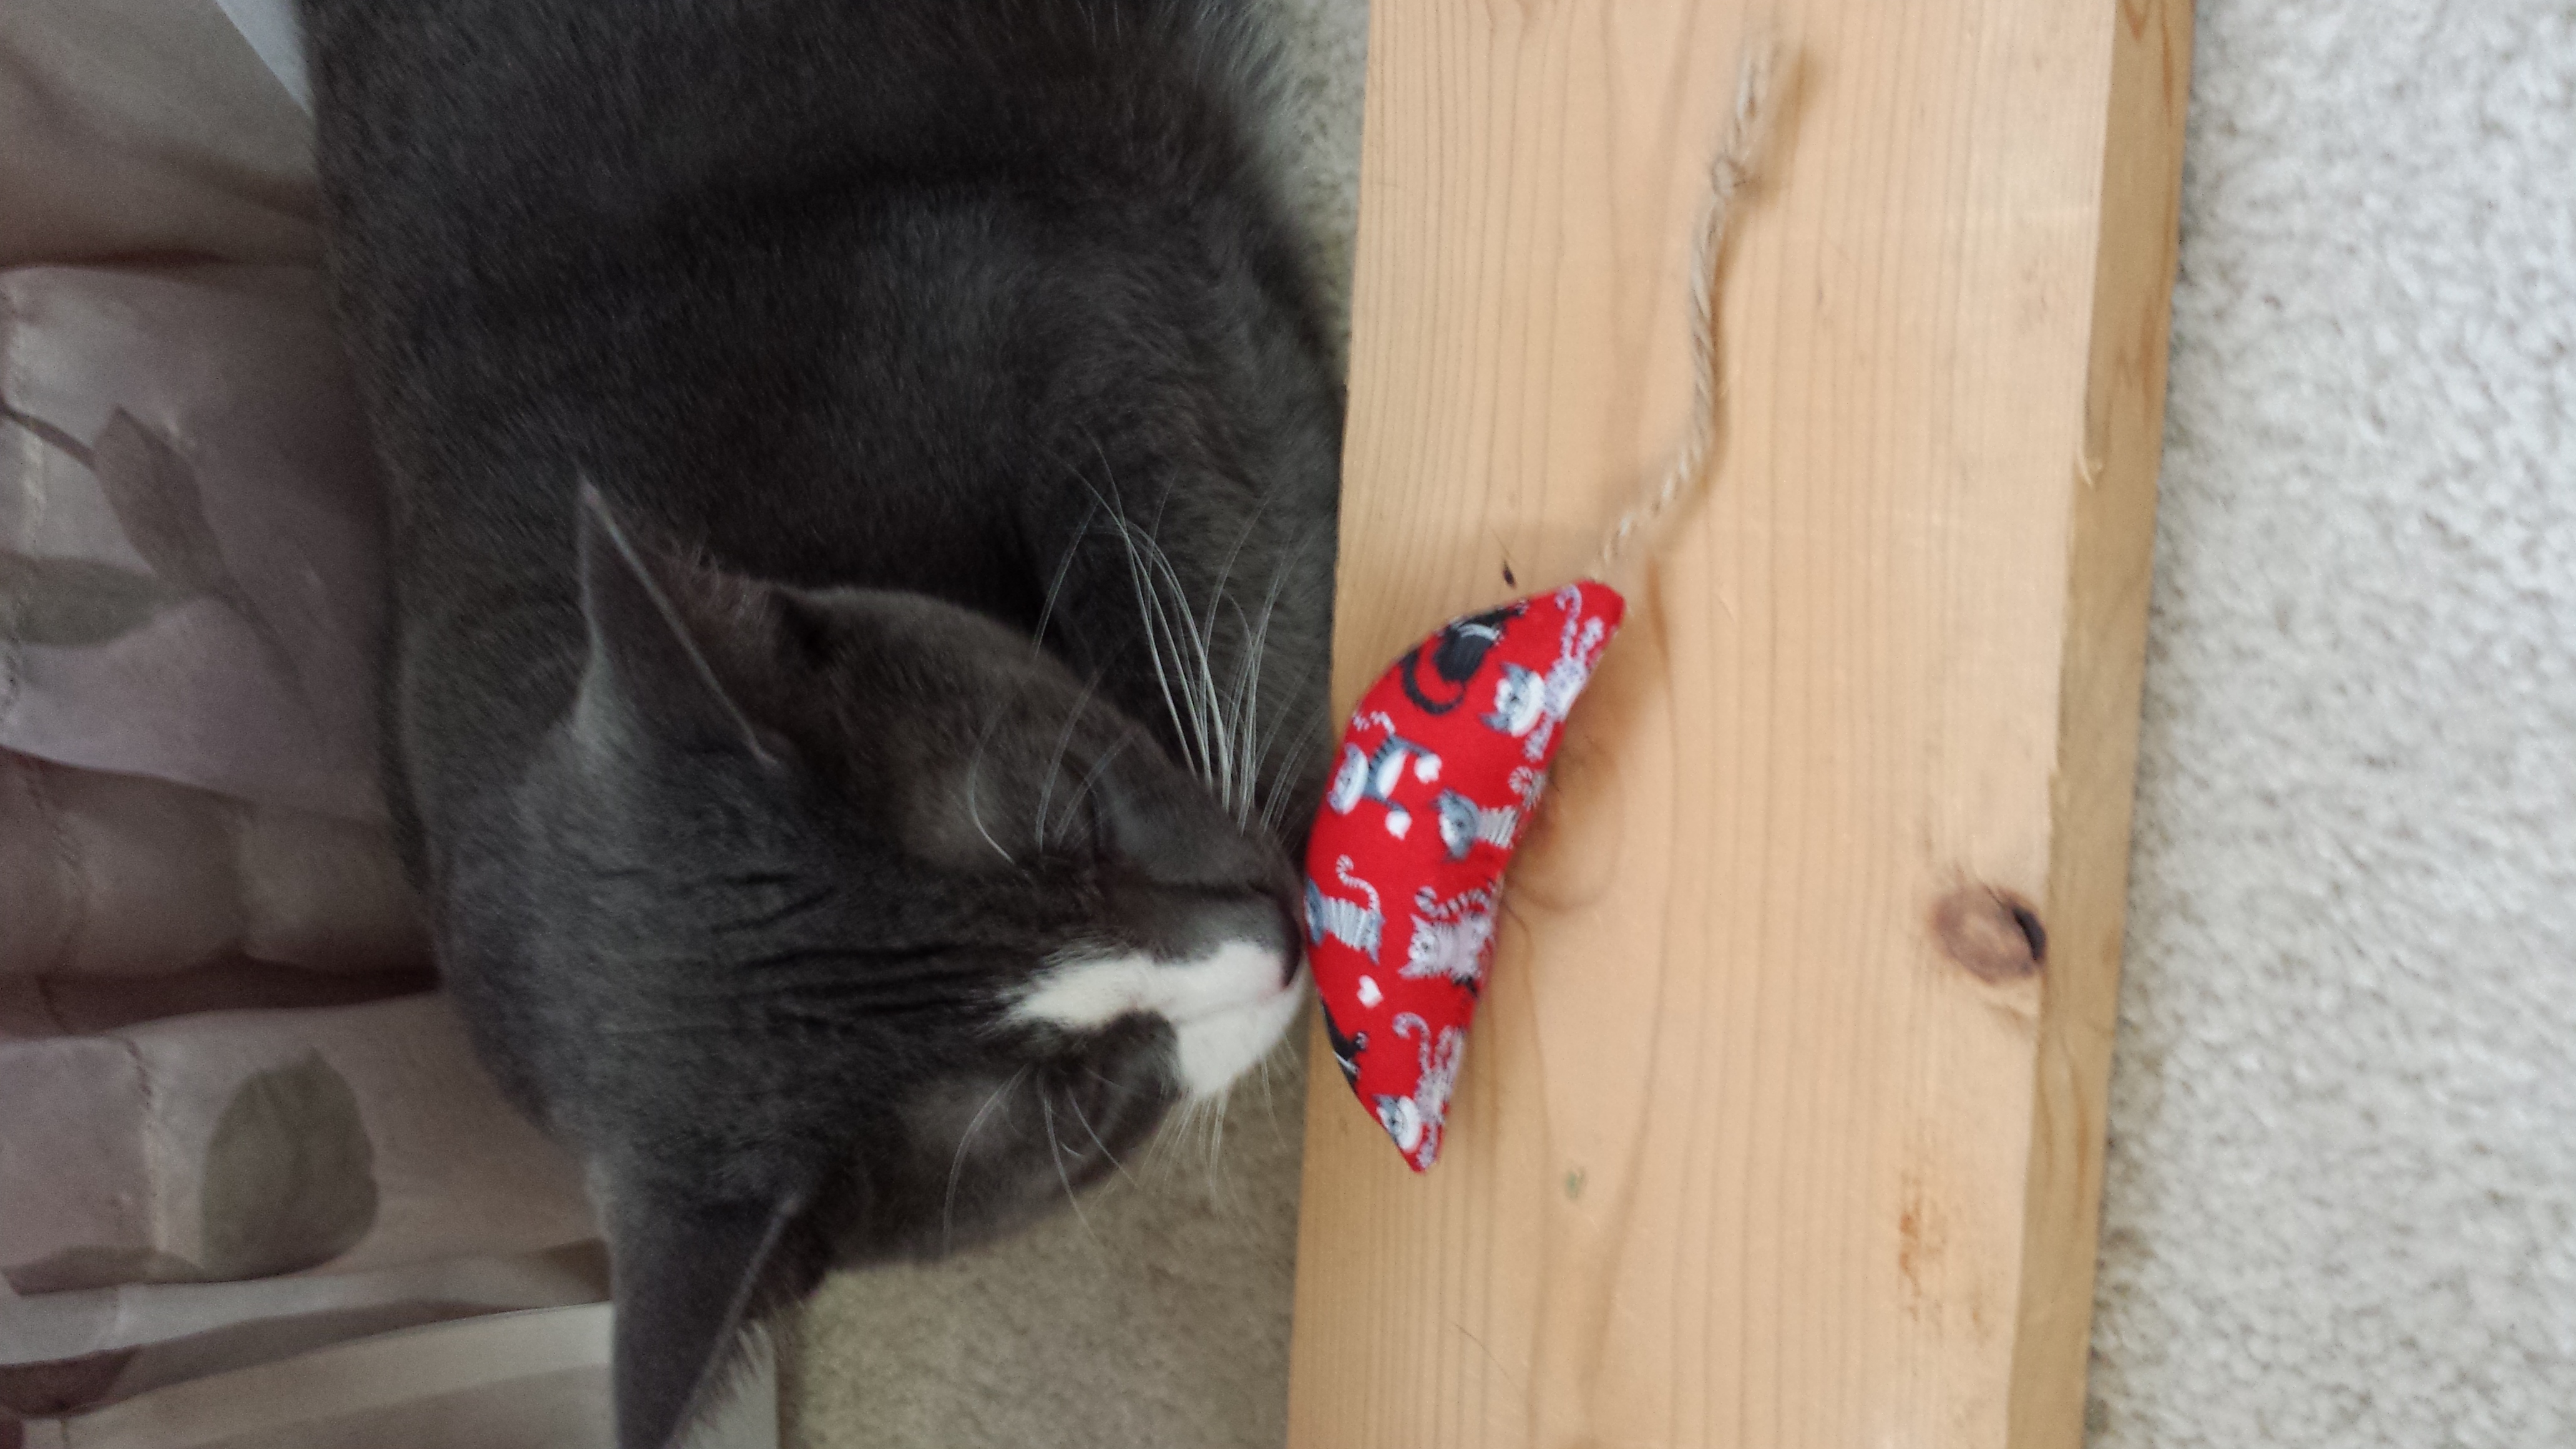
Play time is fun, and cat toys are easy to make. Whether you want to use them as lures on the end of a fishing pole or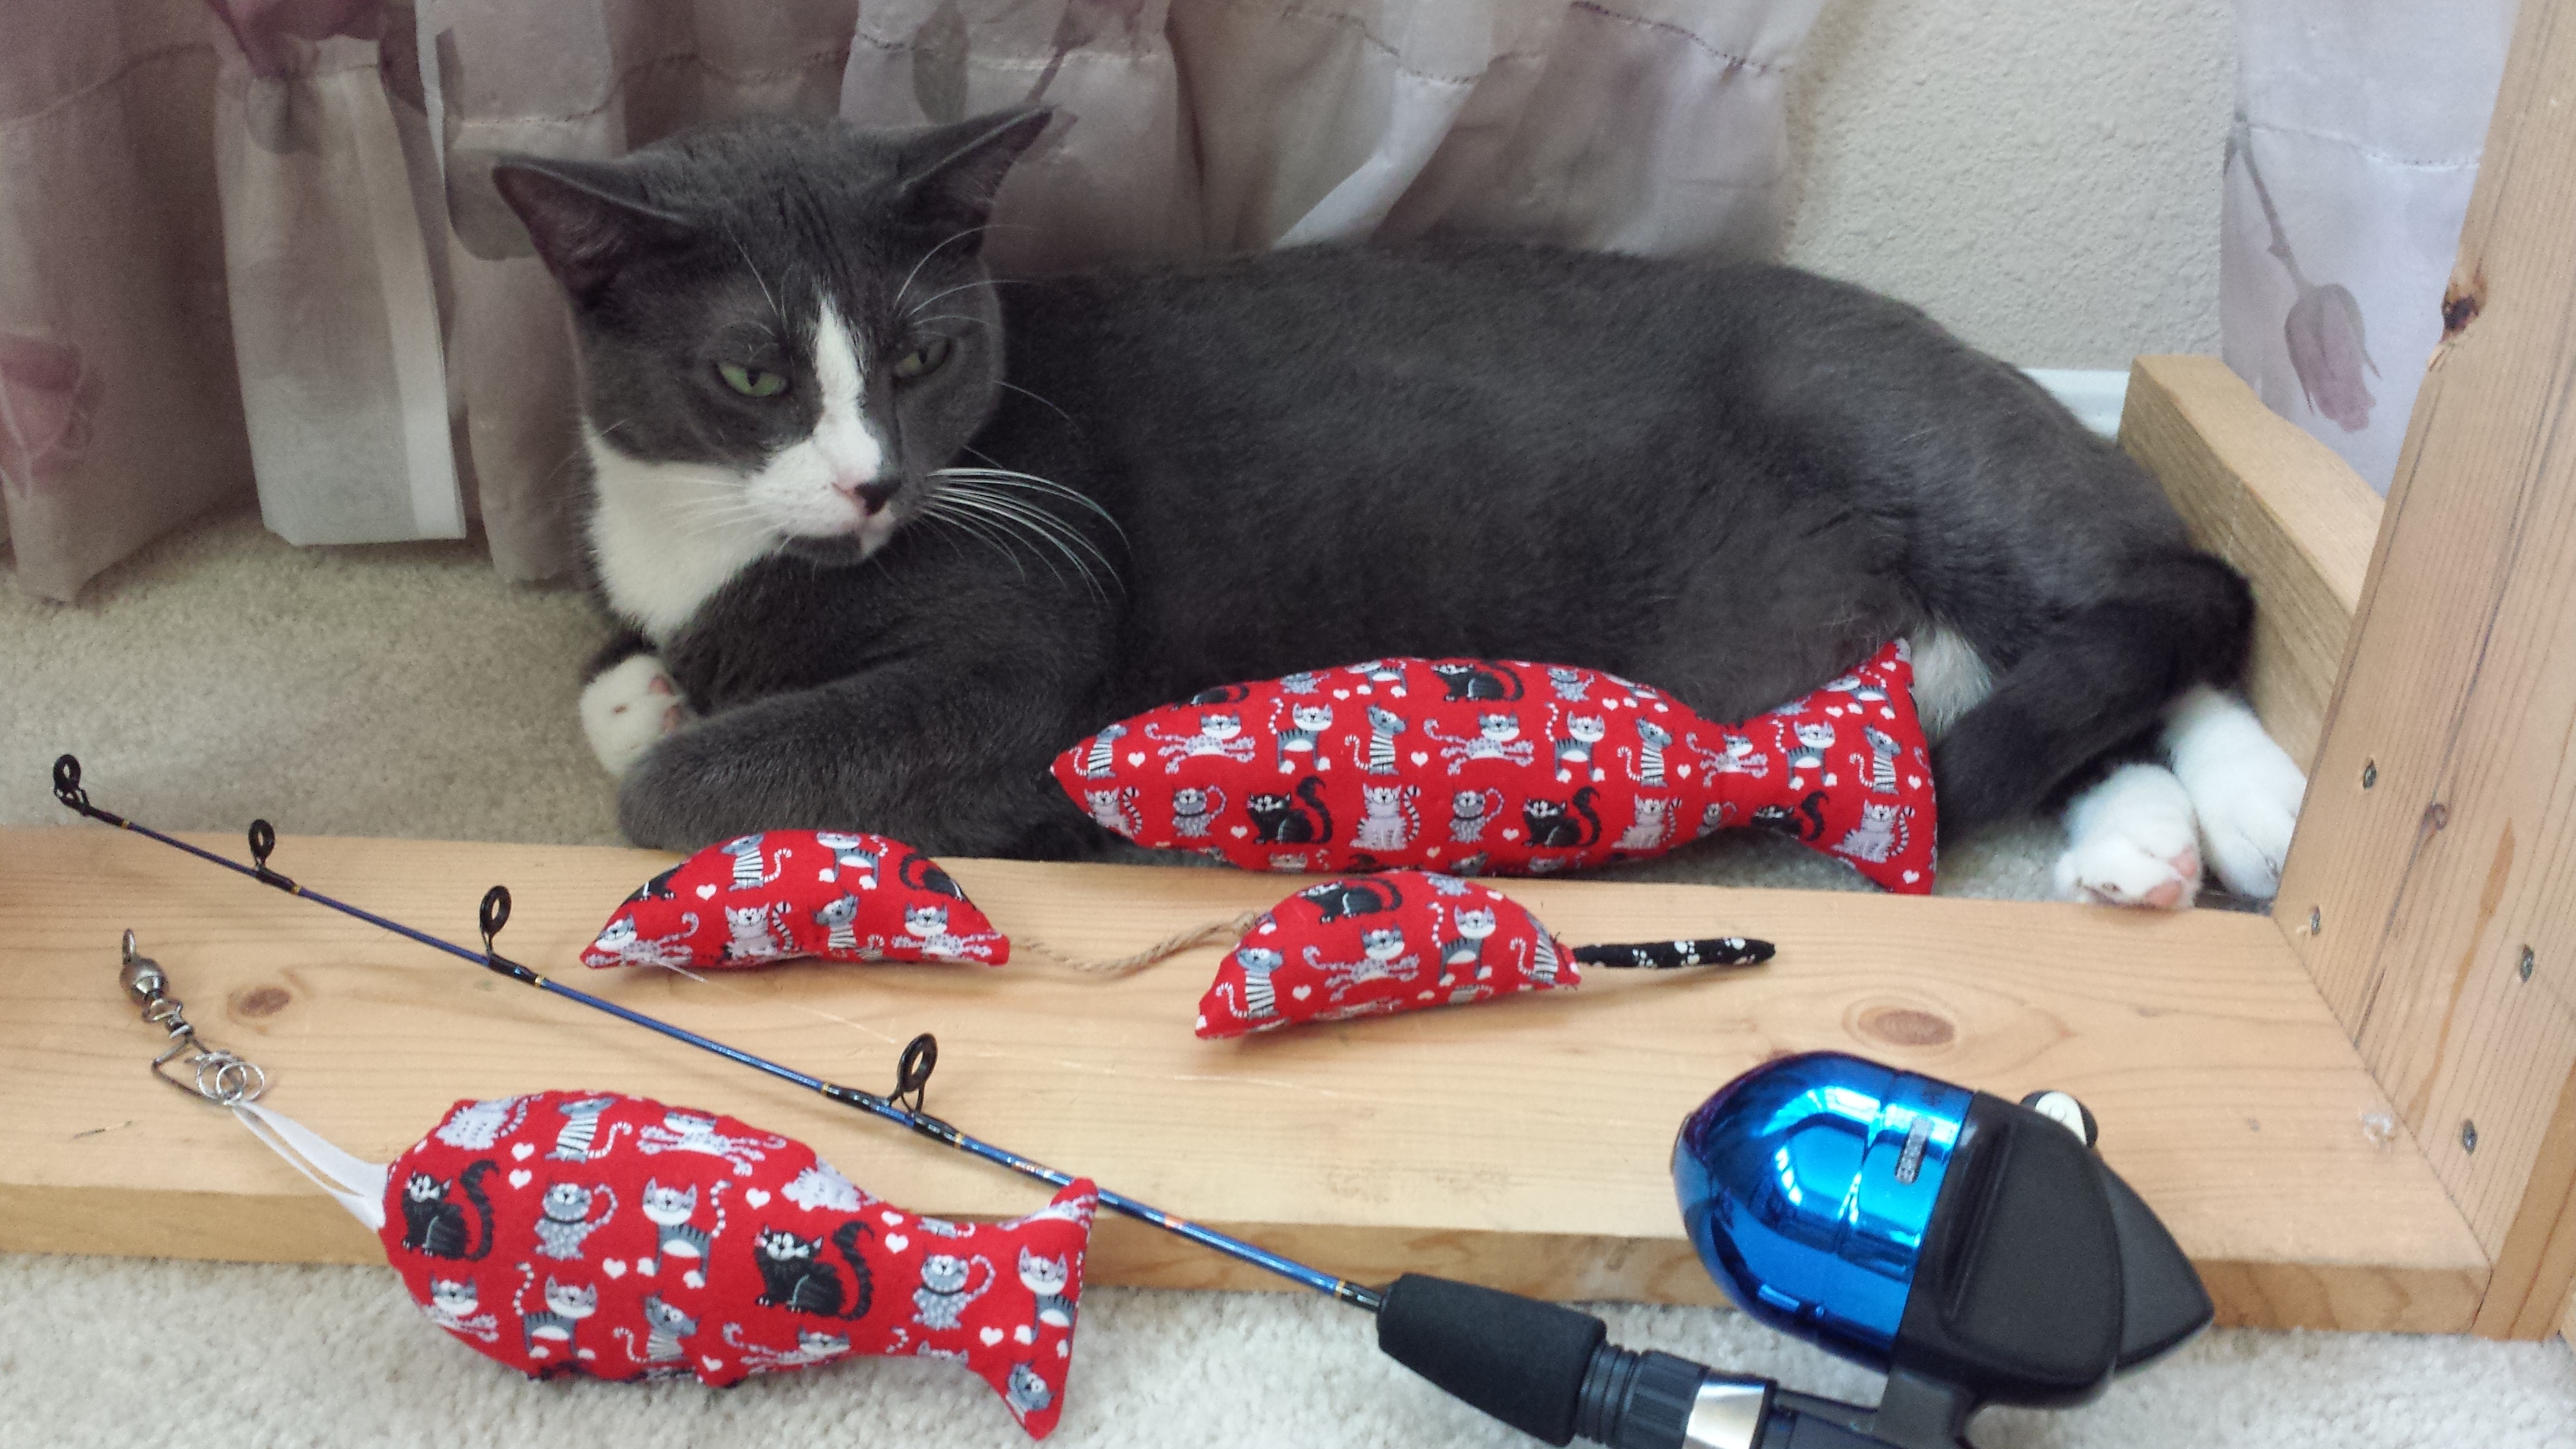 just leave them as regular toys, homemade catnip mice and fish provide welcomed entertainment for your cat or make a nice gift for a cat lover. I will definitely be making more for my nephew’s cat. If you can’t tell by the expression on his face and his flared ears, Sid’s nap was interrupted to take the photo on the right. I highly recommend waiting until you see your cat’s eyes nice and dilated (usually around bedtime or in the morning after you’ve been “ignoring” him for hours on end by sleeping) and then let the fun ensue! You know when your favorite feline wants to play!
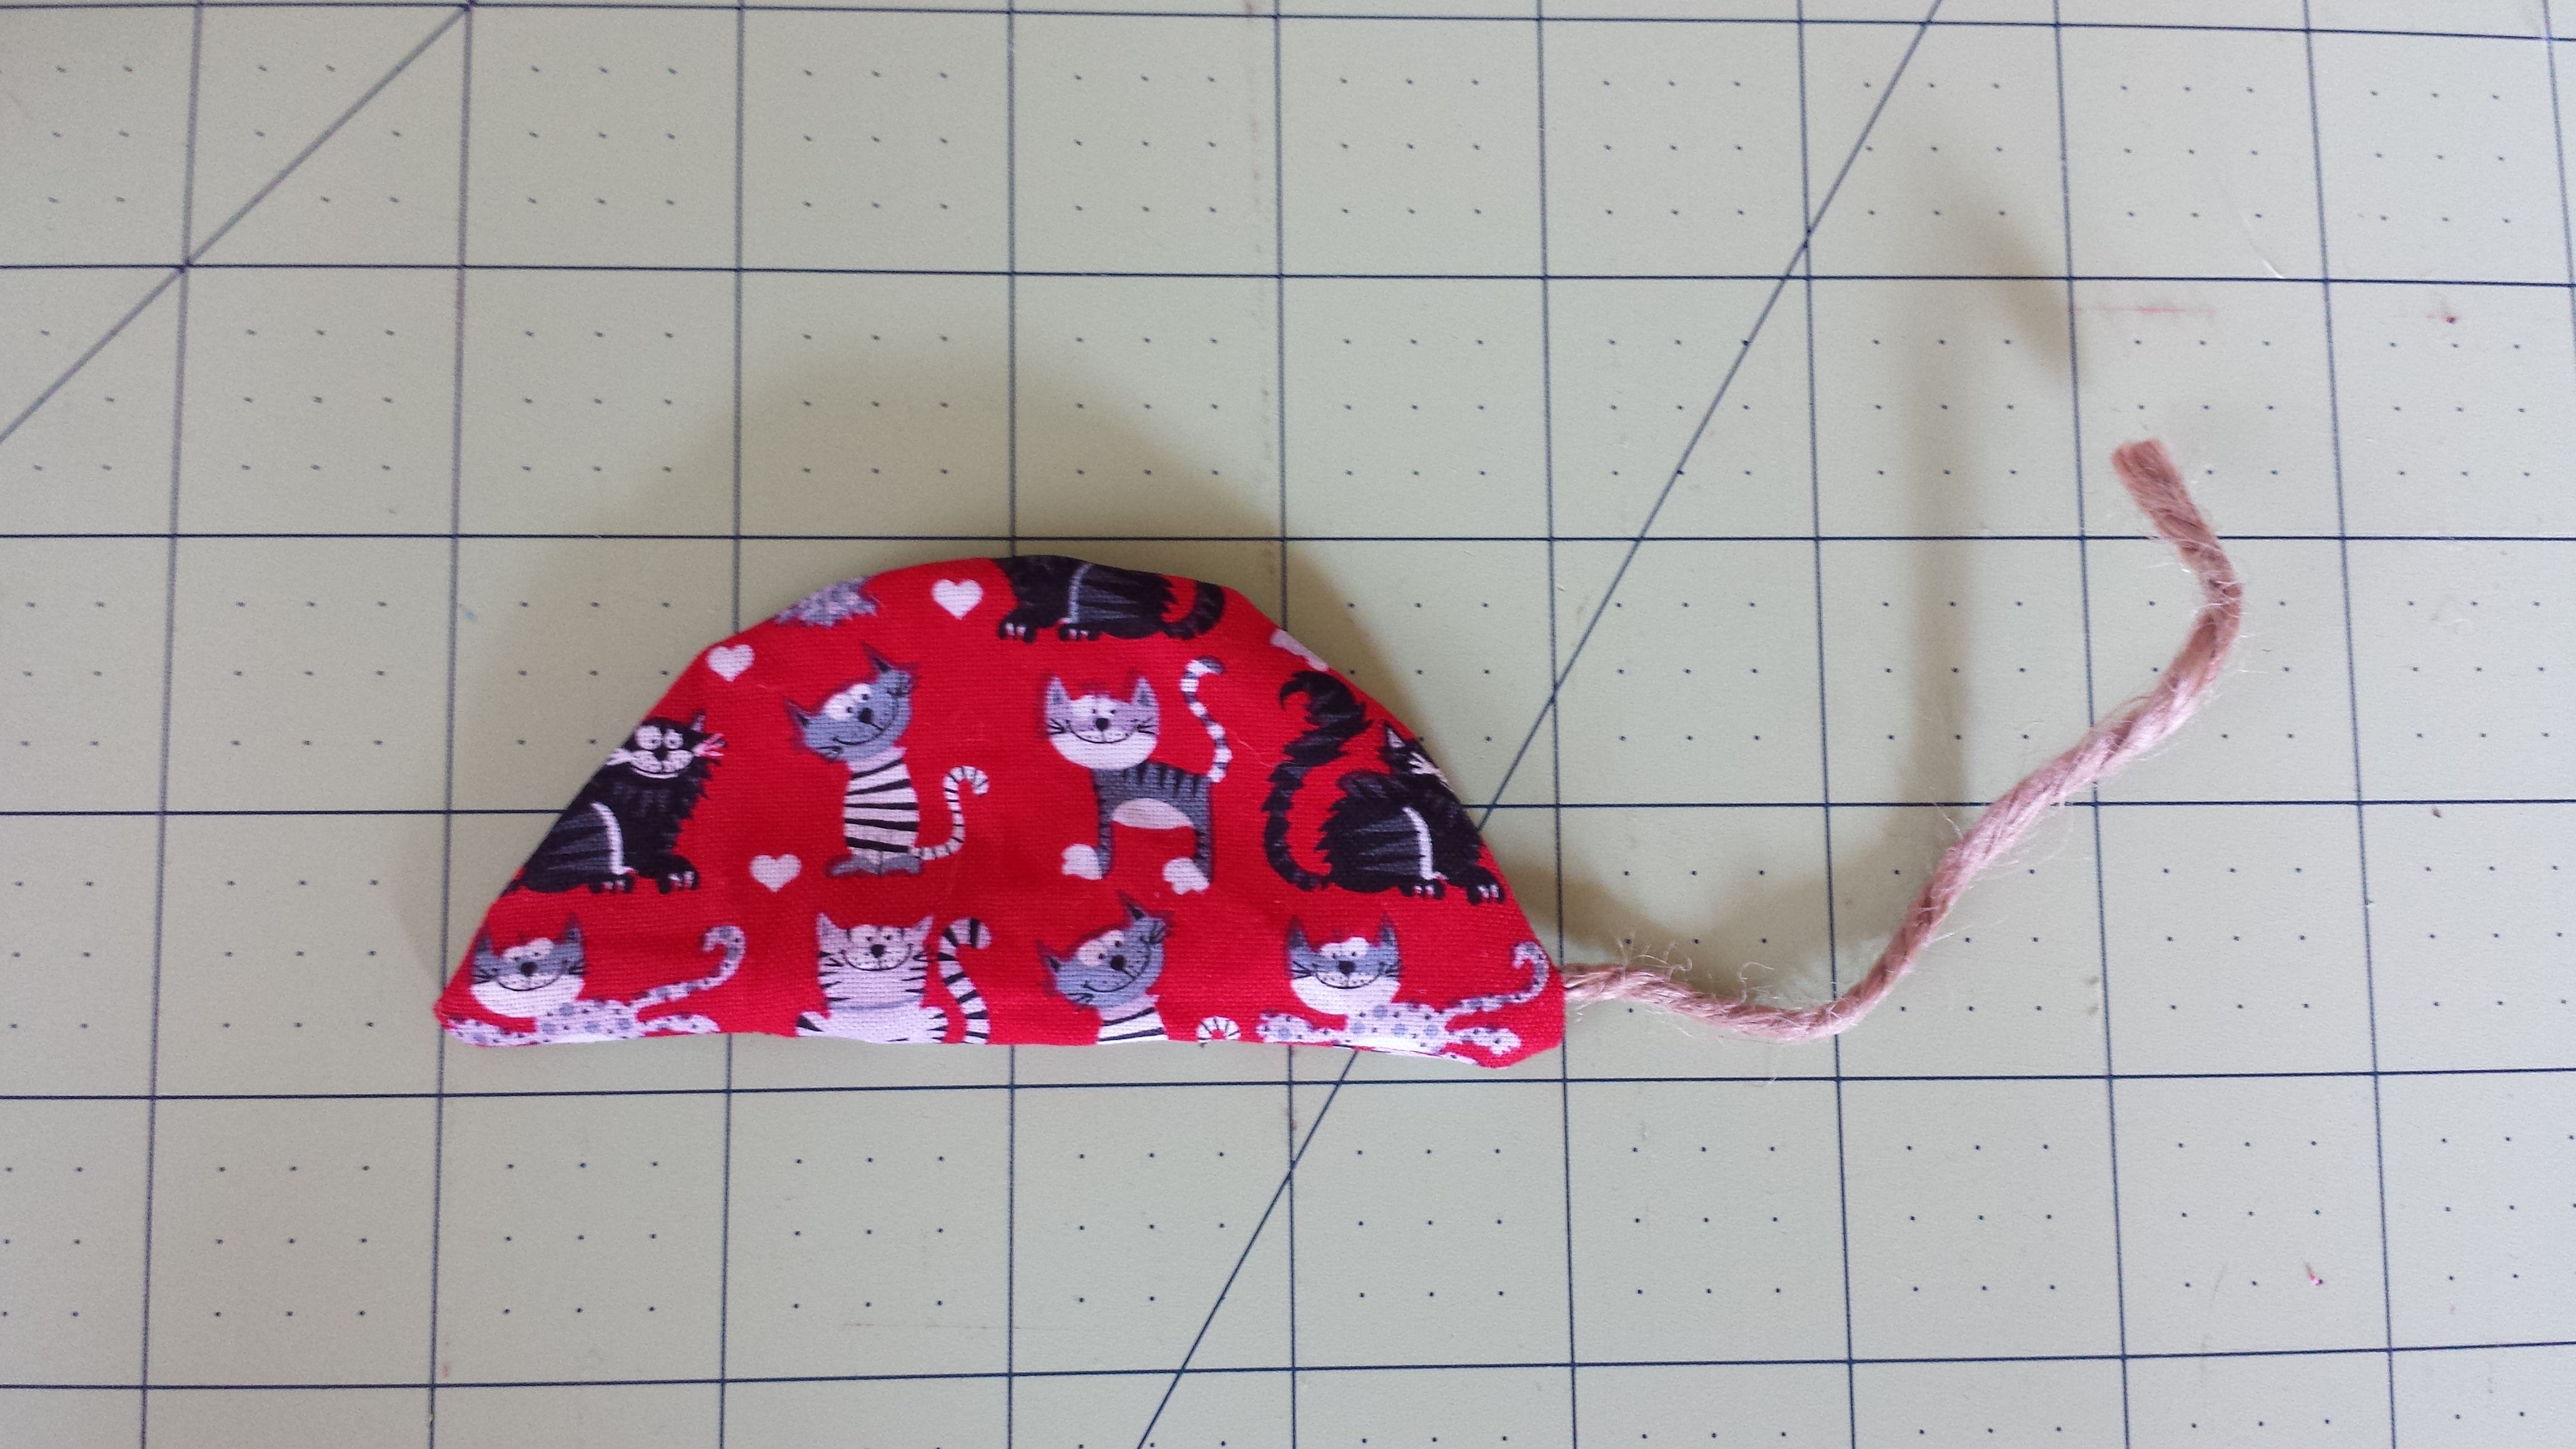
Sid’s Catnip Mouse
Supplies:
Plastic Lid (mine was about 4.5″ in diameter)
Scrap Paper
Pencil
Paper Scissors
Fabric Scraps
Iron
Pins
Fabric Scissors
Batting
Catnip
Twine for Tail (can use yarn, fabric scraps, ribbon, shoestring, etc.)
Chopstick or Fabric Turner
Needle
Thread
Making your Pattern
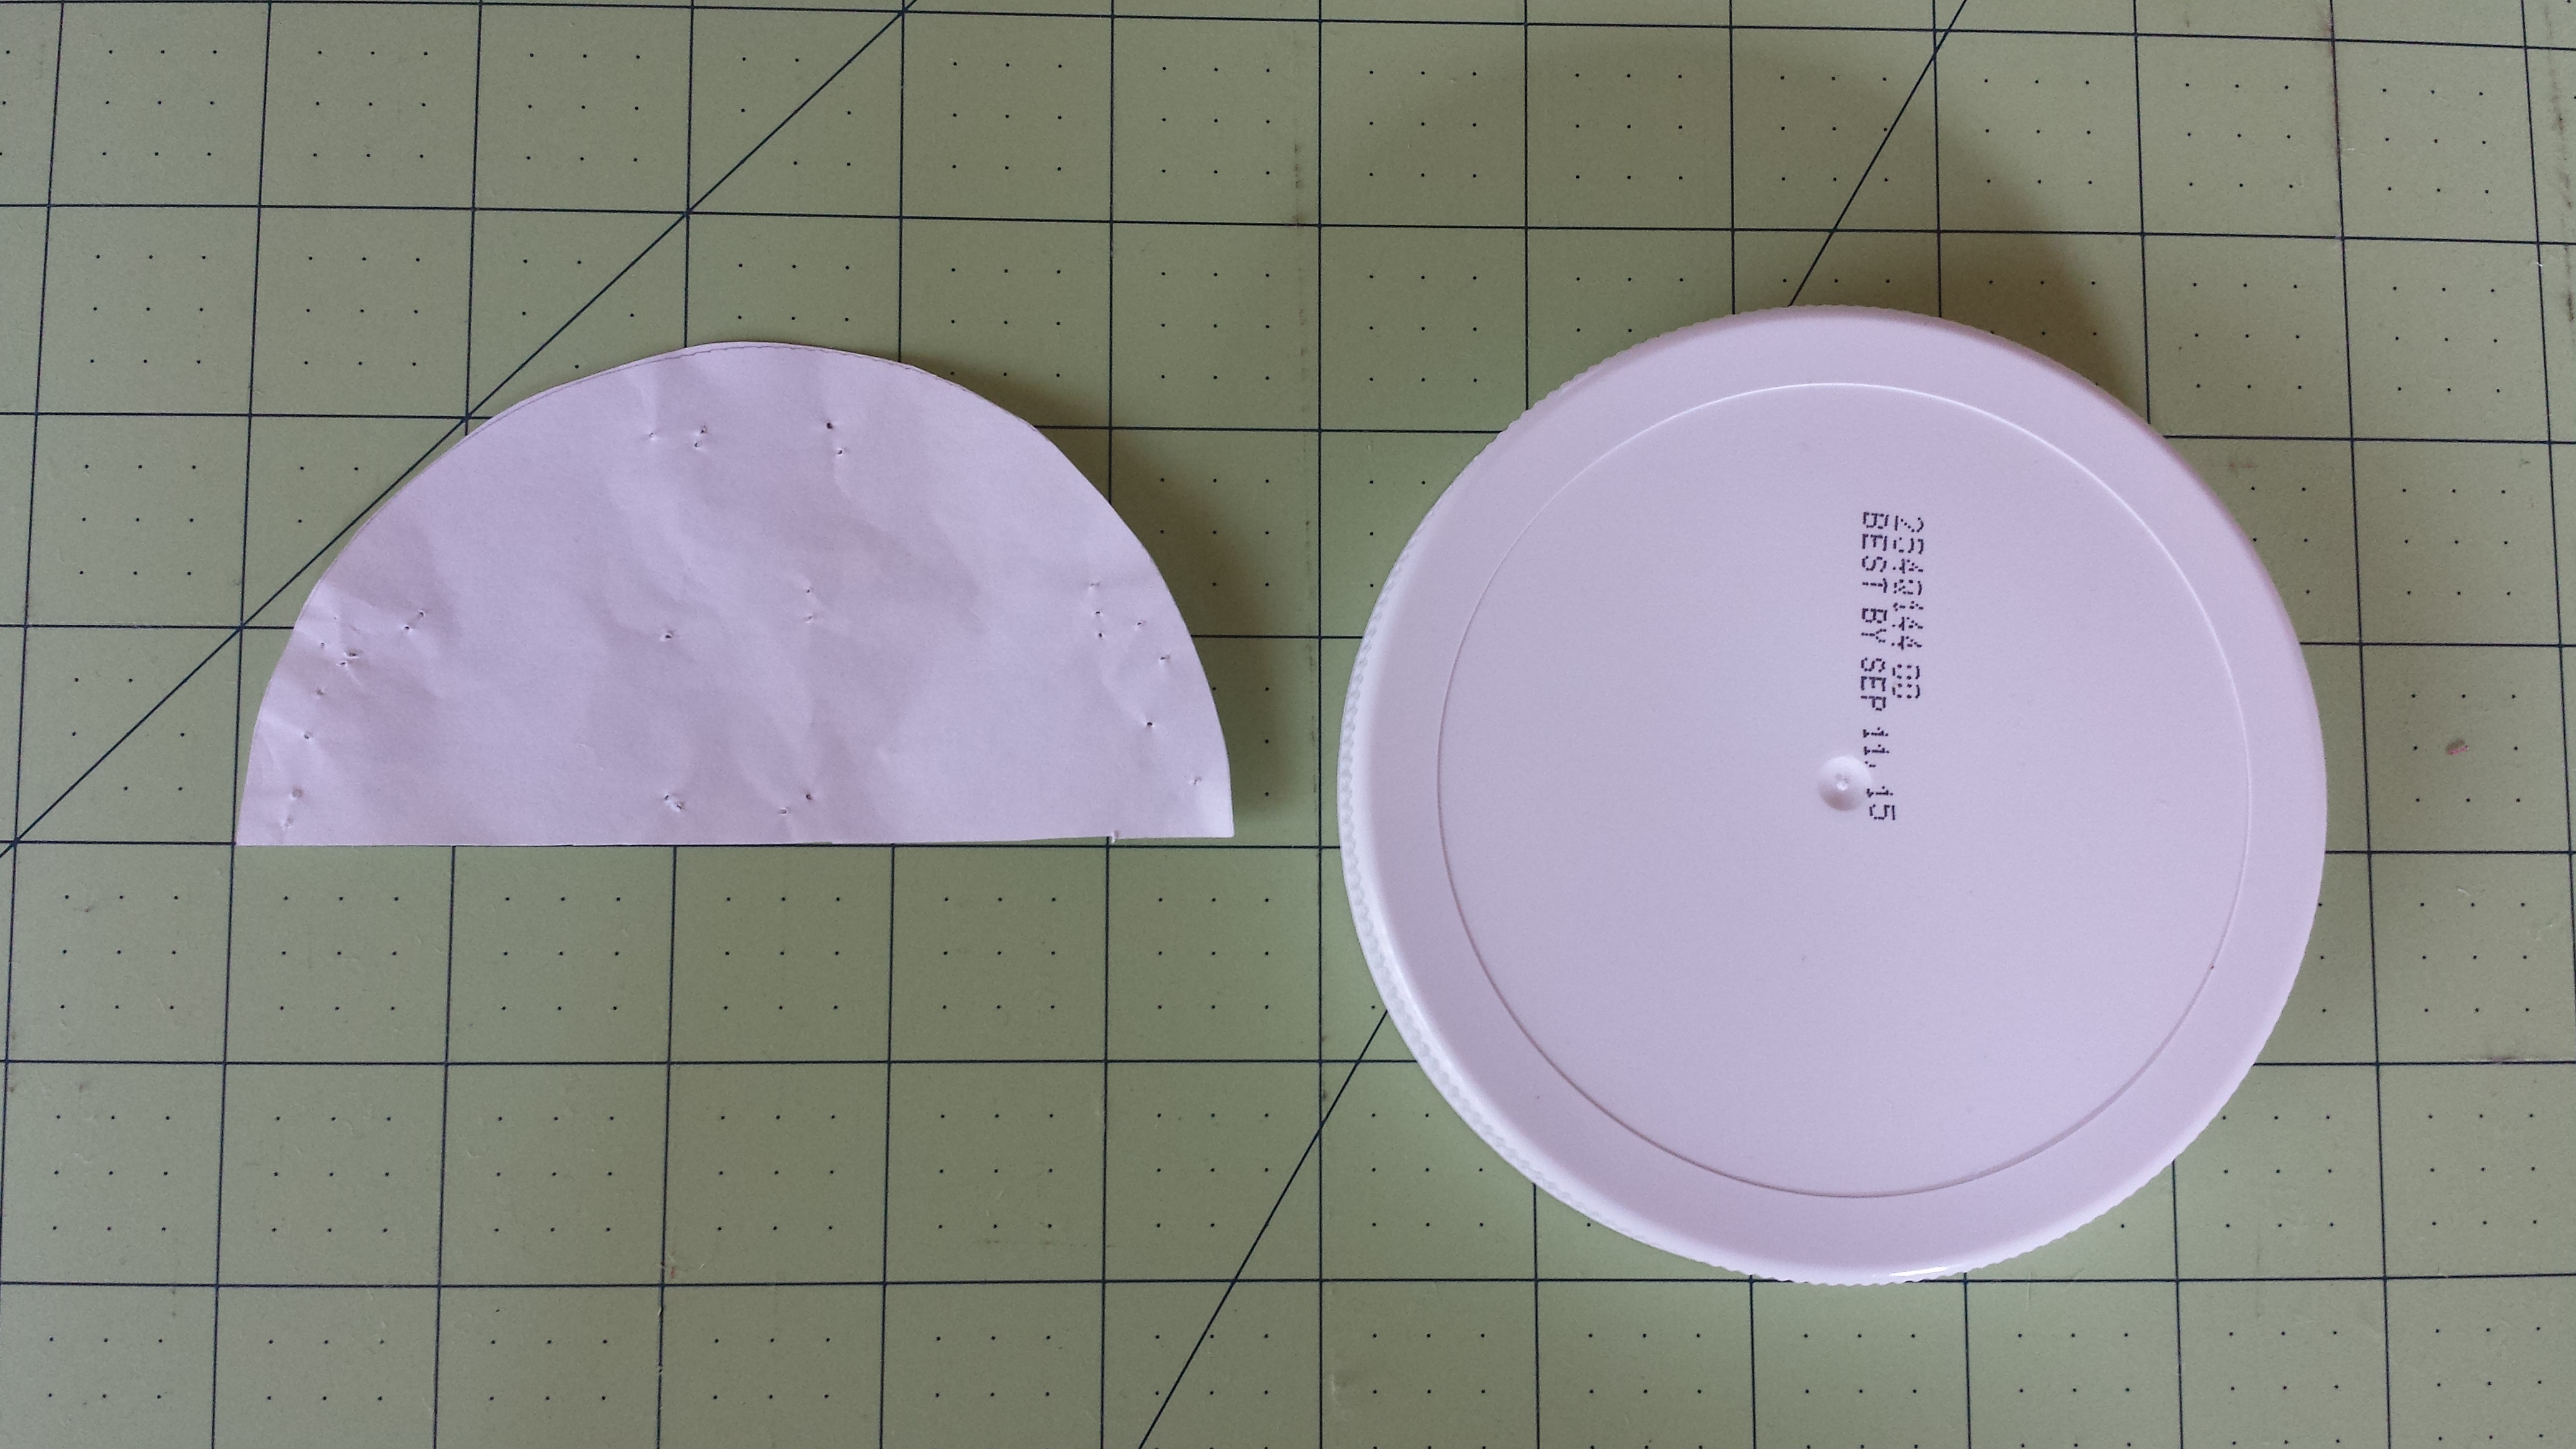
Use a round lid to trace half a circle onto scrap paper (I have lots of scrap paper from the coupons I print).
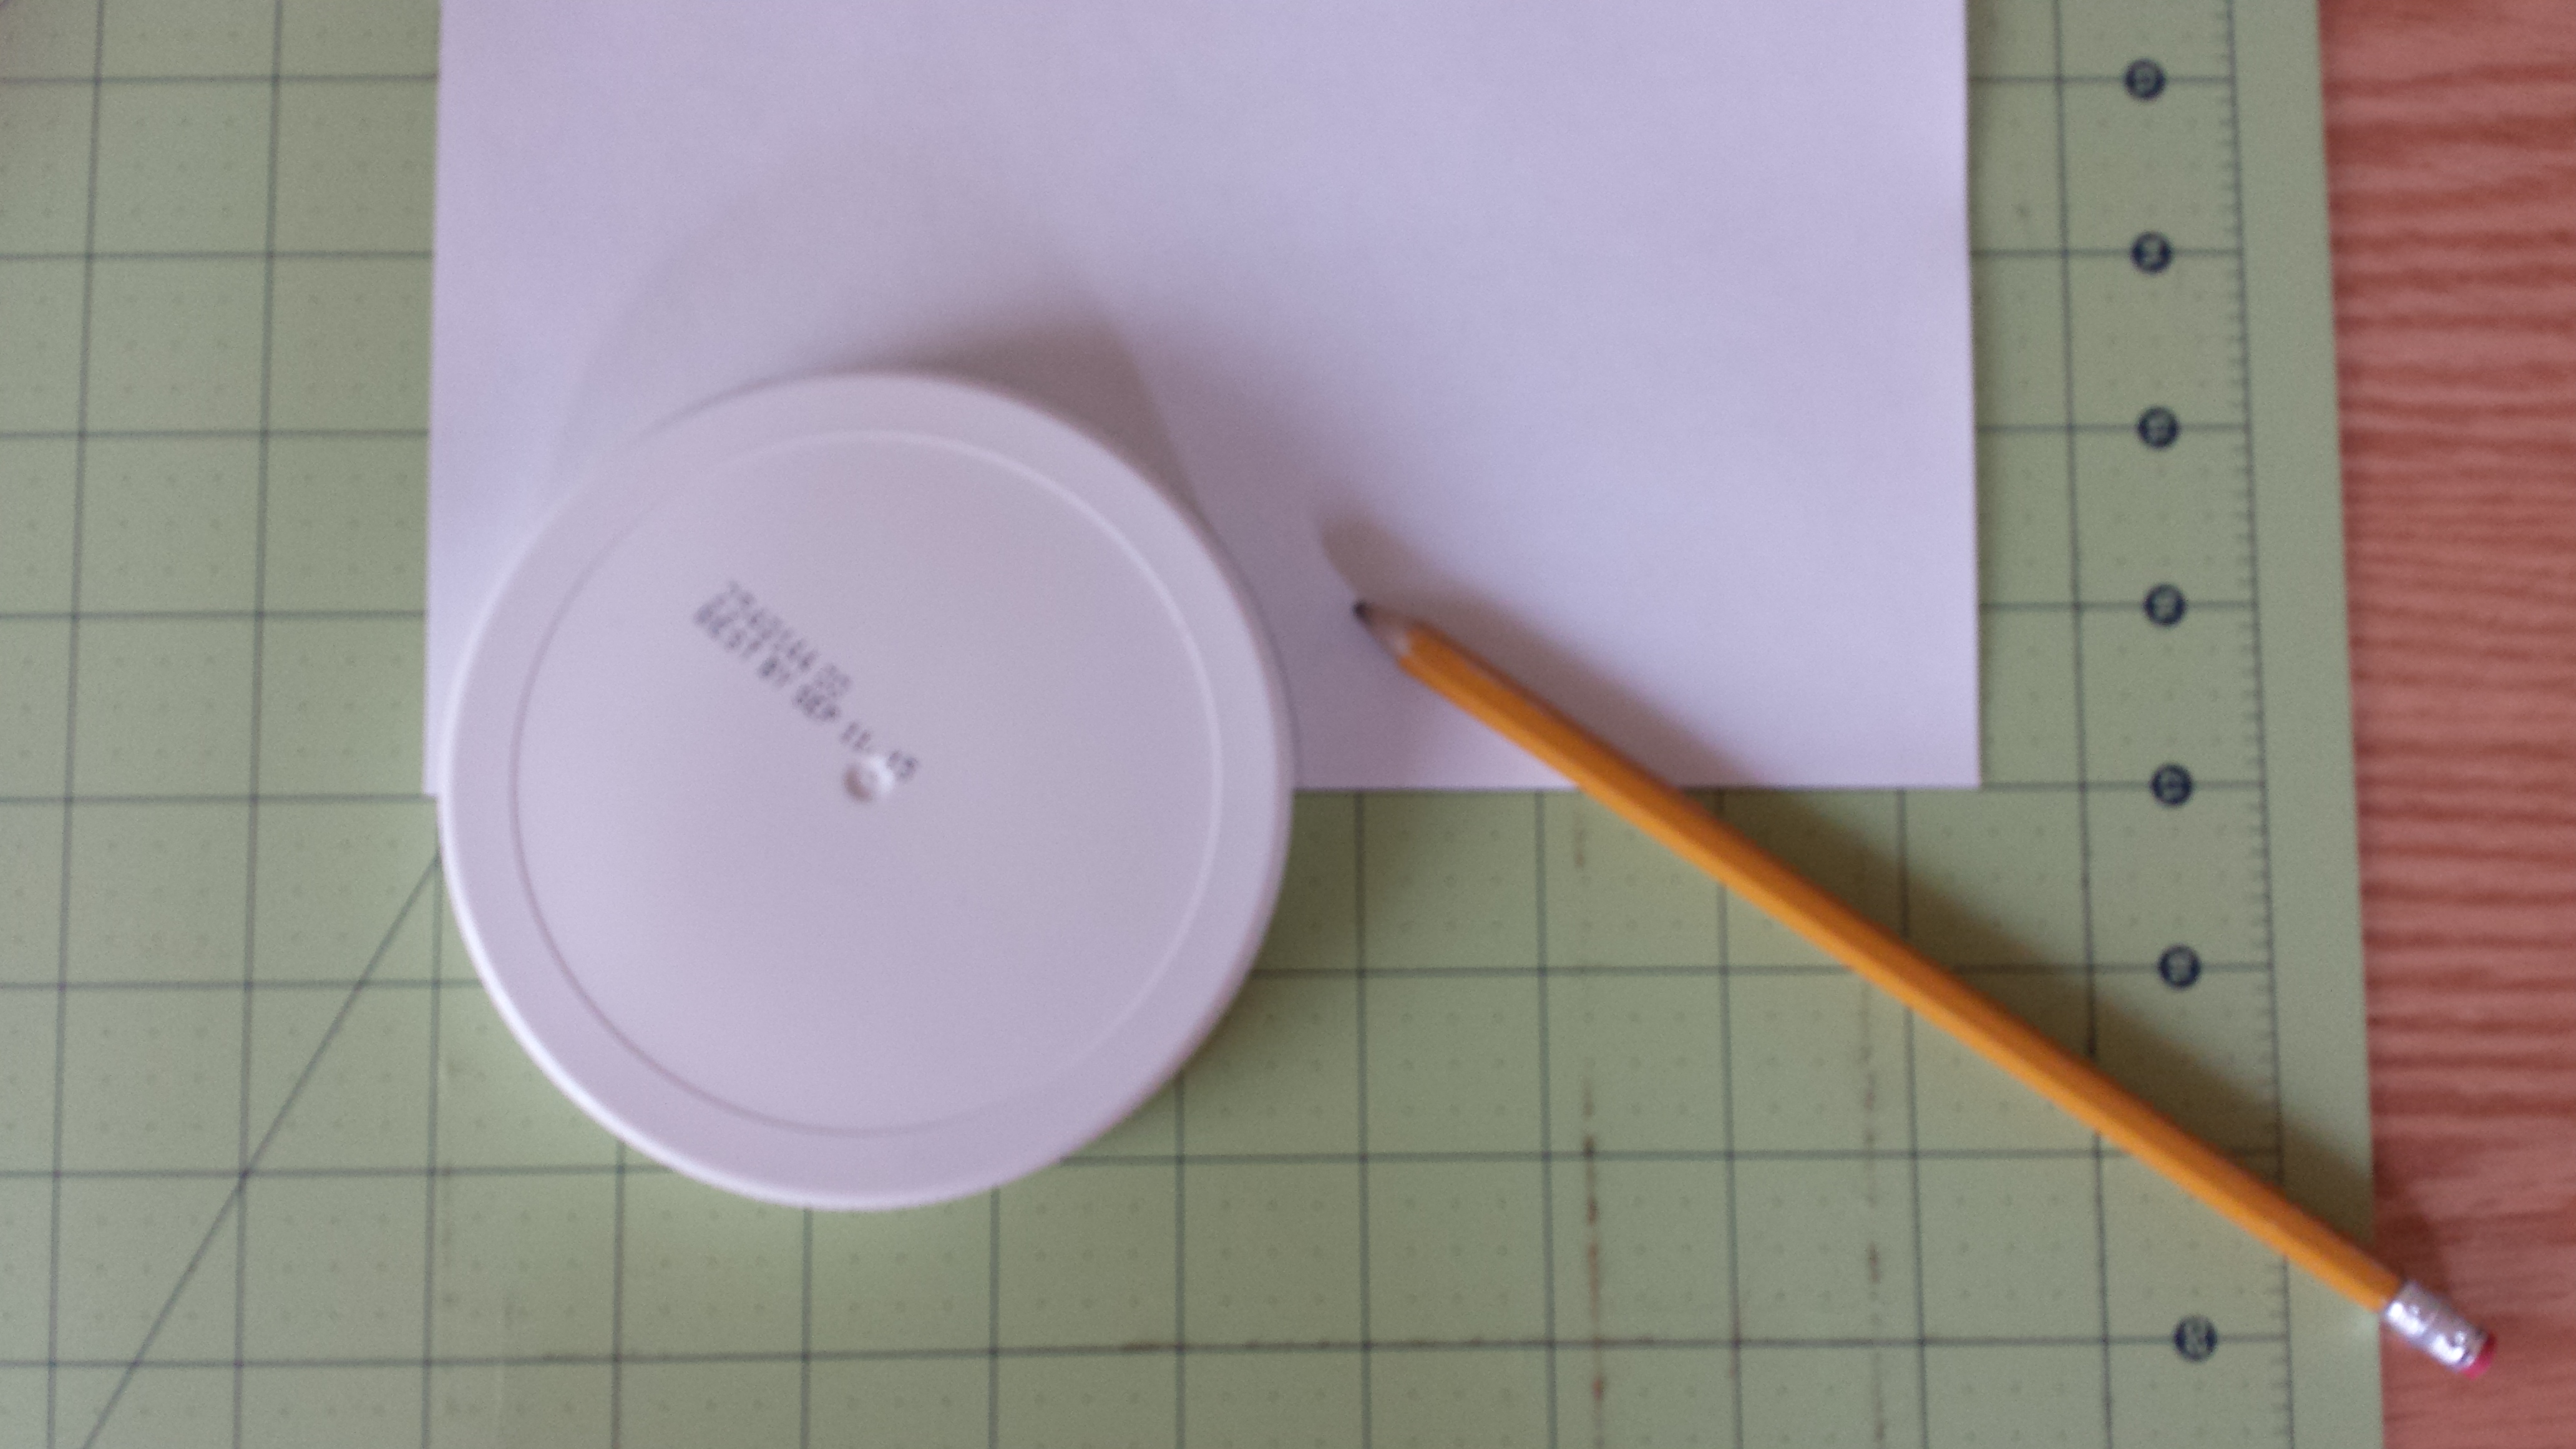
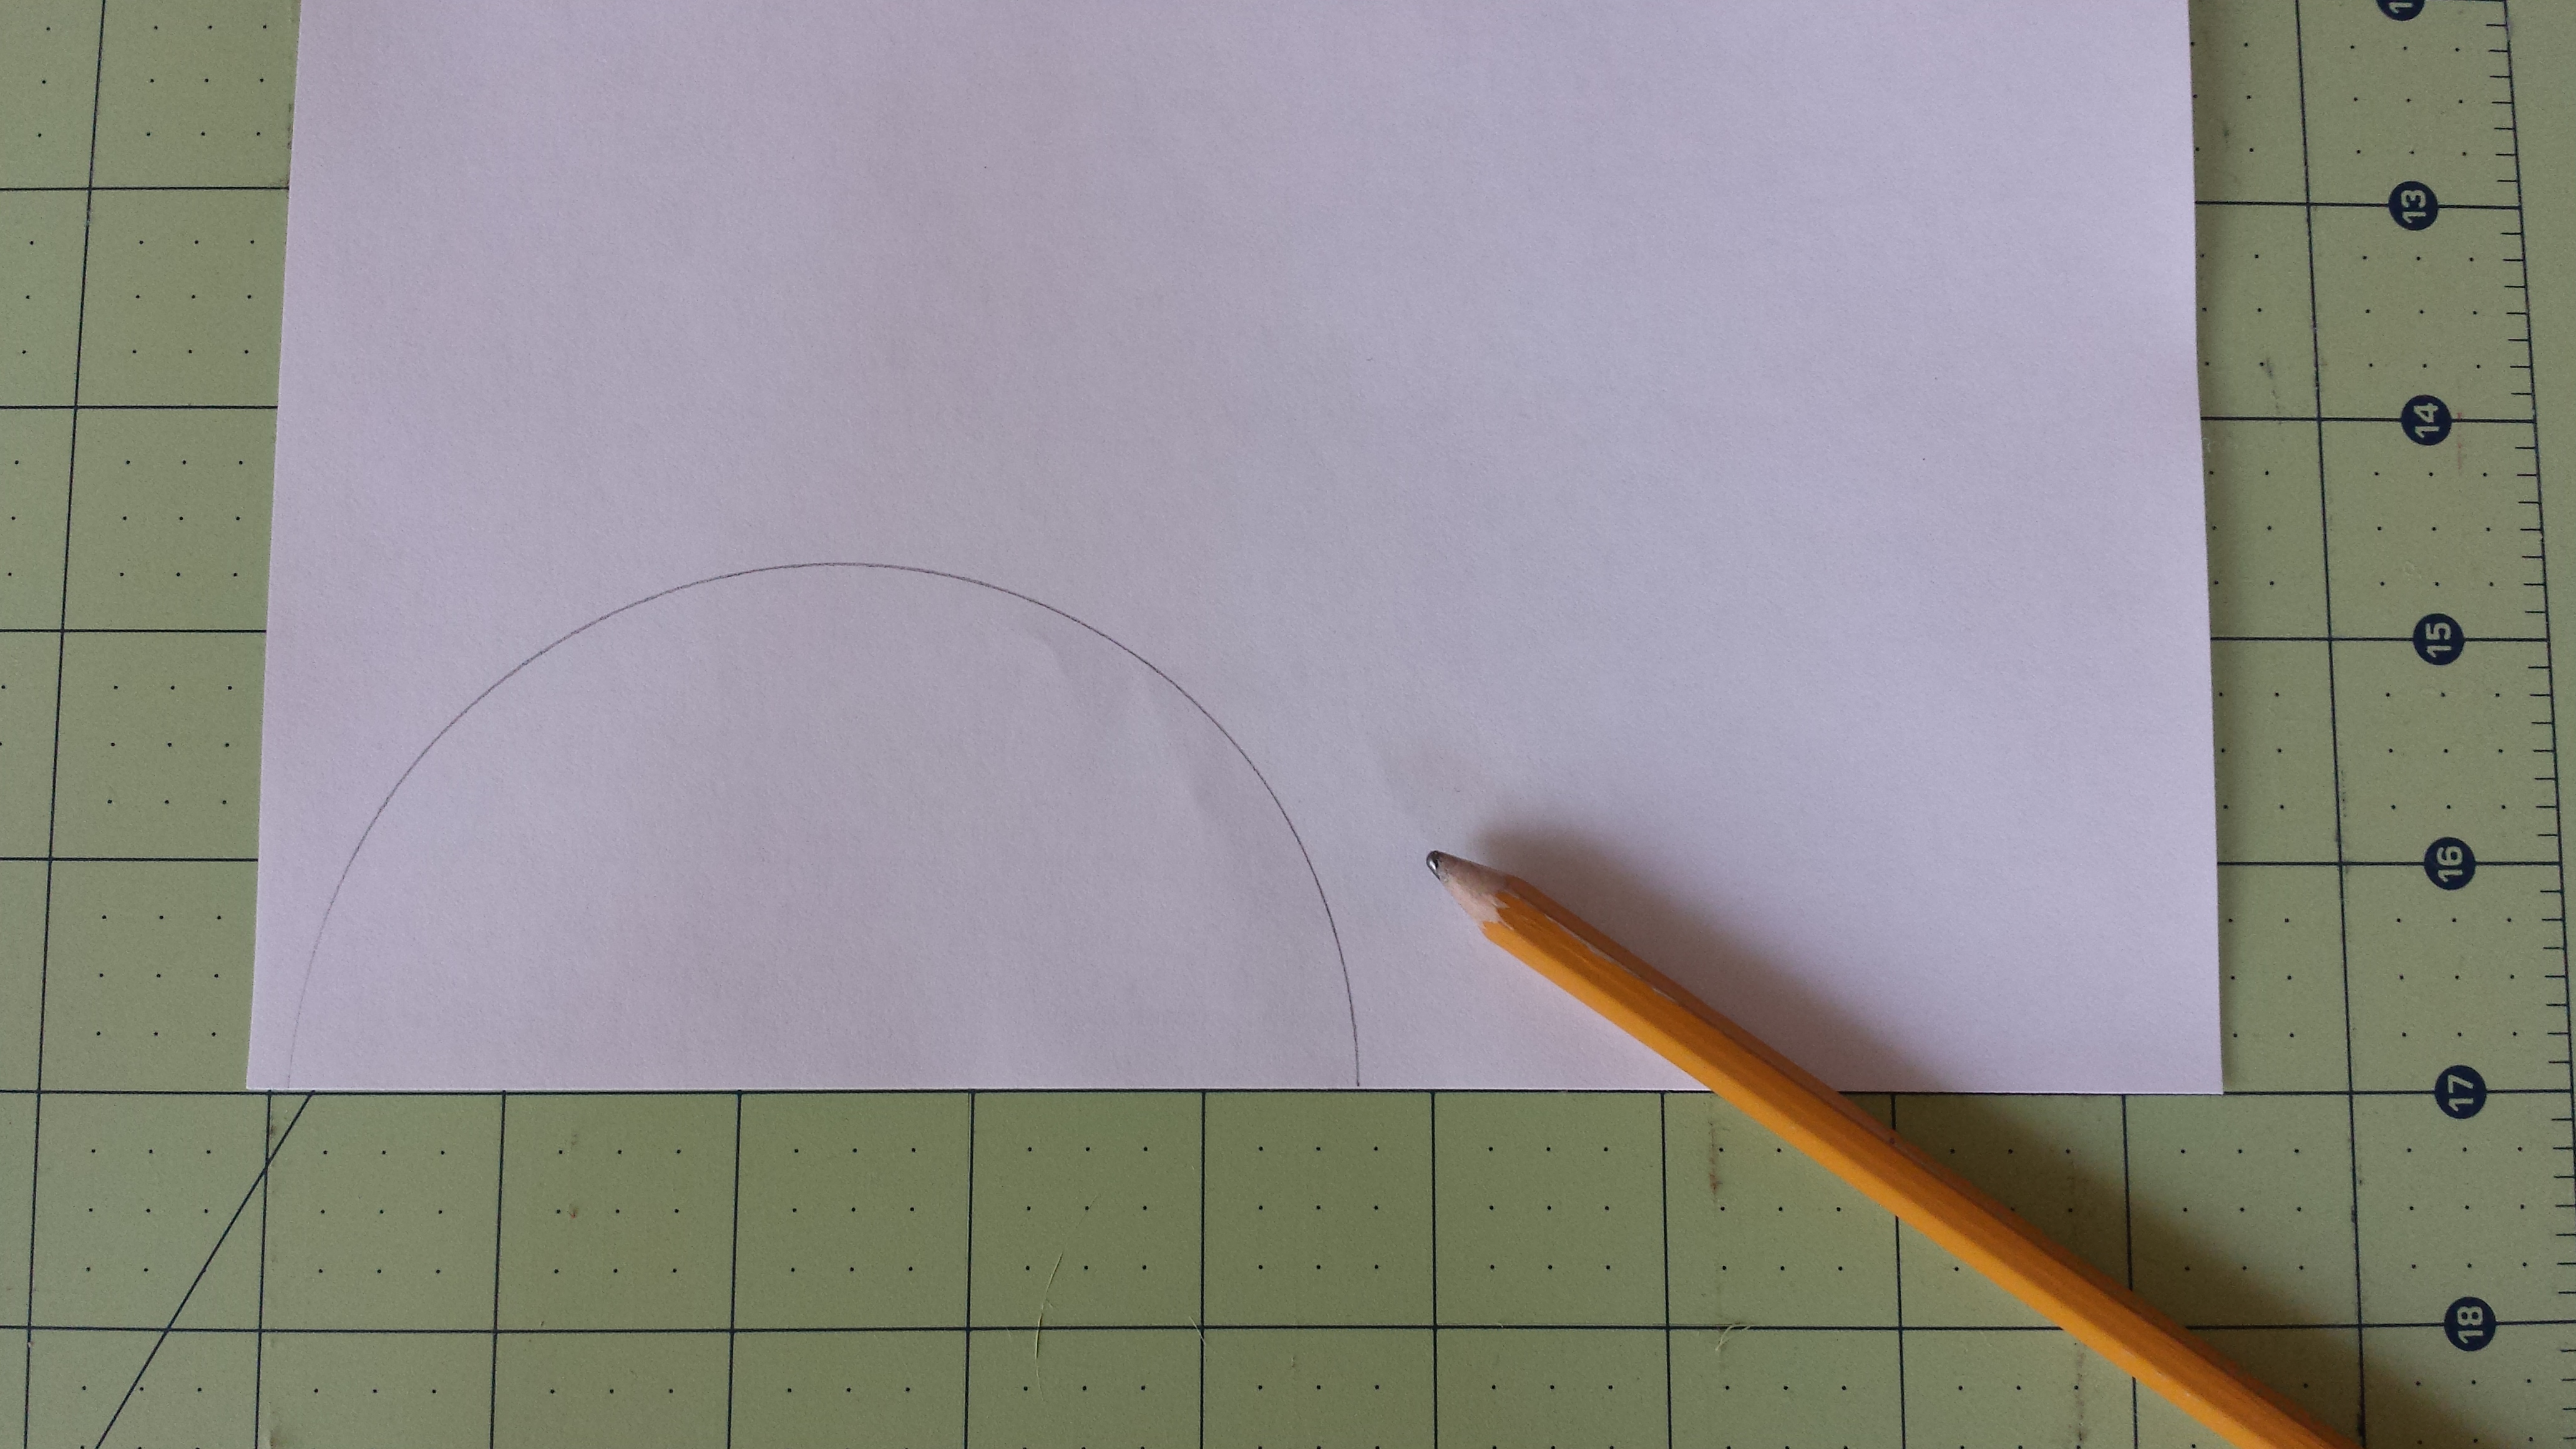
Line up the center of the lid with the straight edge of your paper and trace around the lid. Using your paper scissors, cut out the half circle to use as your pattern.
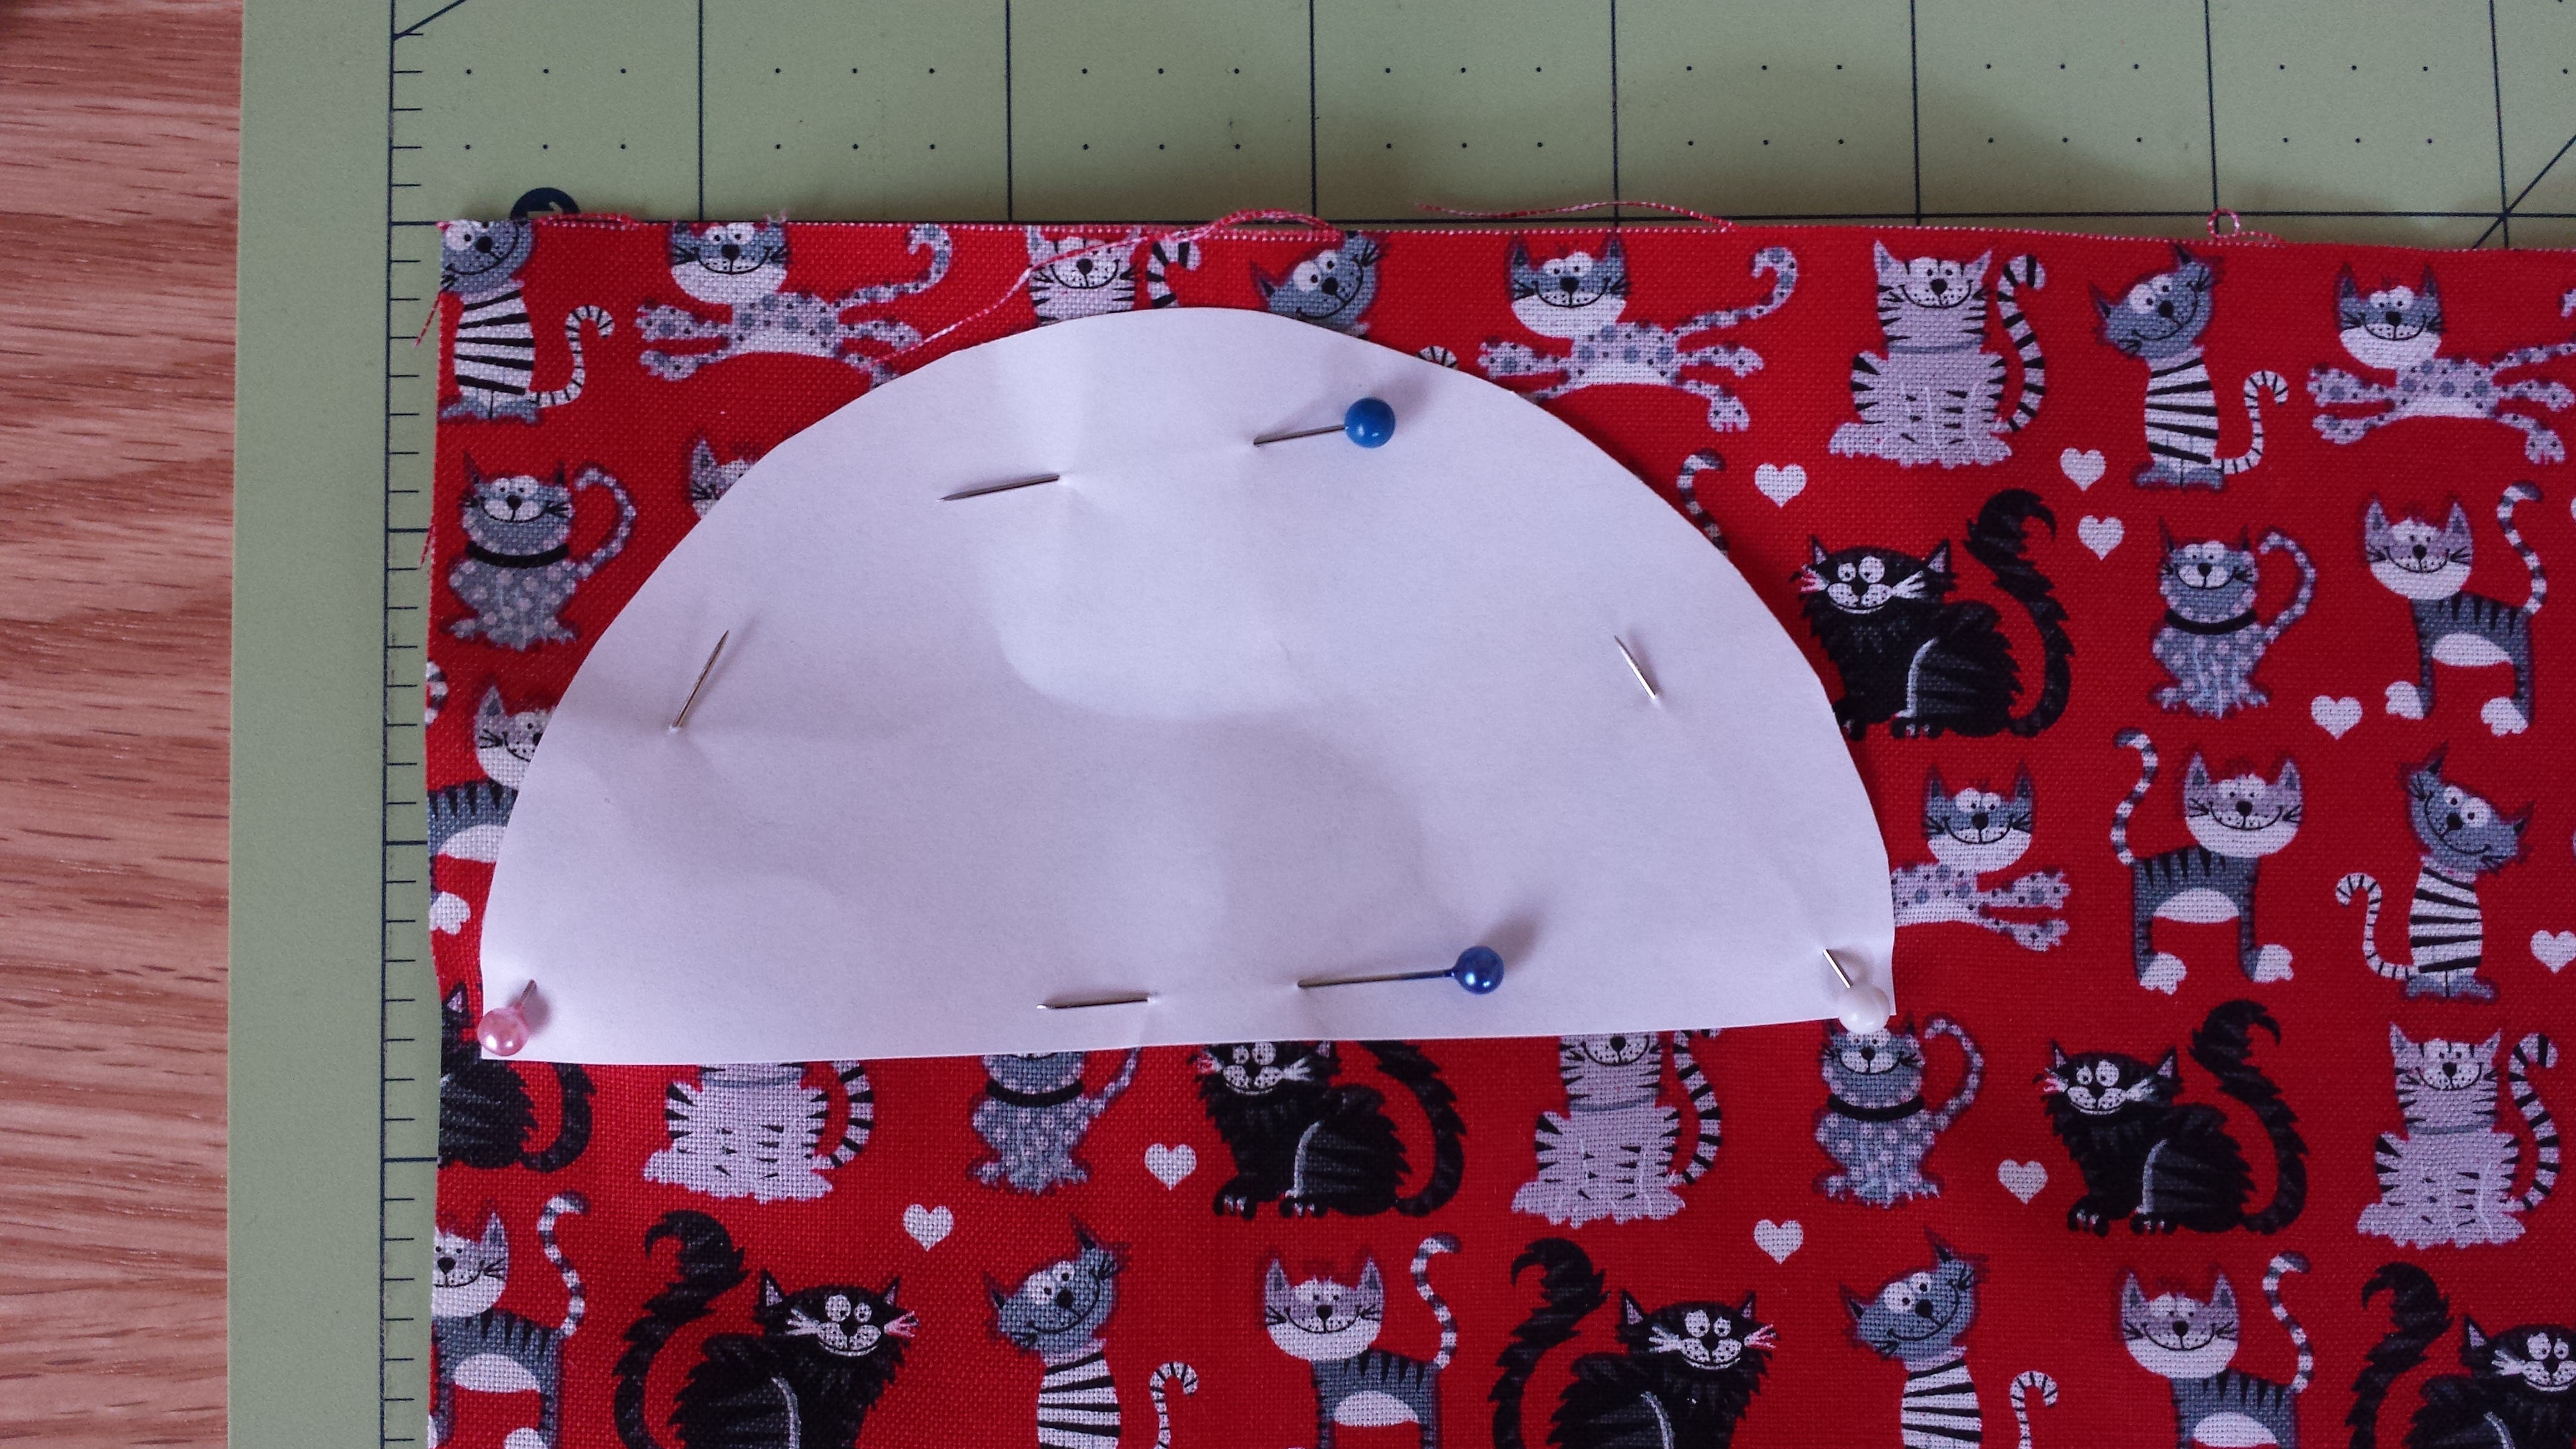
After ironing your fabric, pin the pattern to your fabric.

Cut two half circles using your fabric scissors. Since I used a fabric with a horizontal pattern, I made sure I captured the best parts of the print and made sure both sides were going in the same direction. I didn’t want the cats to be upside down on one side. Not that Sid would care.
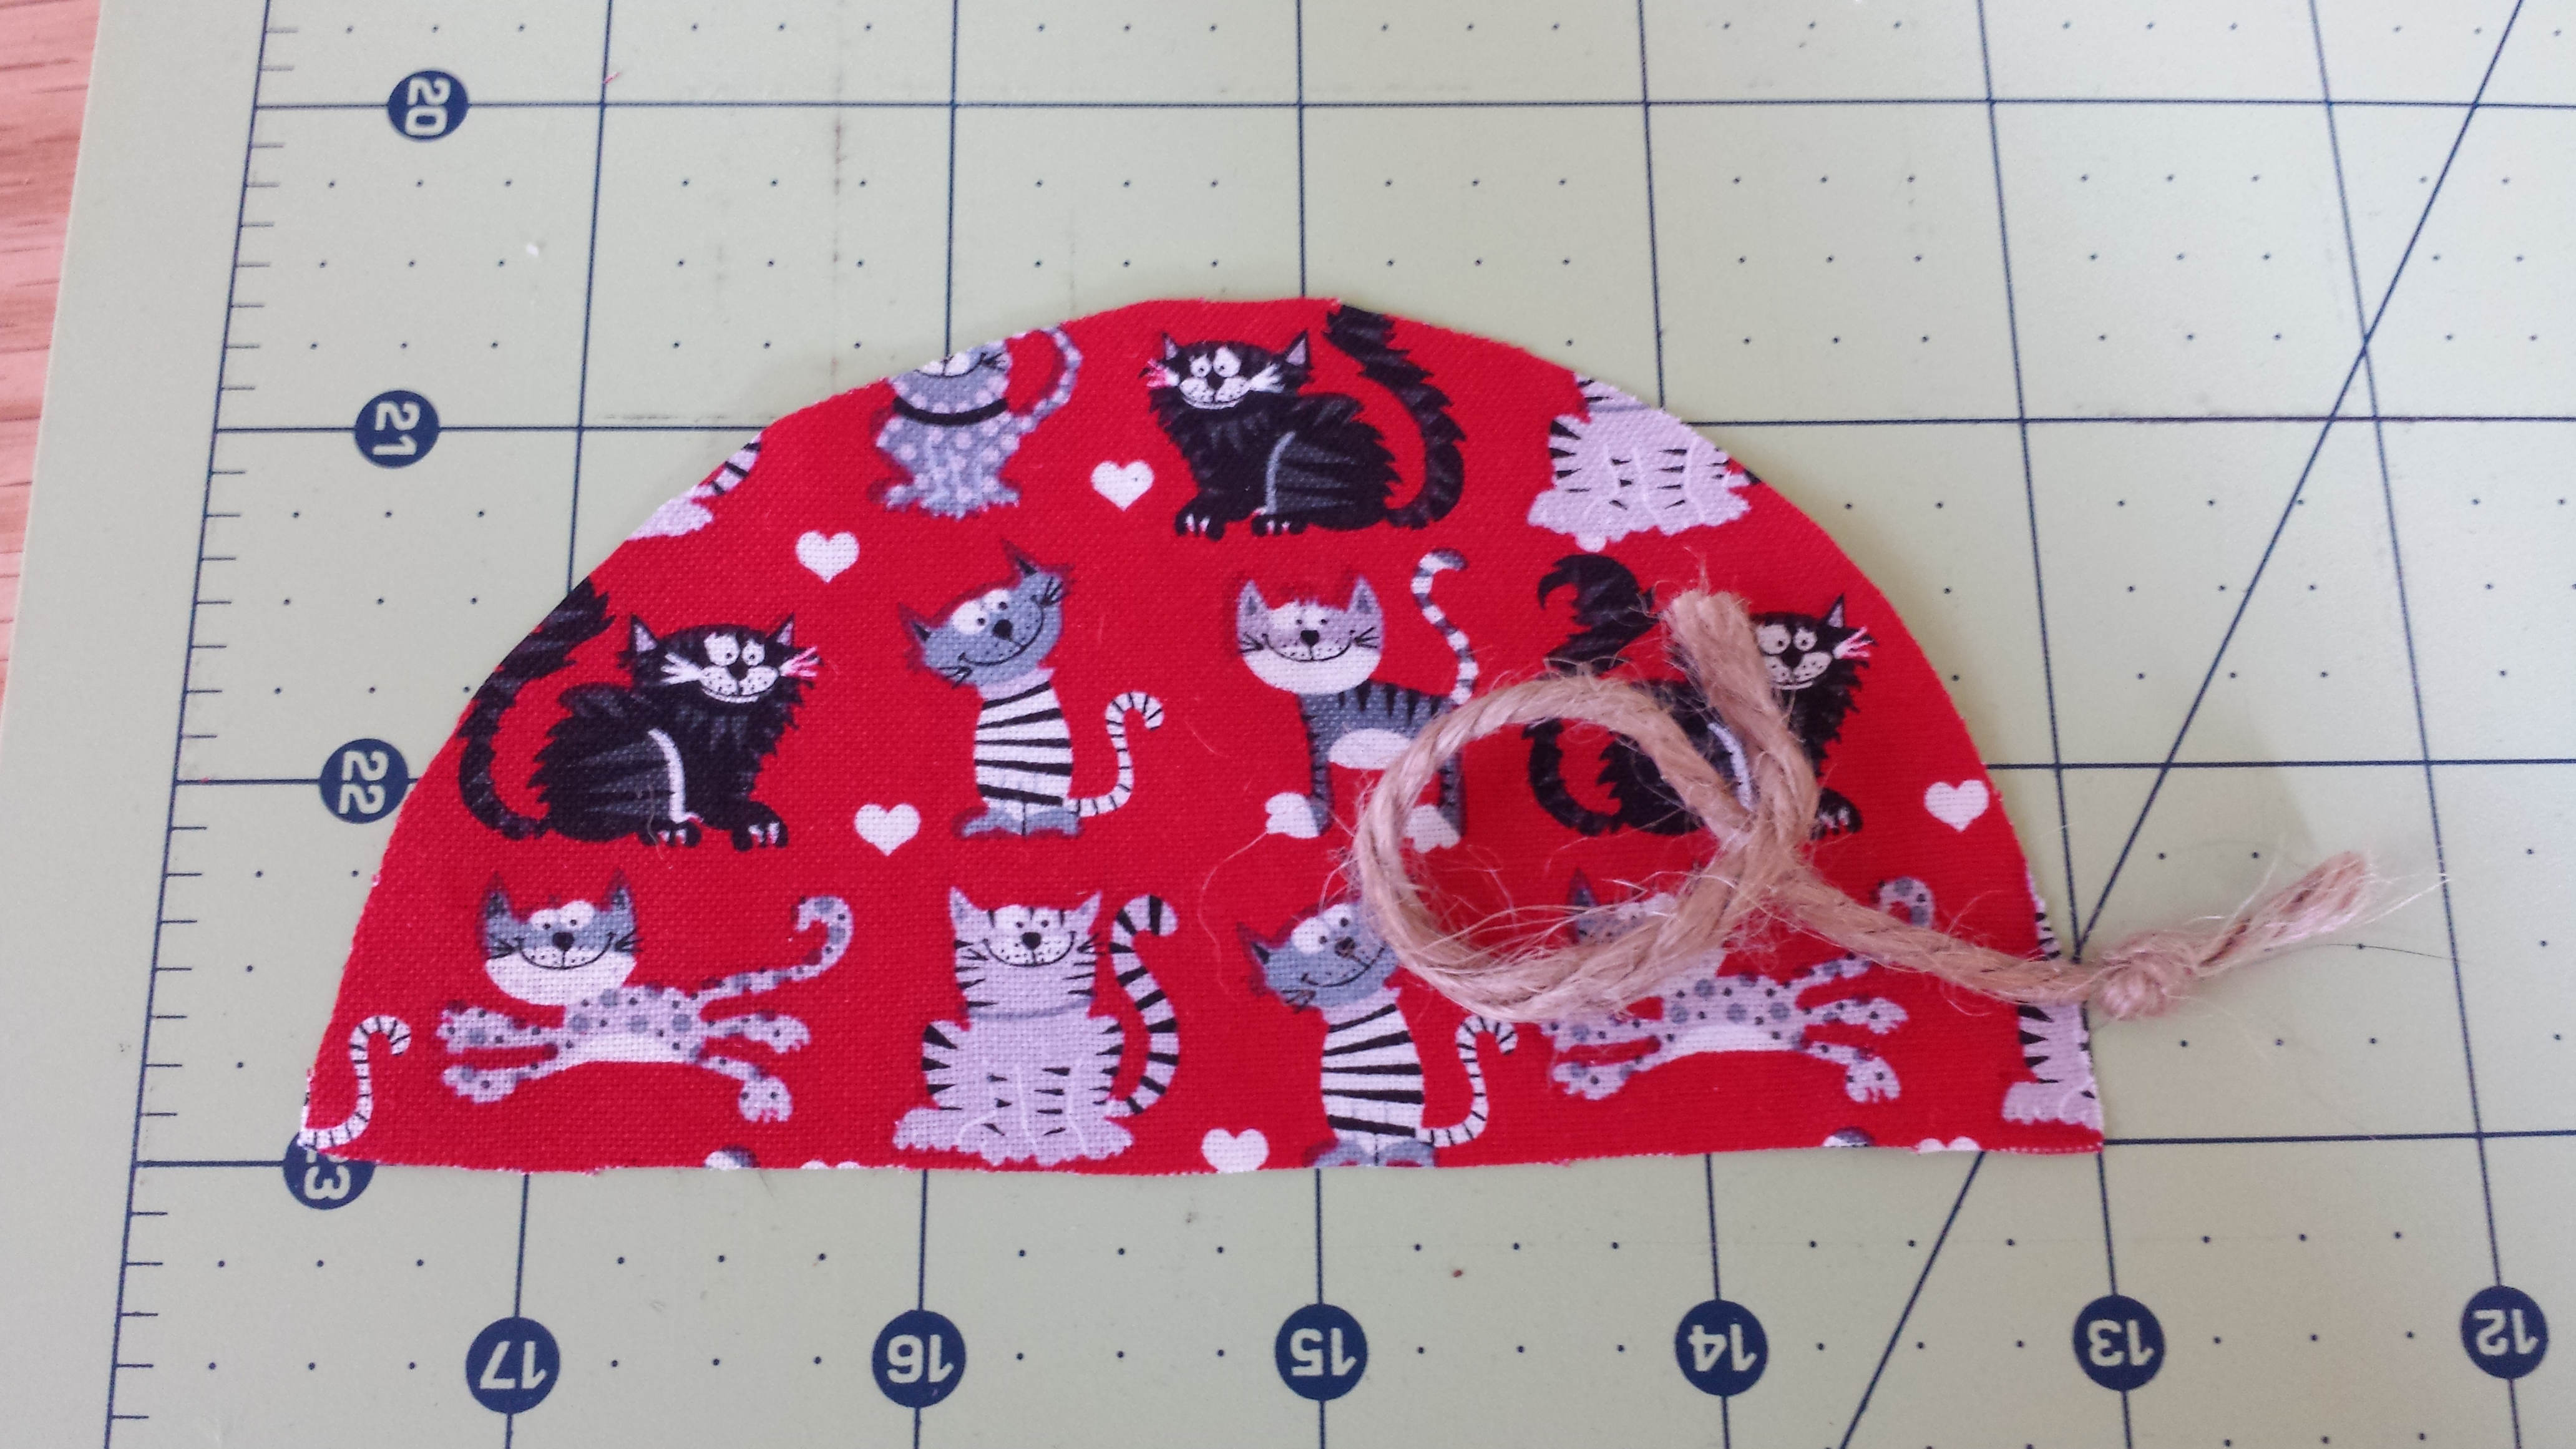
Cut a piece of twine (or whatever you are using for the tail) the length you want the tail to be. Tie a knot in one end. On top of one half circle right side up, place the knot just outside of the fabric. Make sure to keep the rest of the twine out of the way of where you will be sewing the seam.
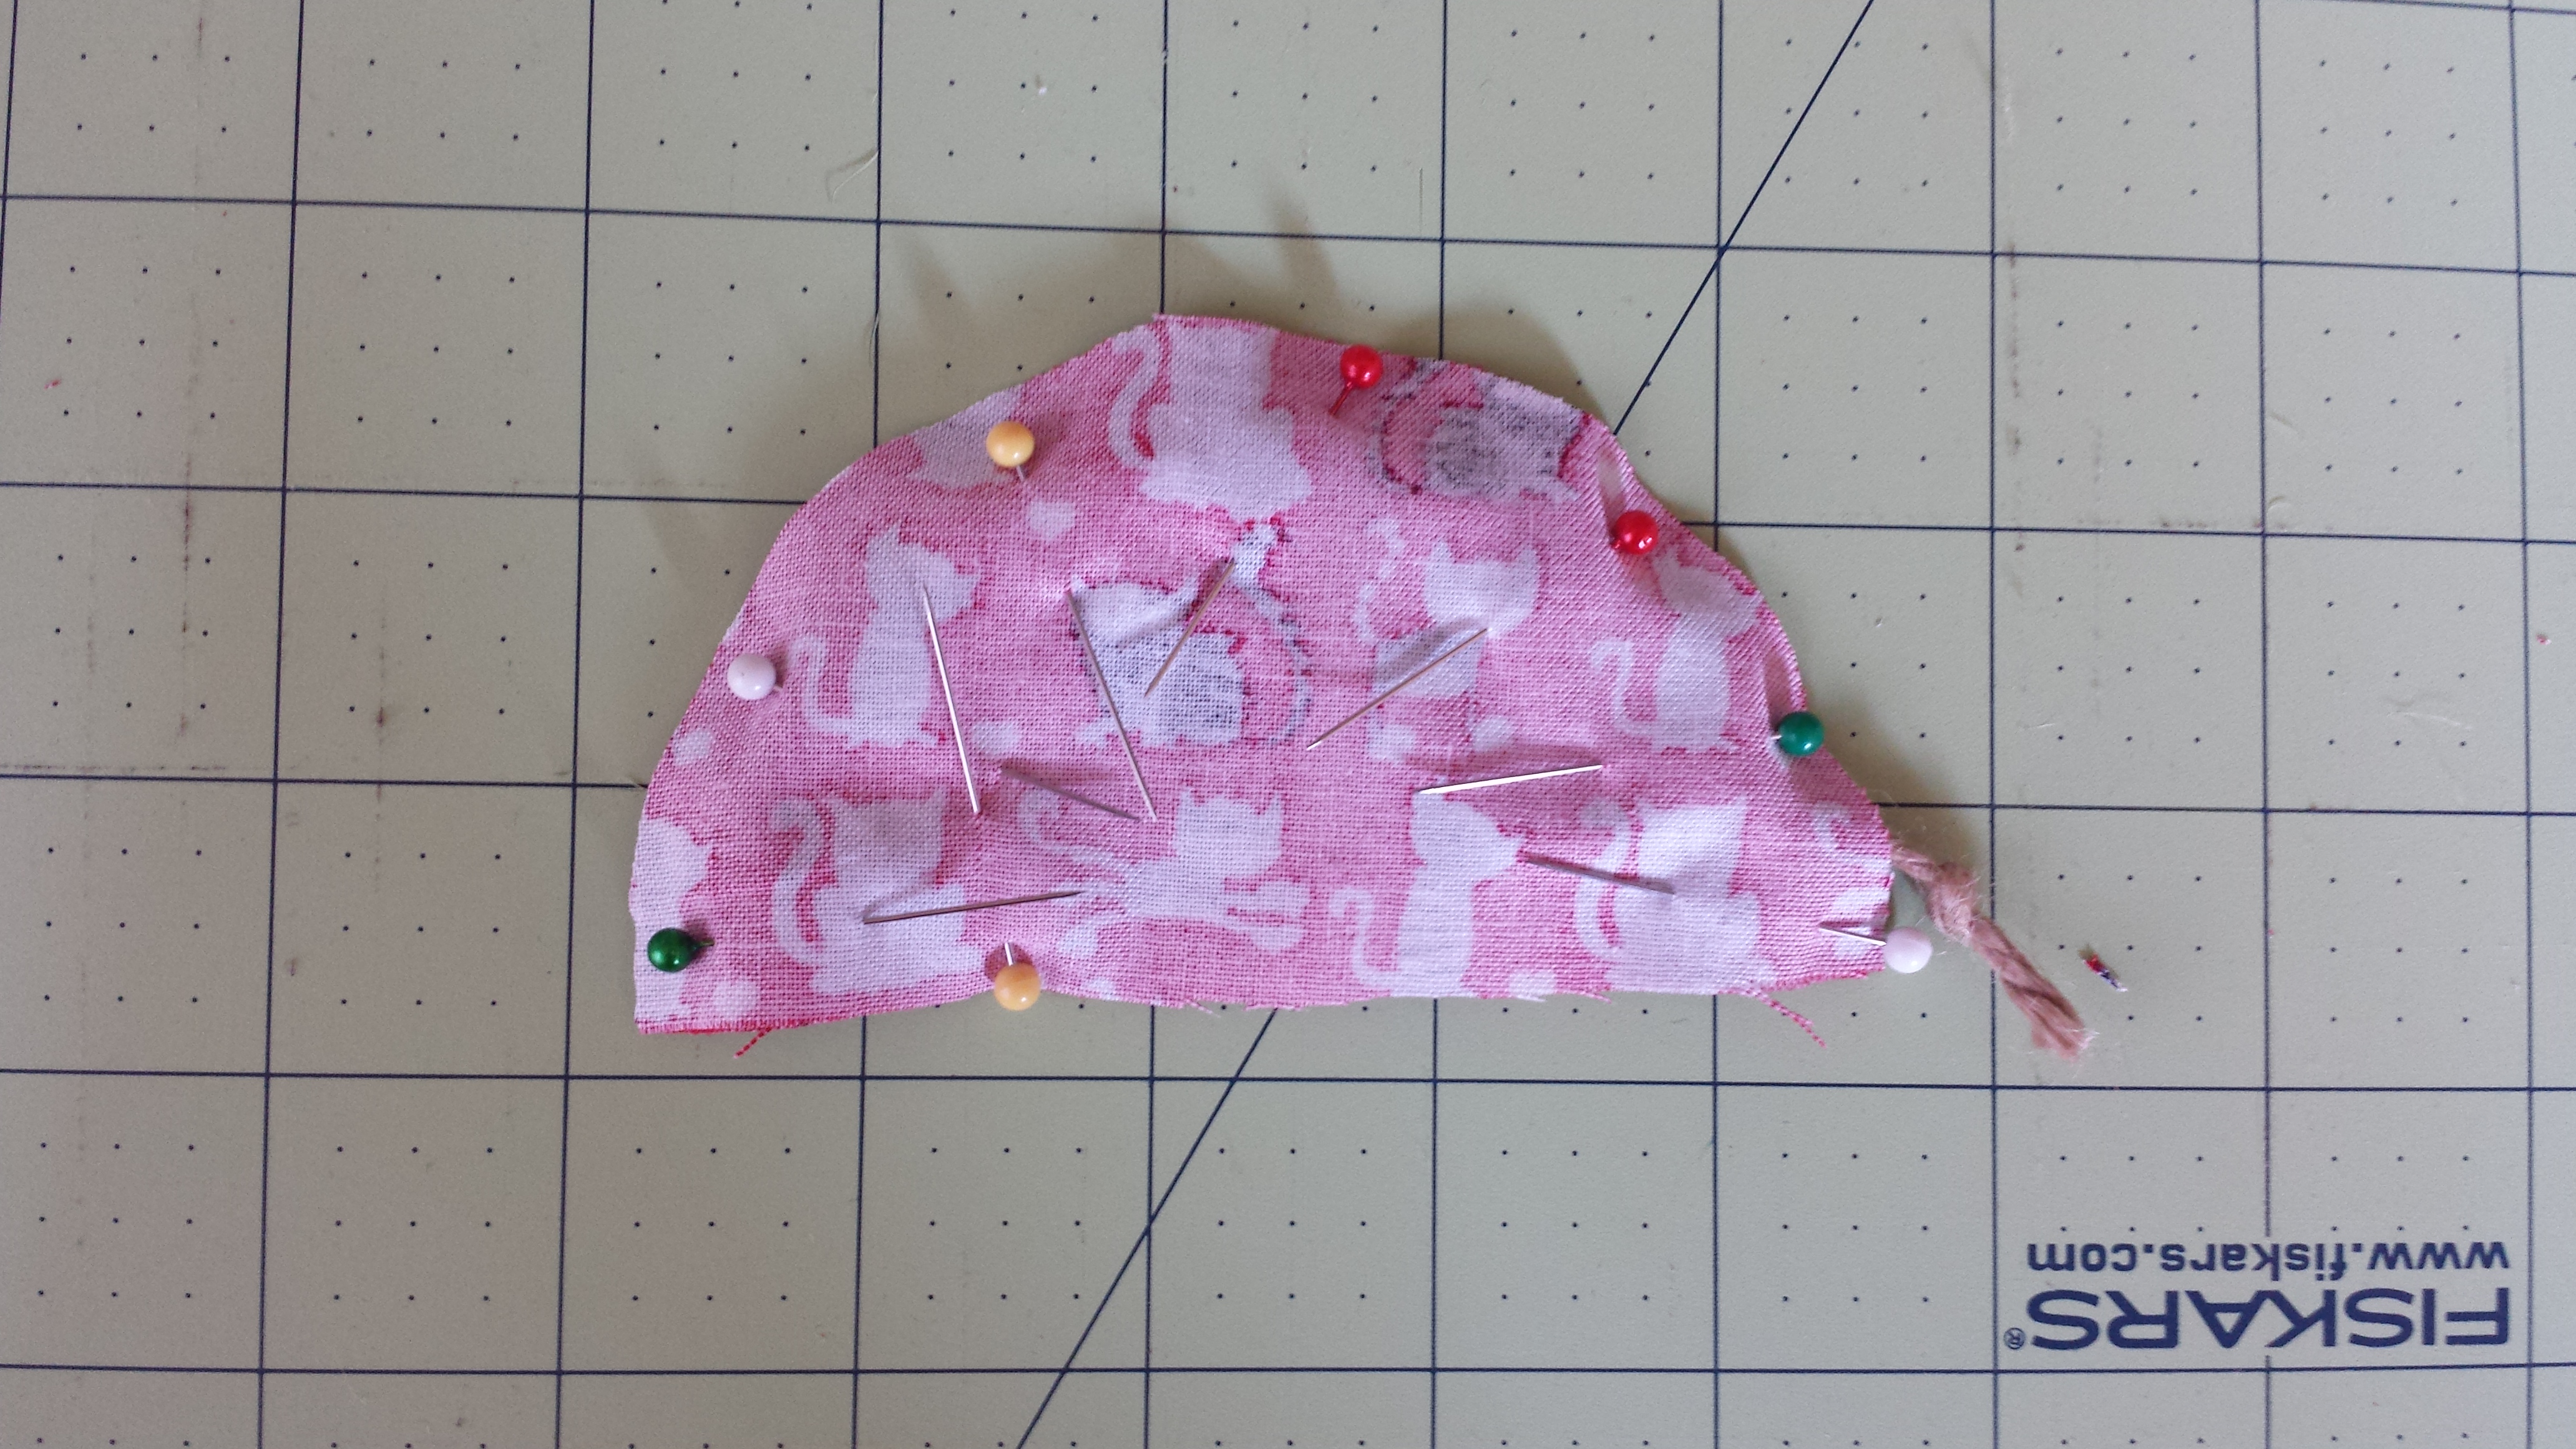
Place the second half circle on top with right side facing down (right sides are now facing each other, and wrong sides are on the outside) and pin. Leave about an inch and a half opening at the bottom to turn and stuff.
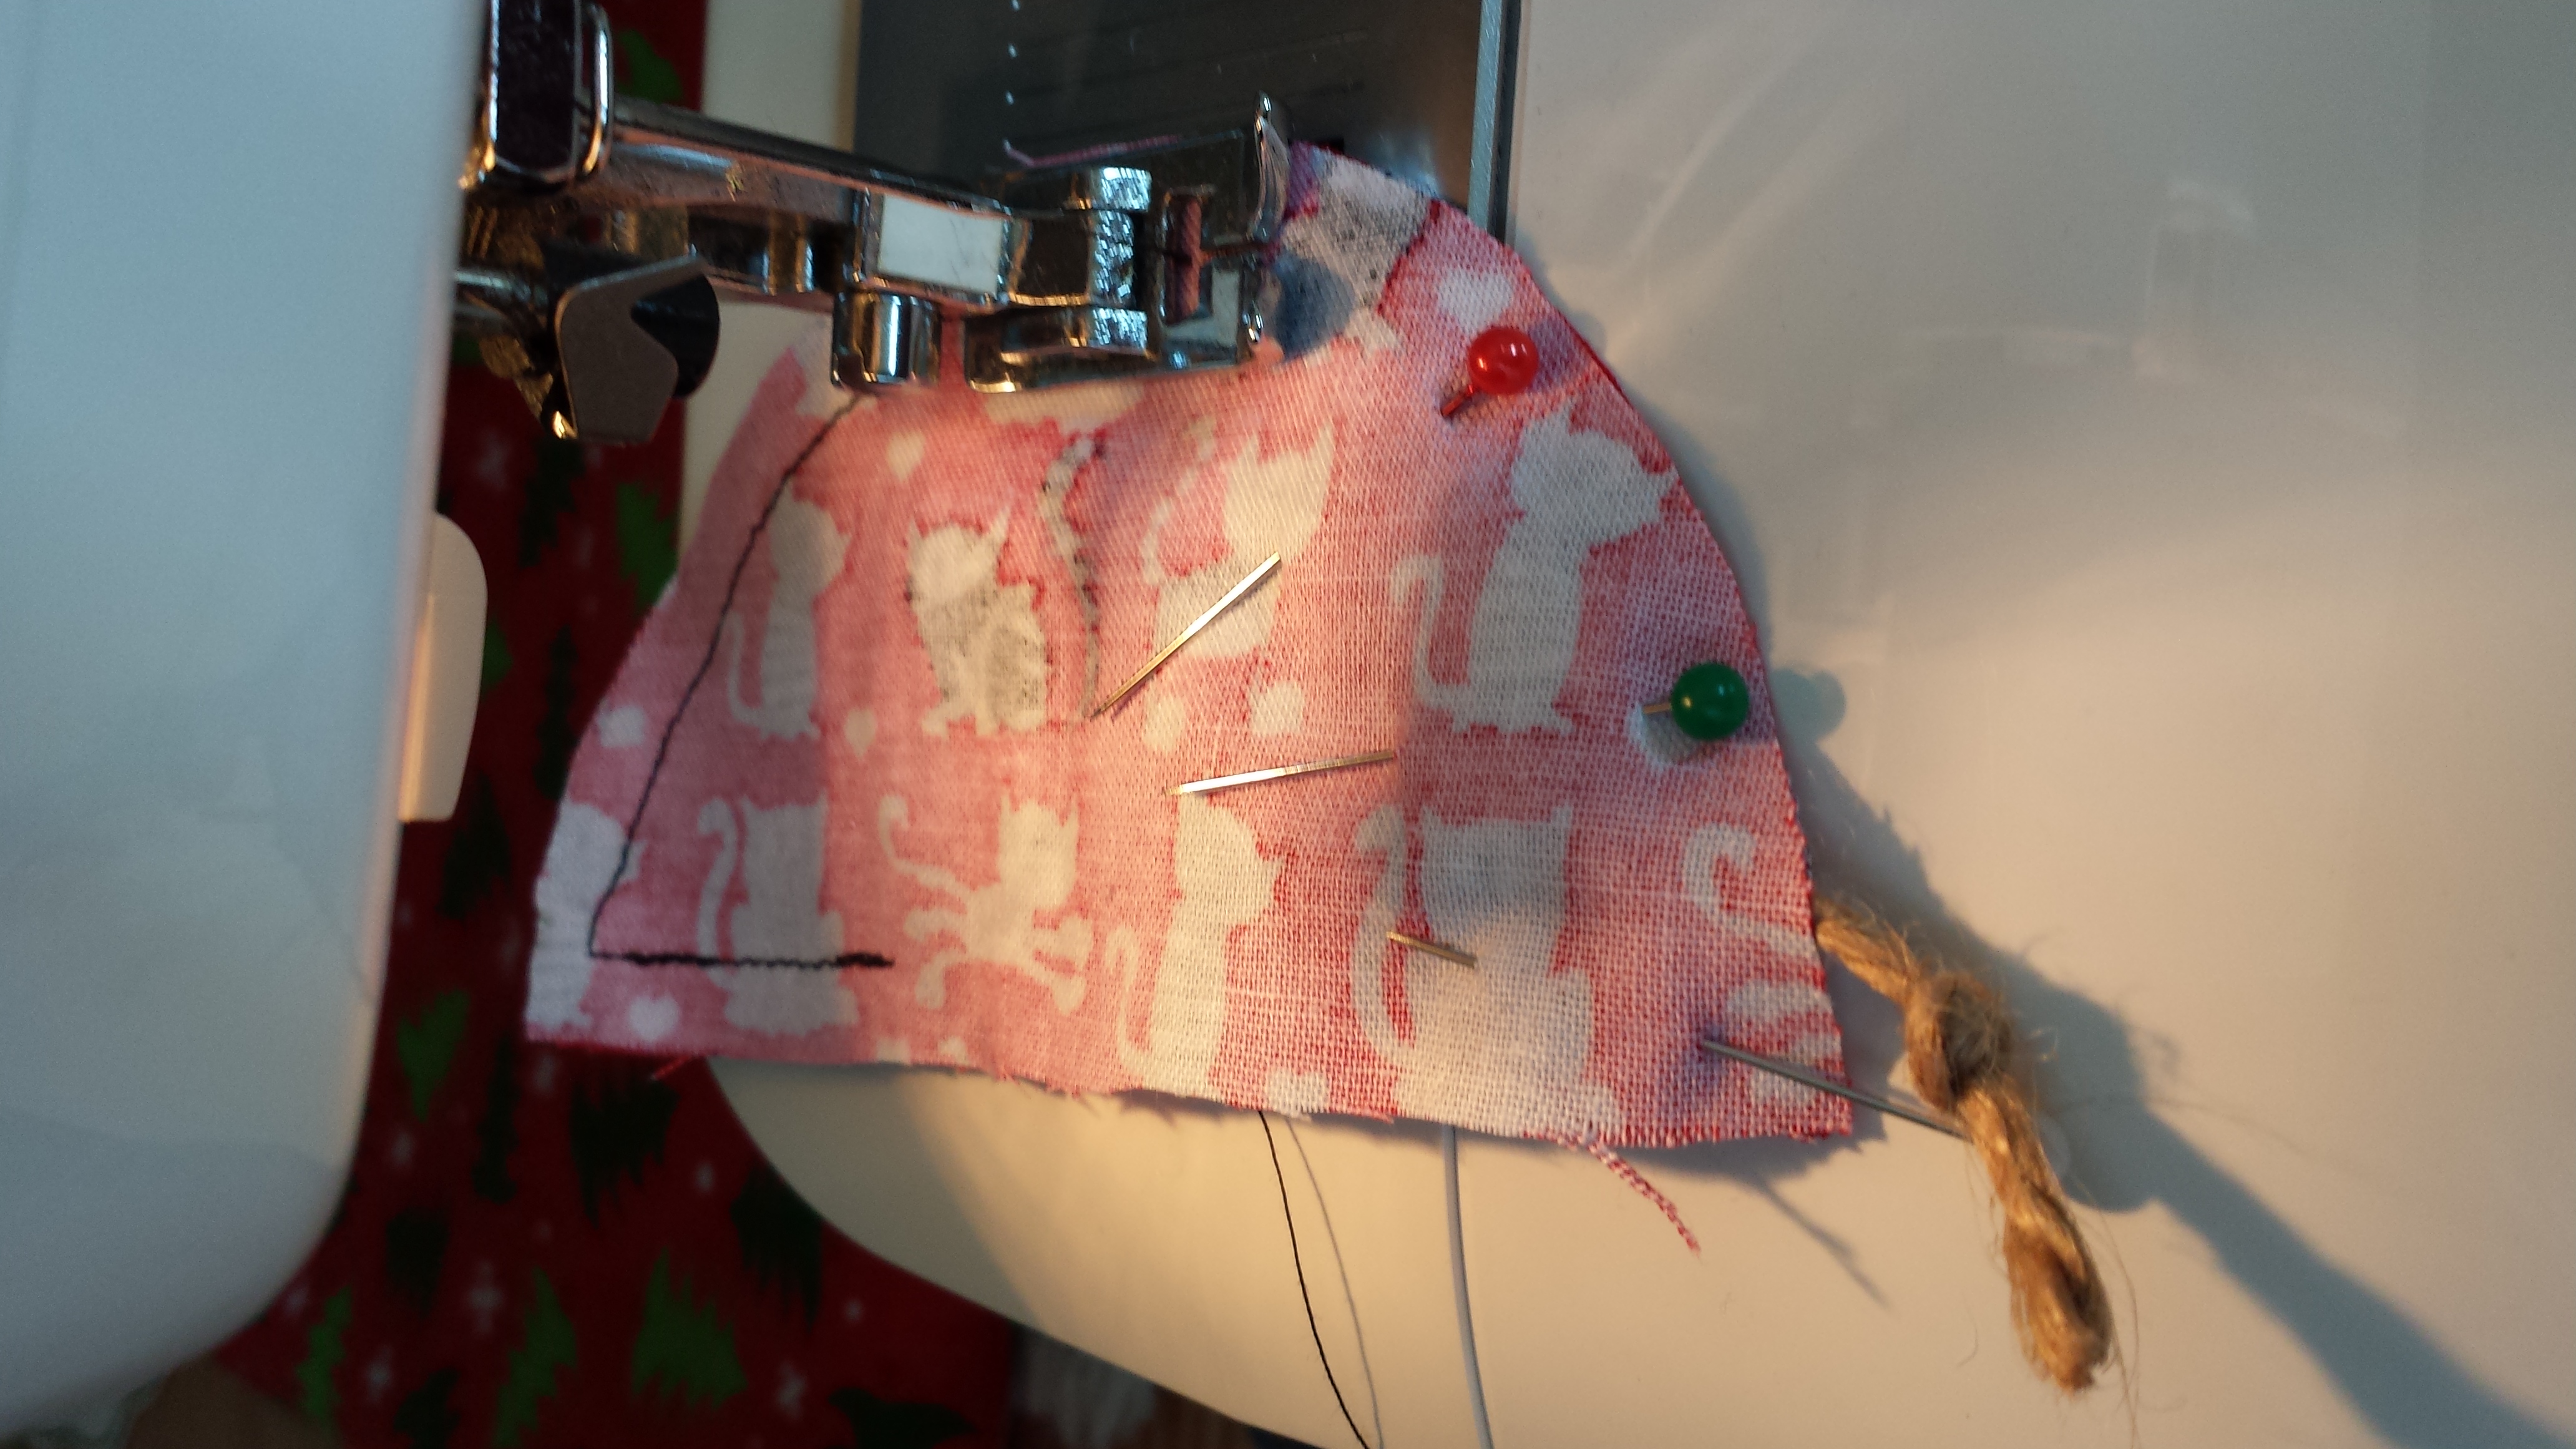
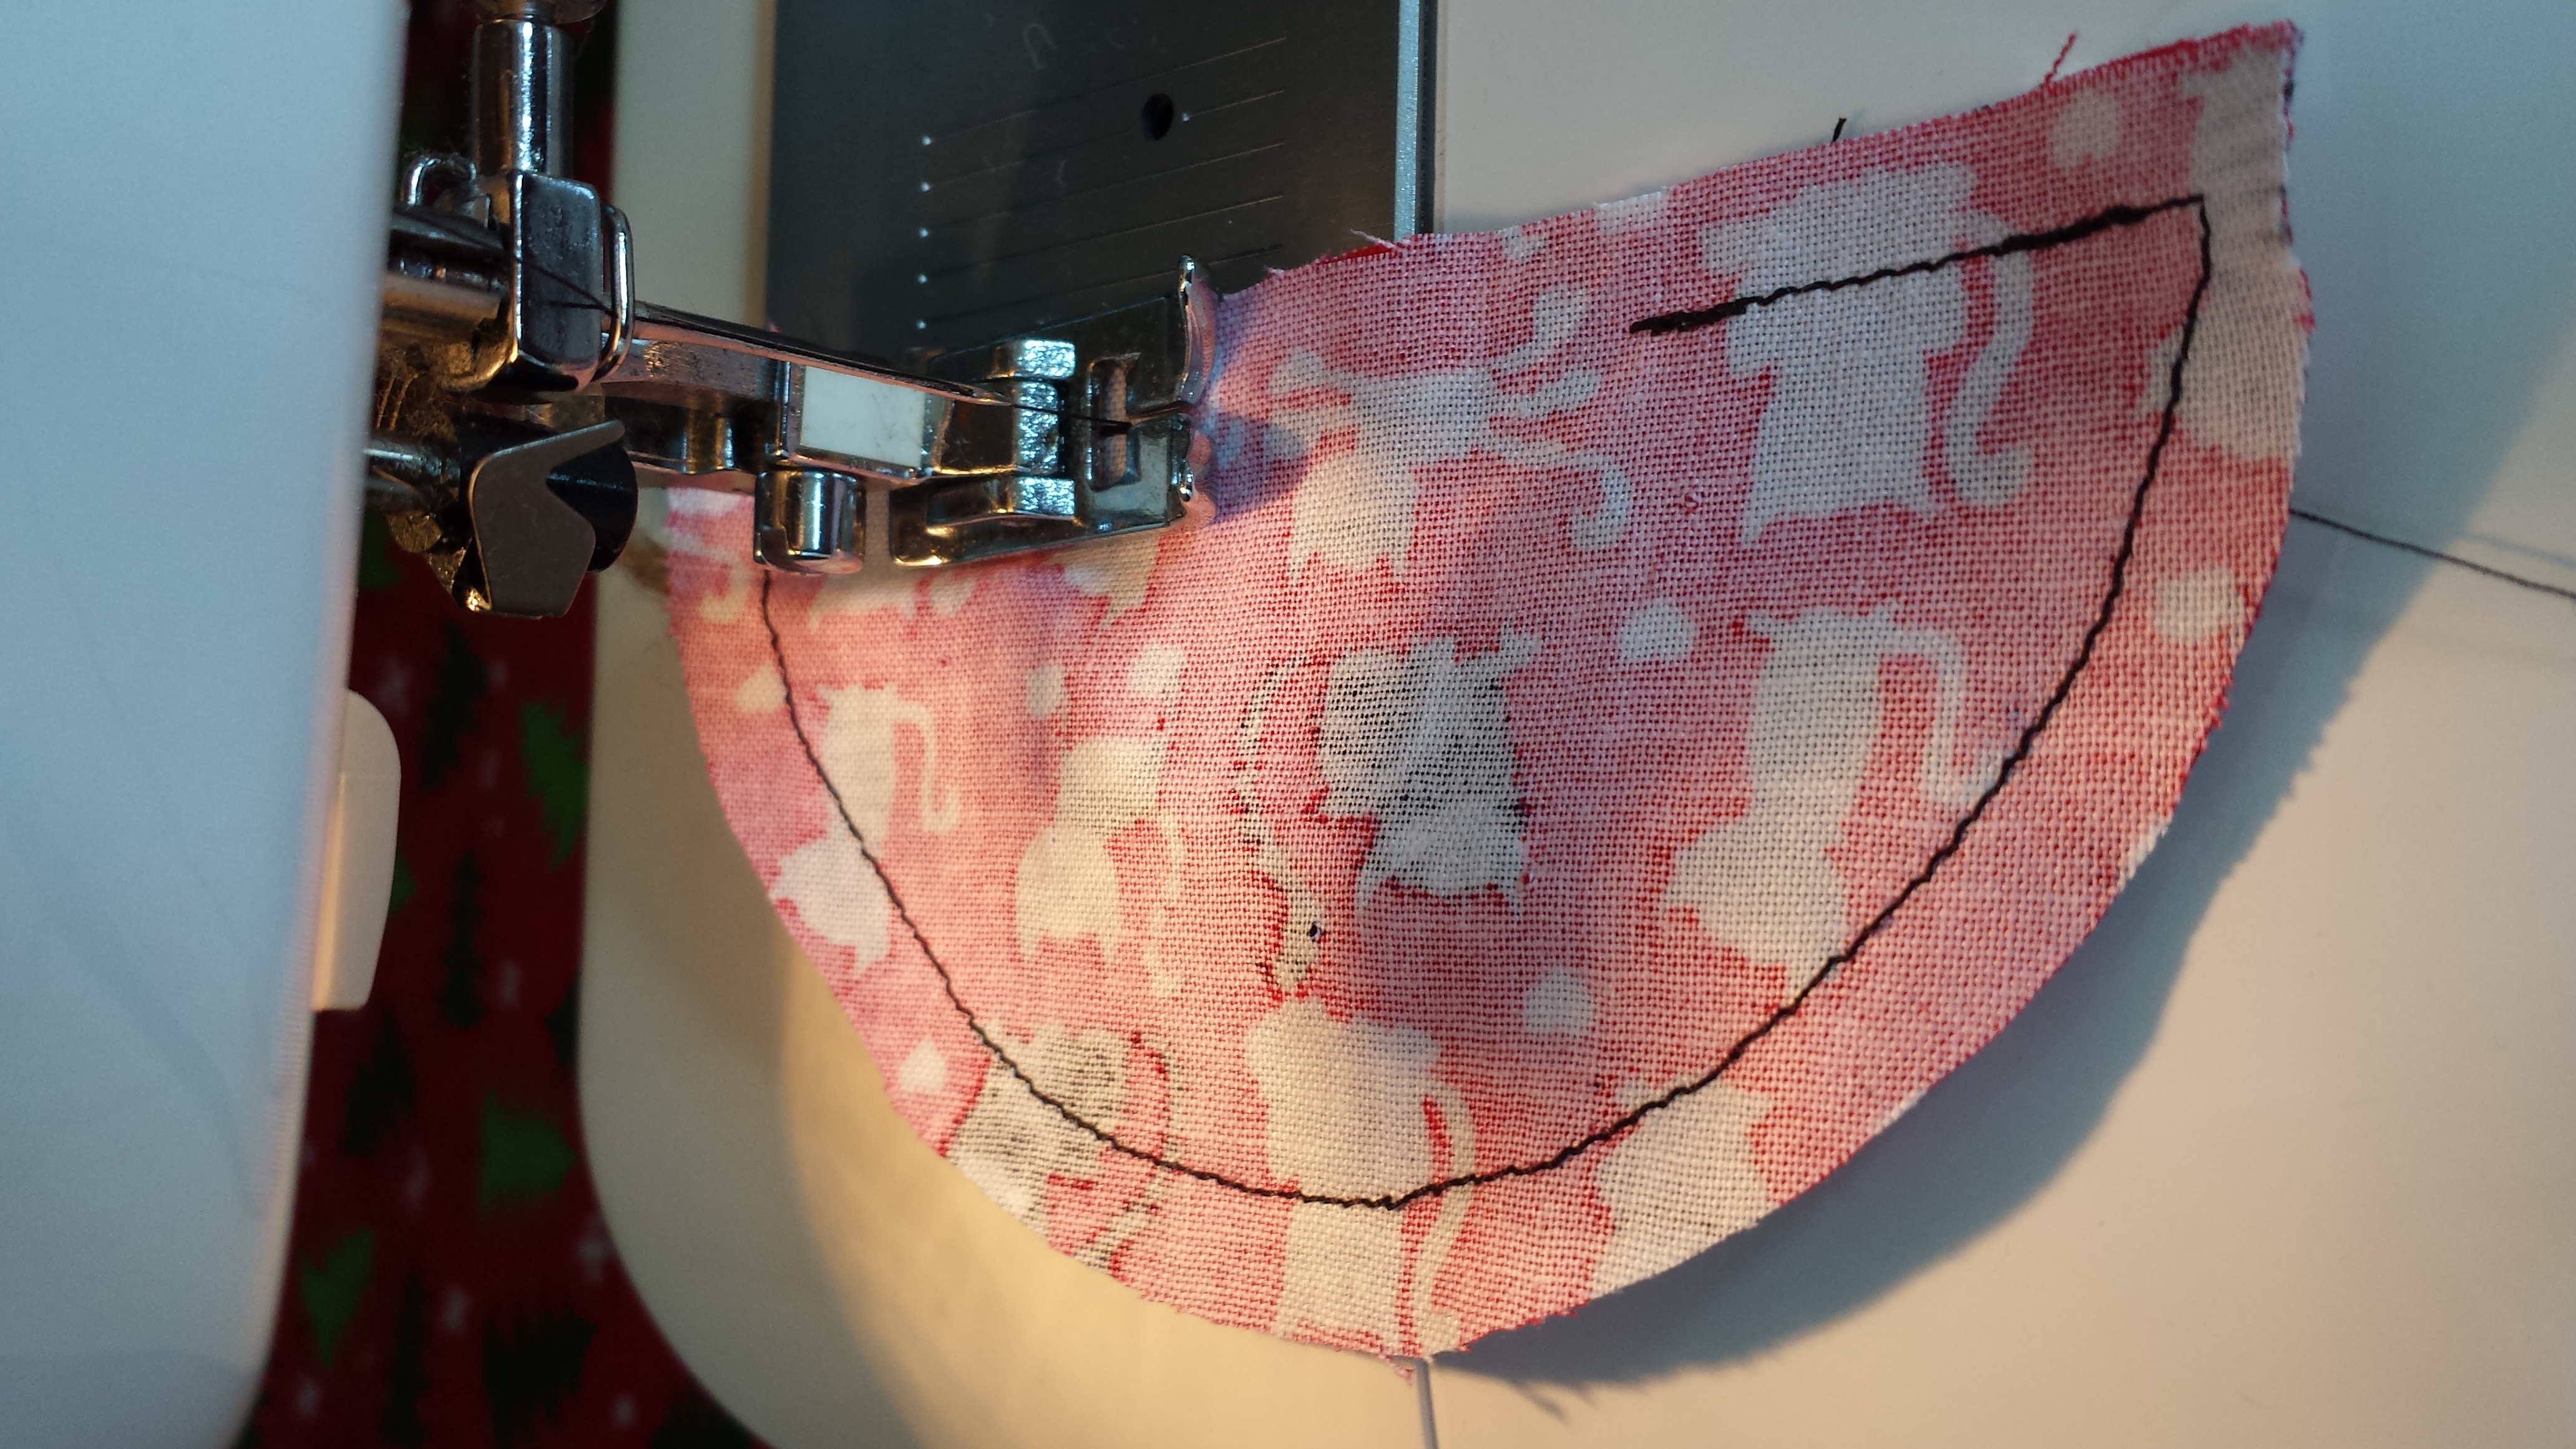

Using a 1/4″ seam allowance, begin sewing on one end of the straight side. Sew a few stitches, back stitch over them, and then continue sewing forward. When you get to where it curves, leave your needle down, lift presser foot to rotate the fabric to get you going in the right direction around the curve. You will sew over the twine where it sticks out of the fabric. Again in the corner, leave the needle down, lift the presser foot, and turn back to sewing along the straight side. Leave about an inch and a half opening. Be sure to back stitch a few stitches once you reach your end point and then stitch over them again forward.
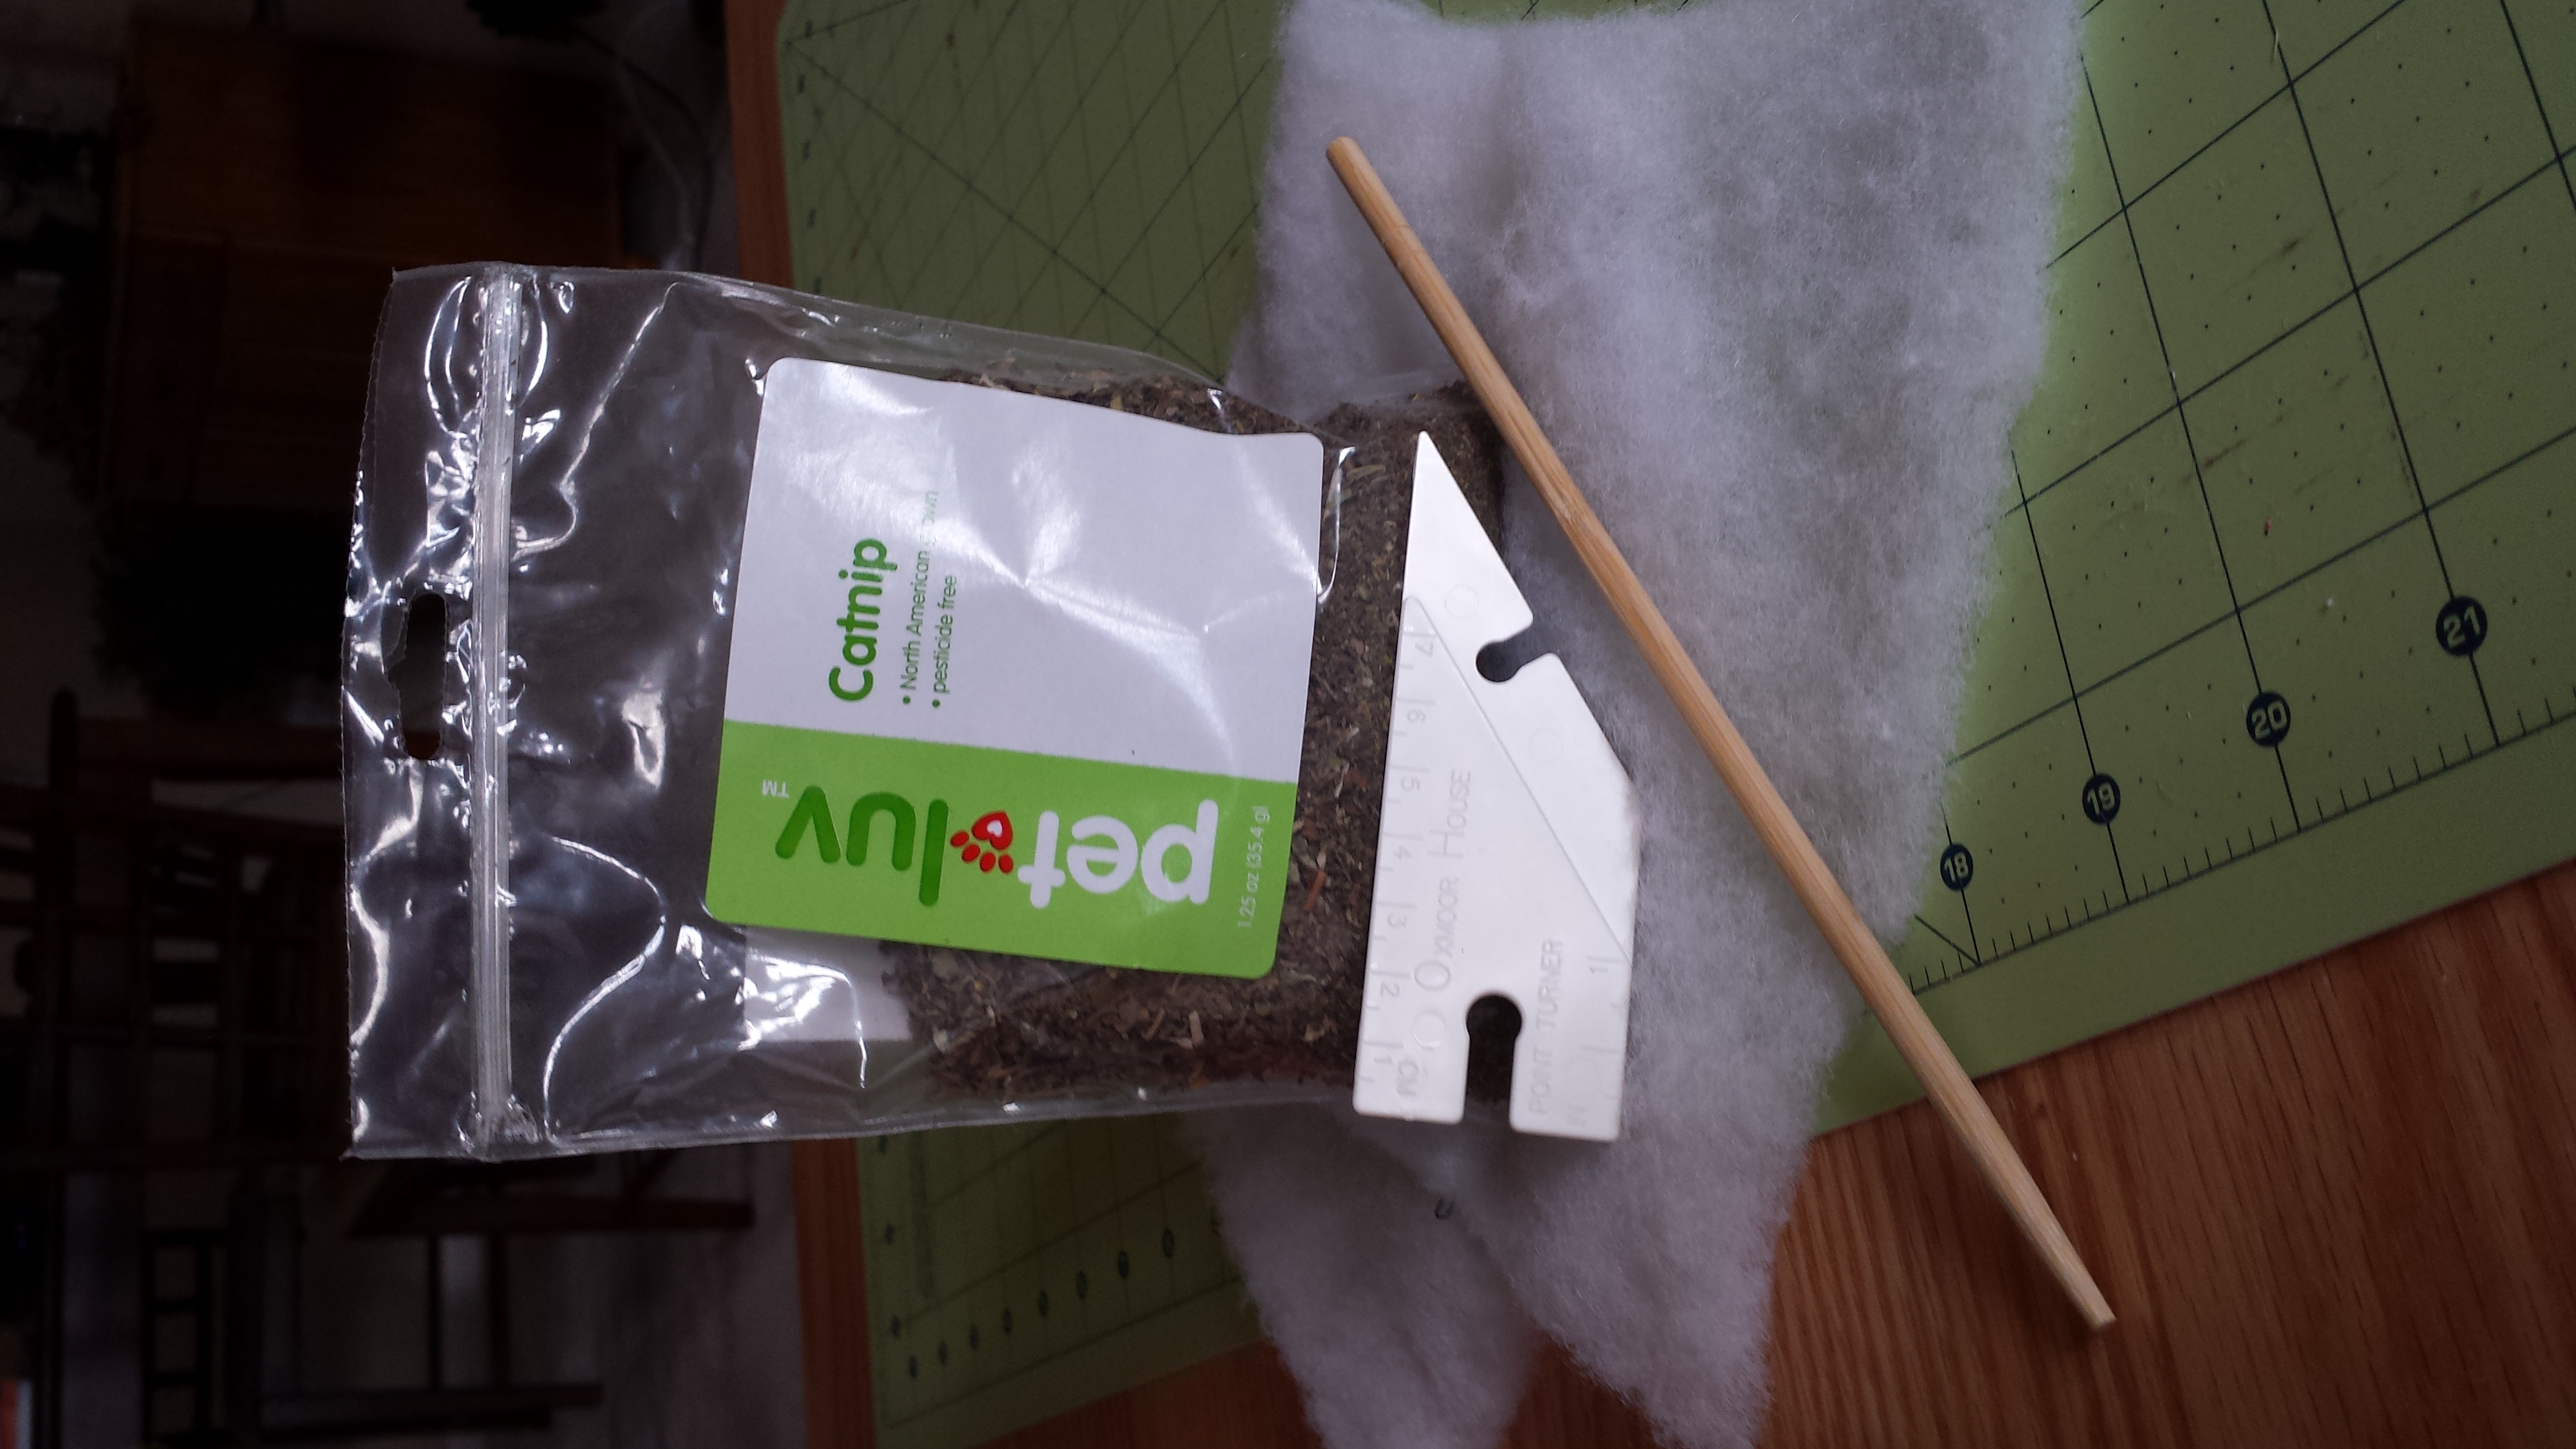
Using a chopstick or fabric turner, turn the mouse right side out.
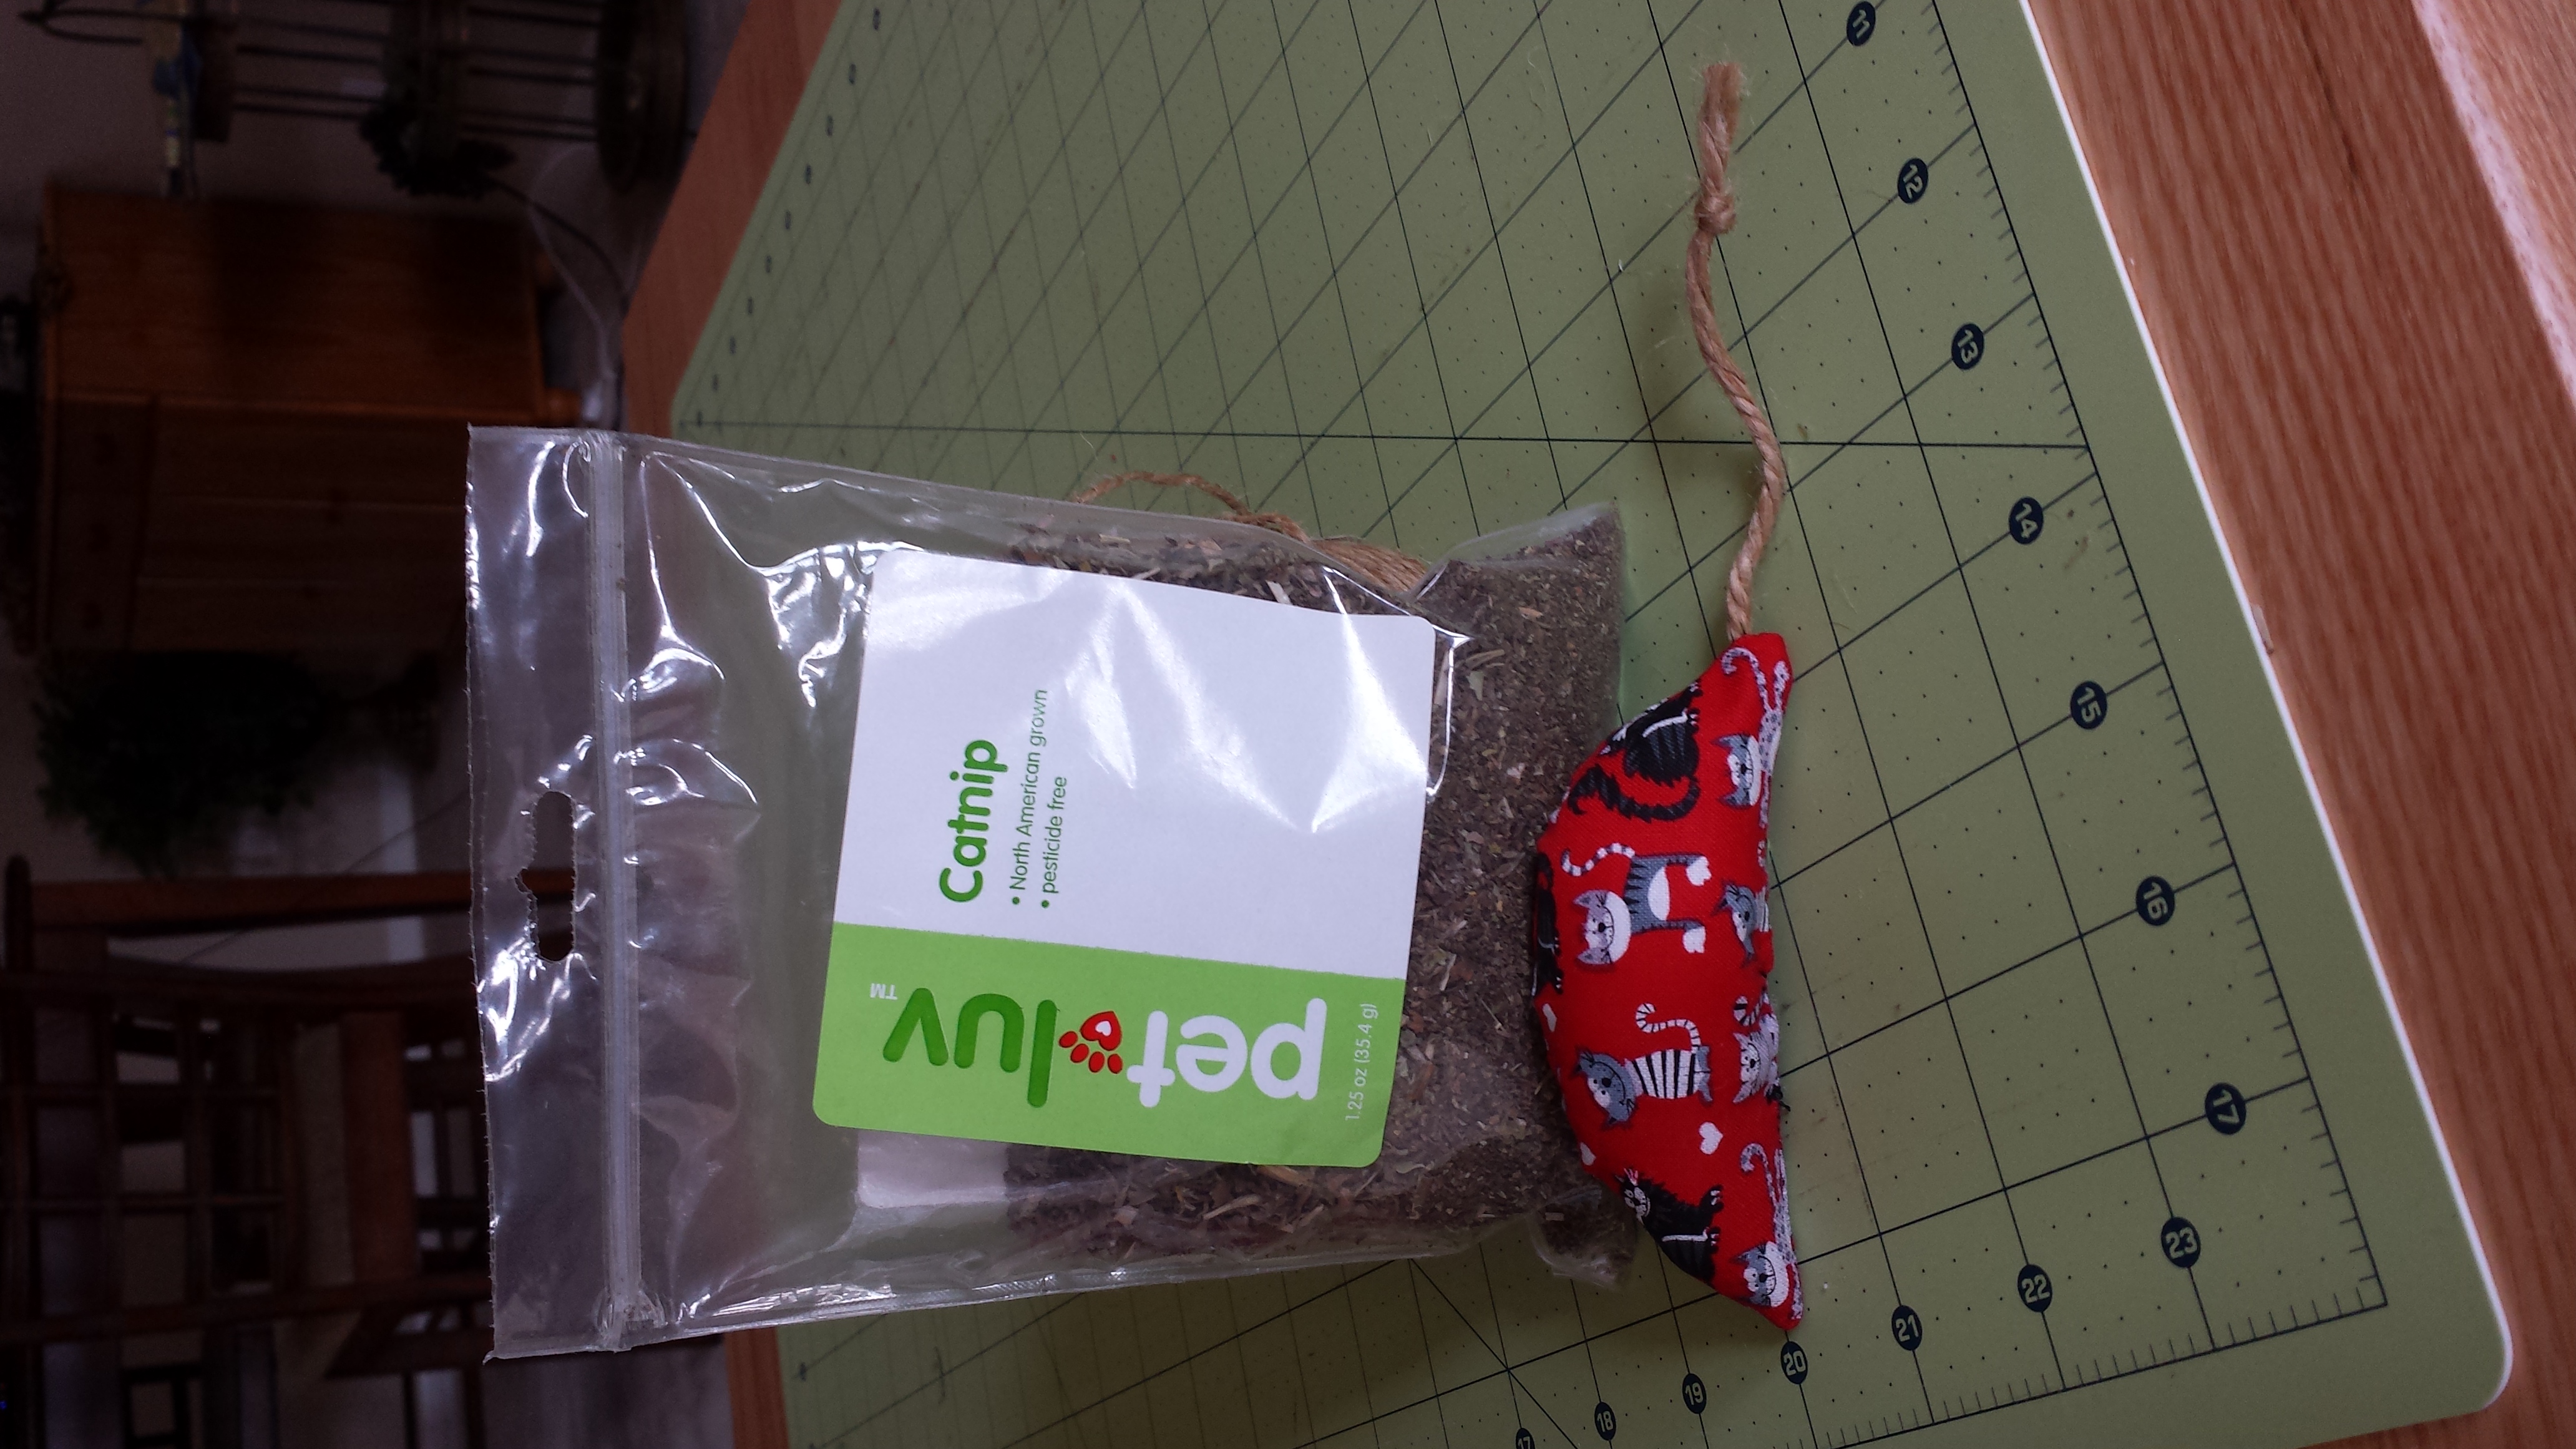
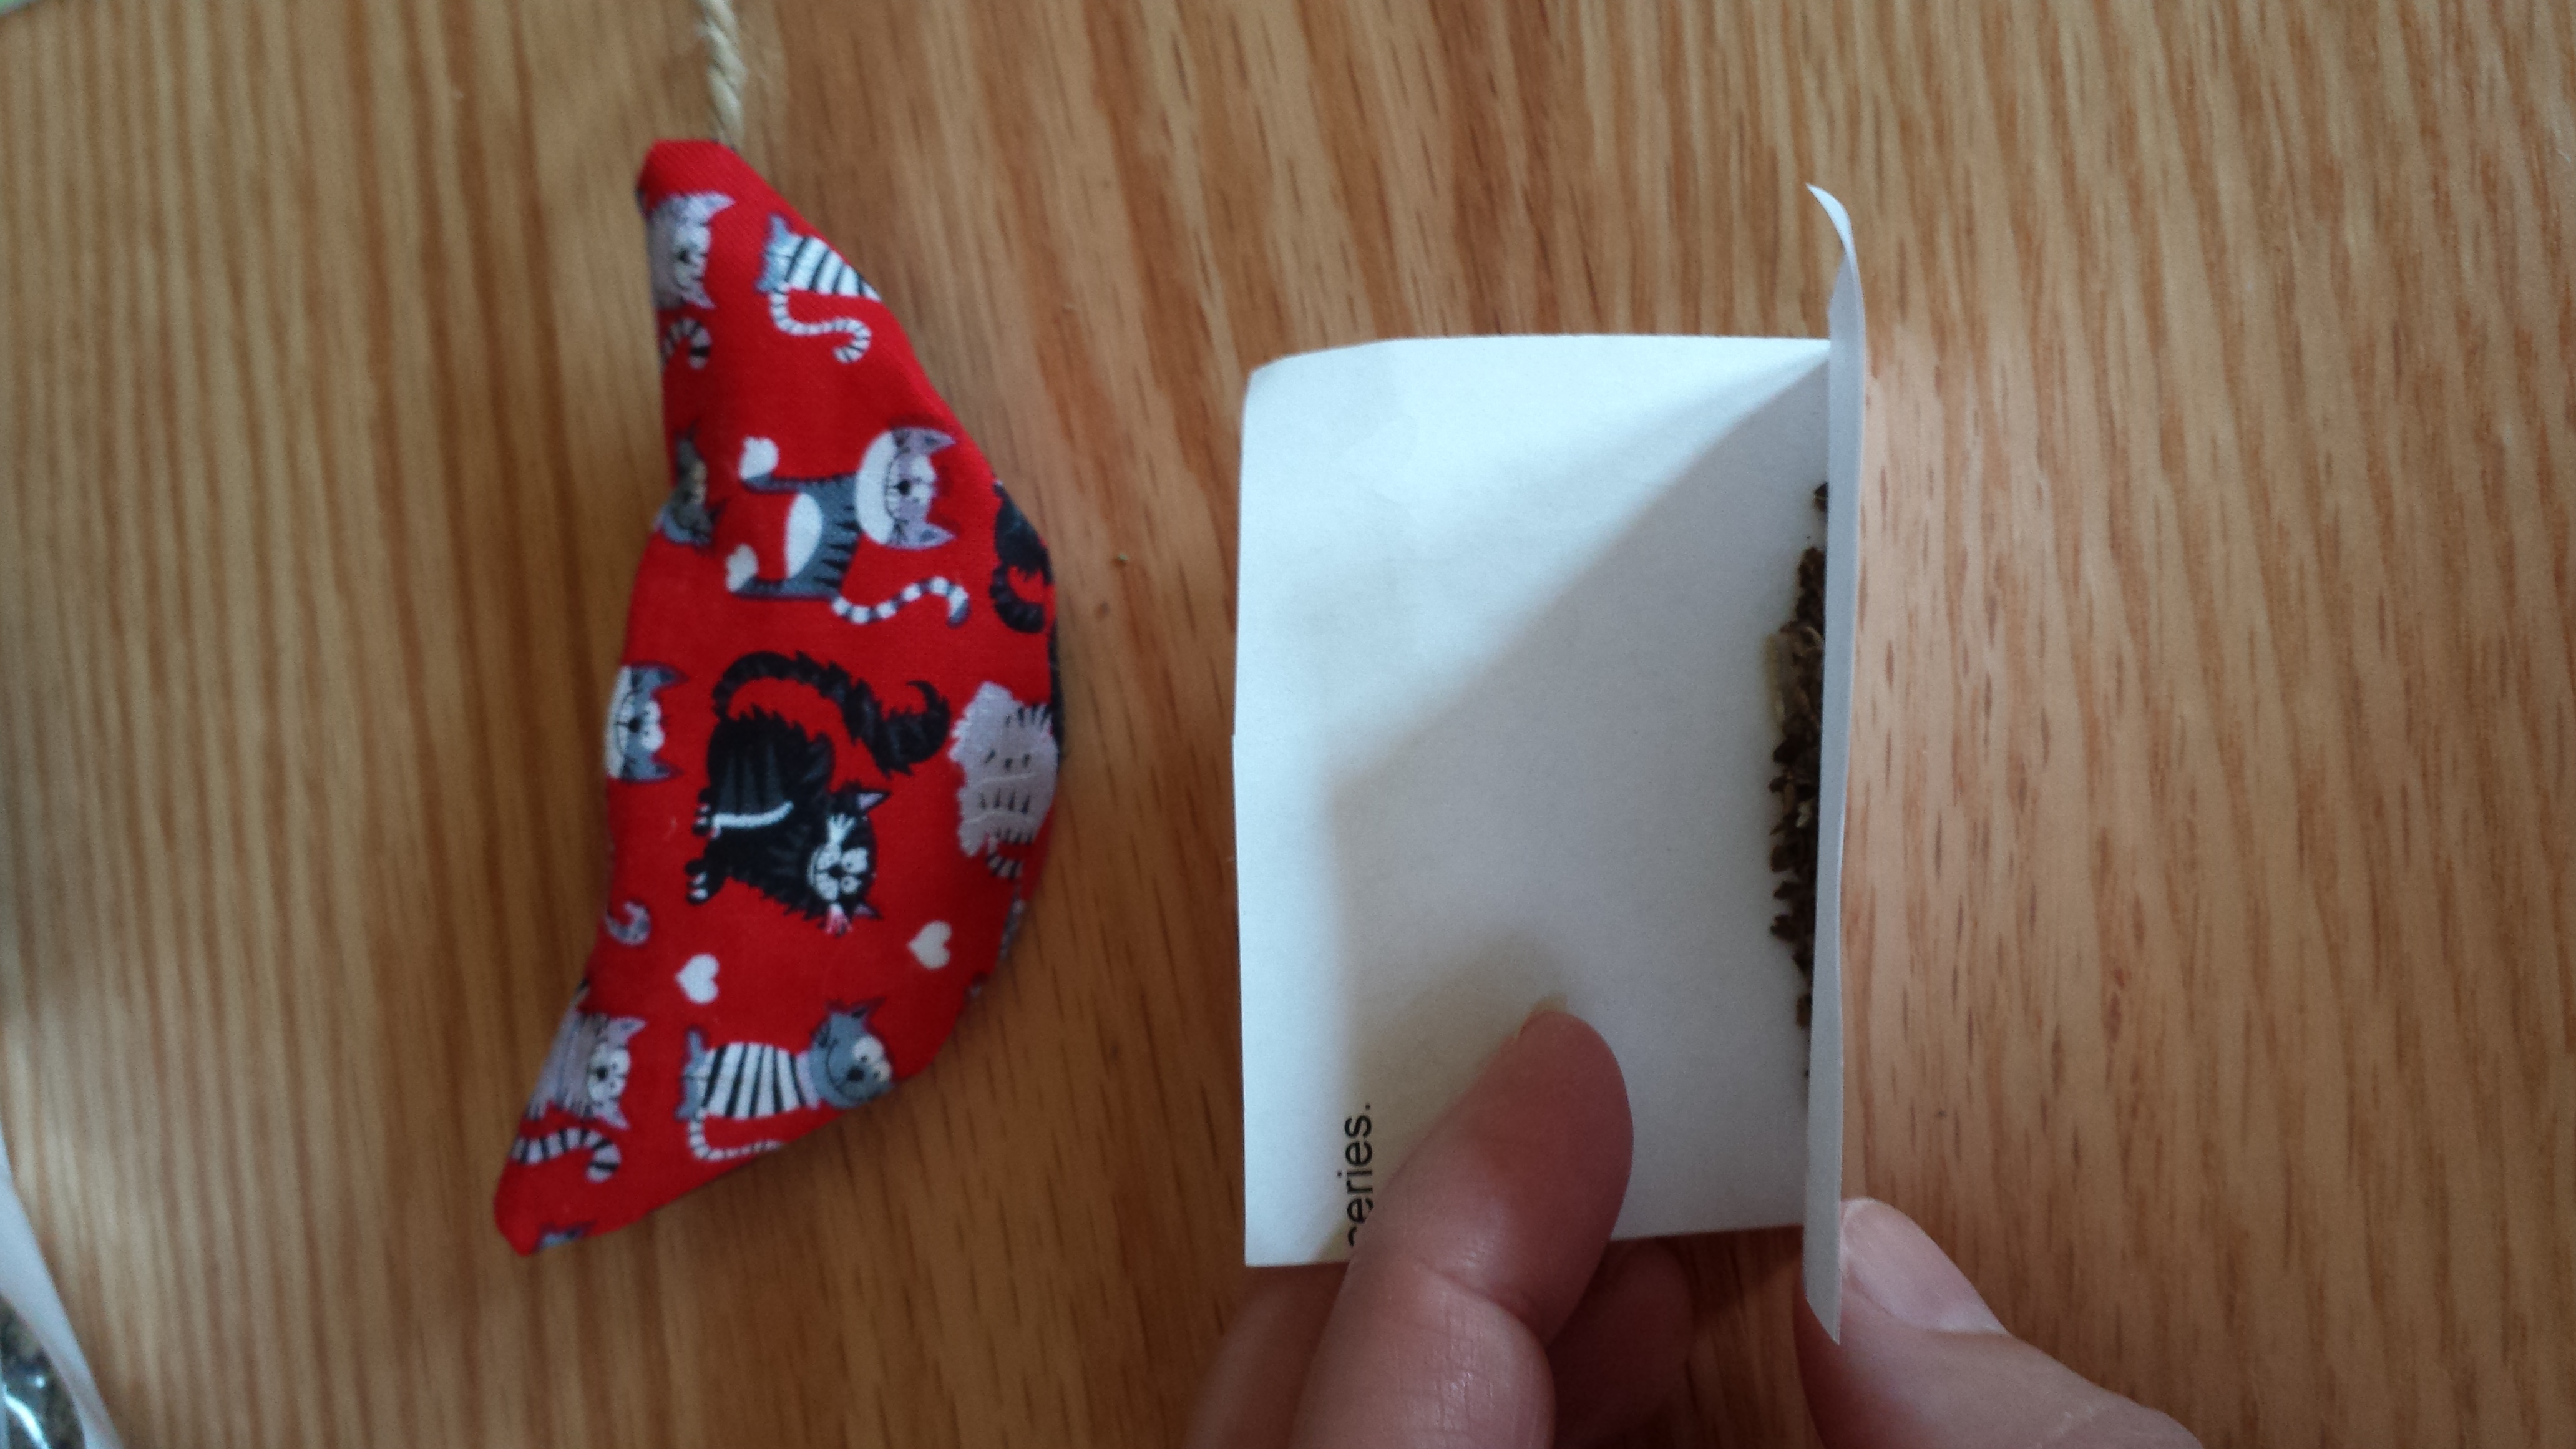
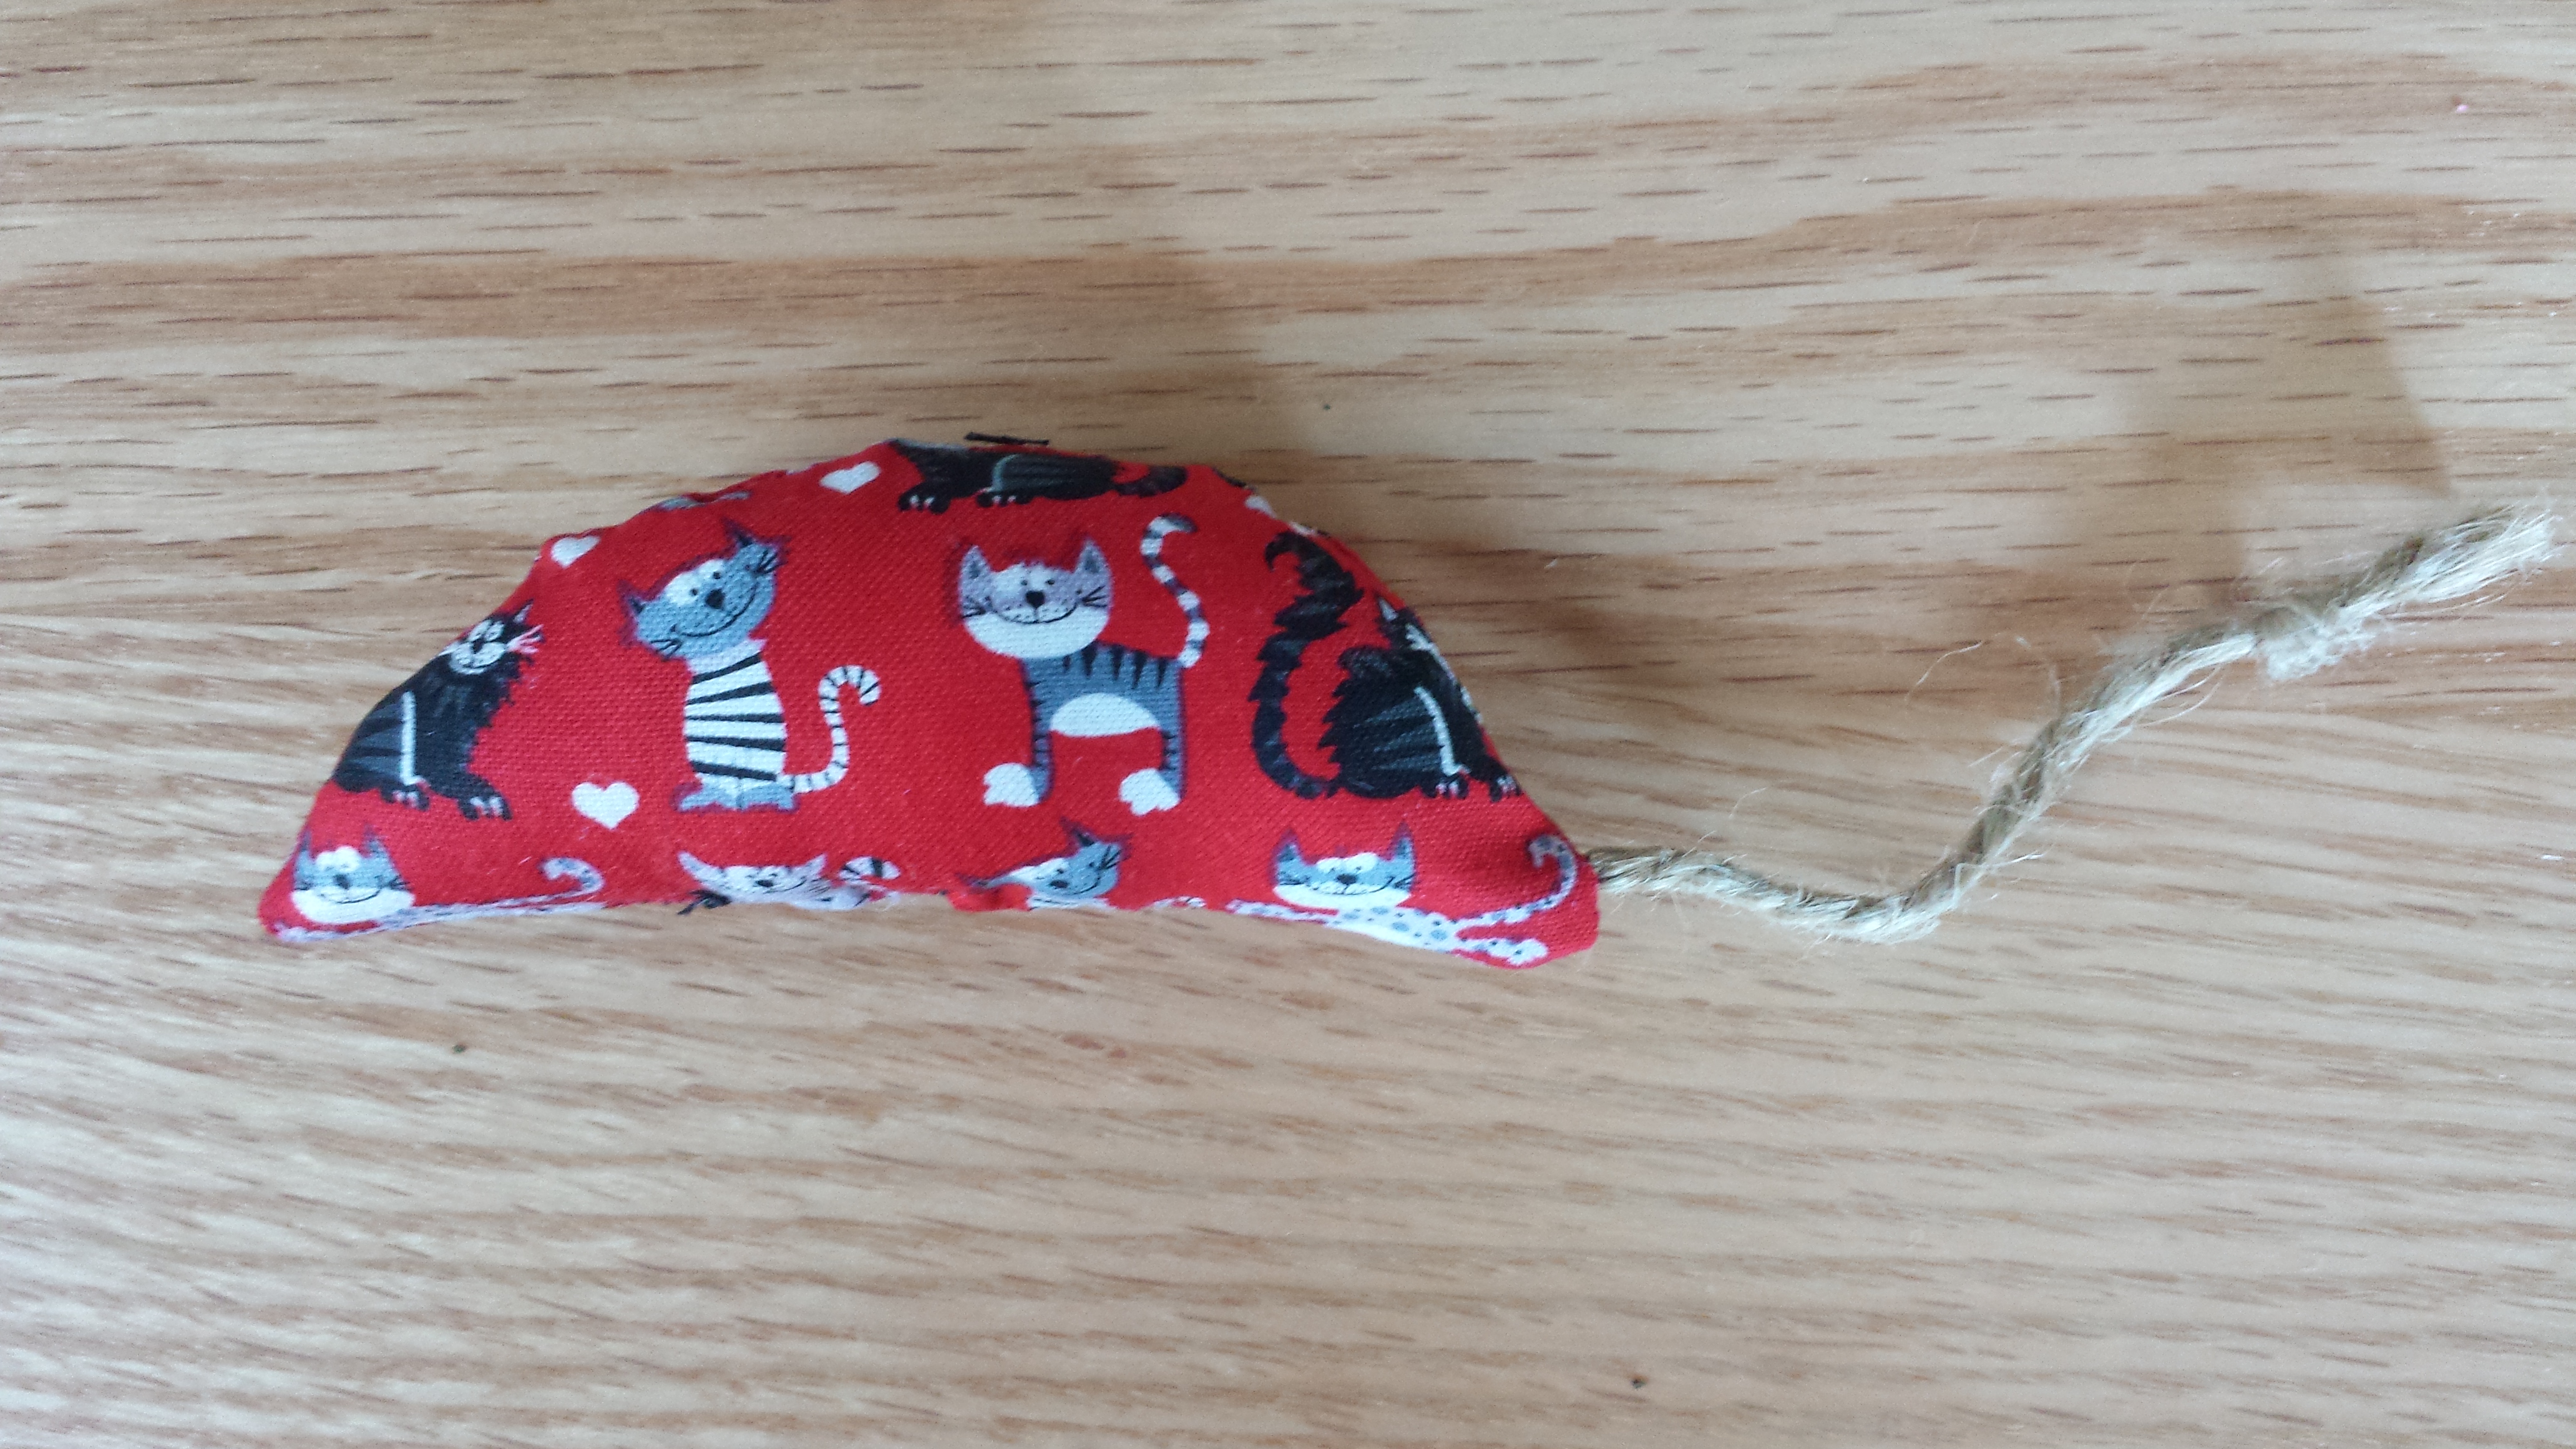
Stuff the mouse with batting and catnip. I folded a piece of paper in half to guide the catnip into the small opening of the mouse. Use your chopstick to push the batting into place. Get a good mix of batting and catnip in there–your cat will love you even more for it! I tied a knot into the end of the tail.
Using a needle and thread, hand sew the opening shut. If you don’t mind the stitching showing, you can finish it using the sewing machine. Your cat isn’t going to care. At this point, you can add eyes, ears and a nose. I made the first mouse for Sid with the intent of adding the details. Curiosity got the better of me, and I took the mouse to Sid to see his reaction. He could care less about the details, and once he’d chewed on it, I didn’t have much interest in working with it again.
Submit for inspection.
Sid’s reaction to the first mouse:
Sid’s Catnip Fish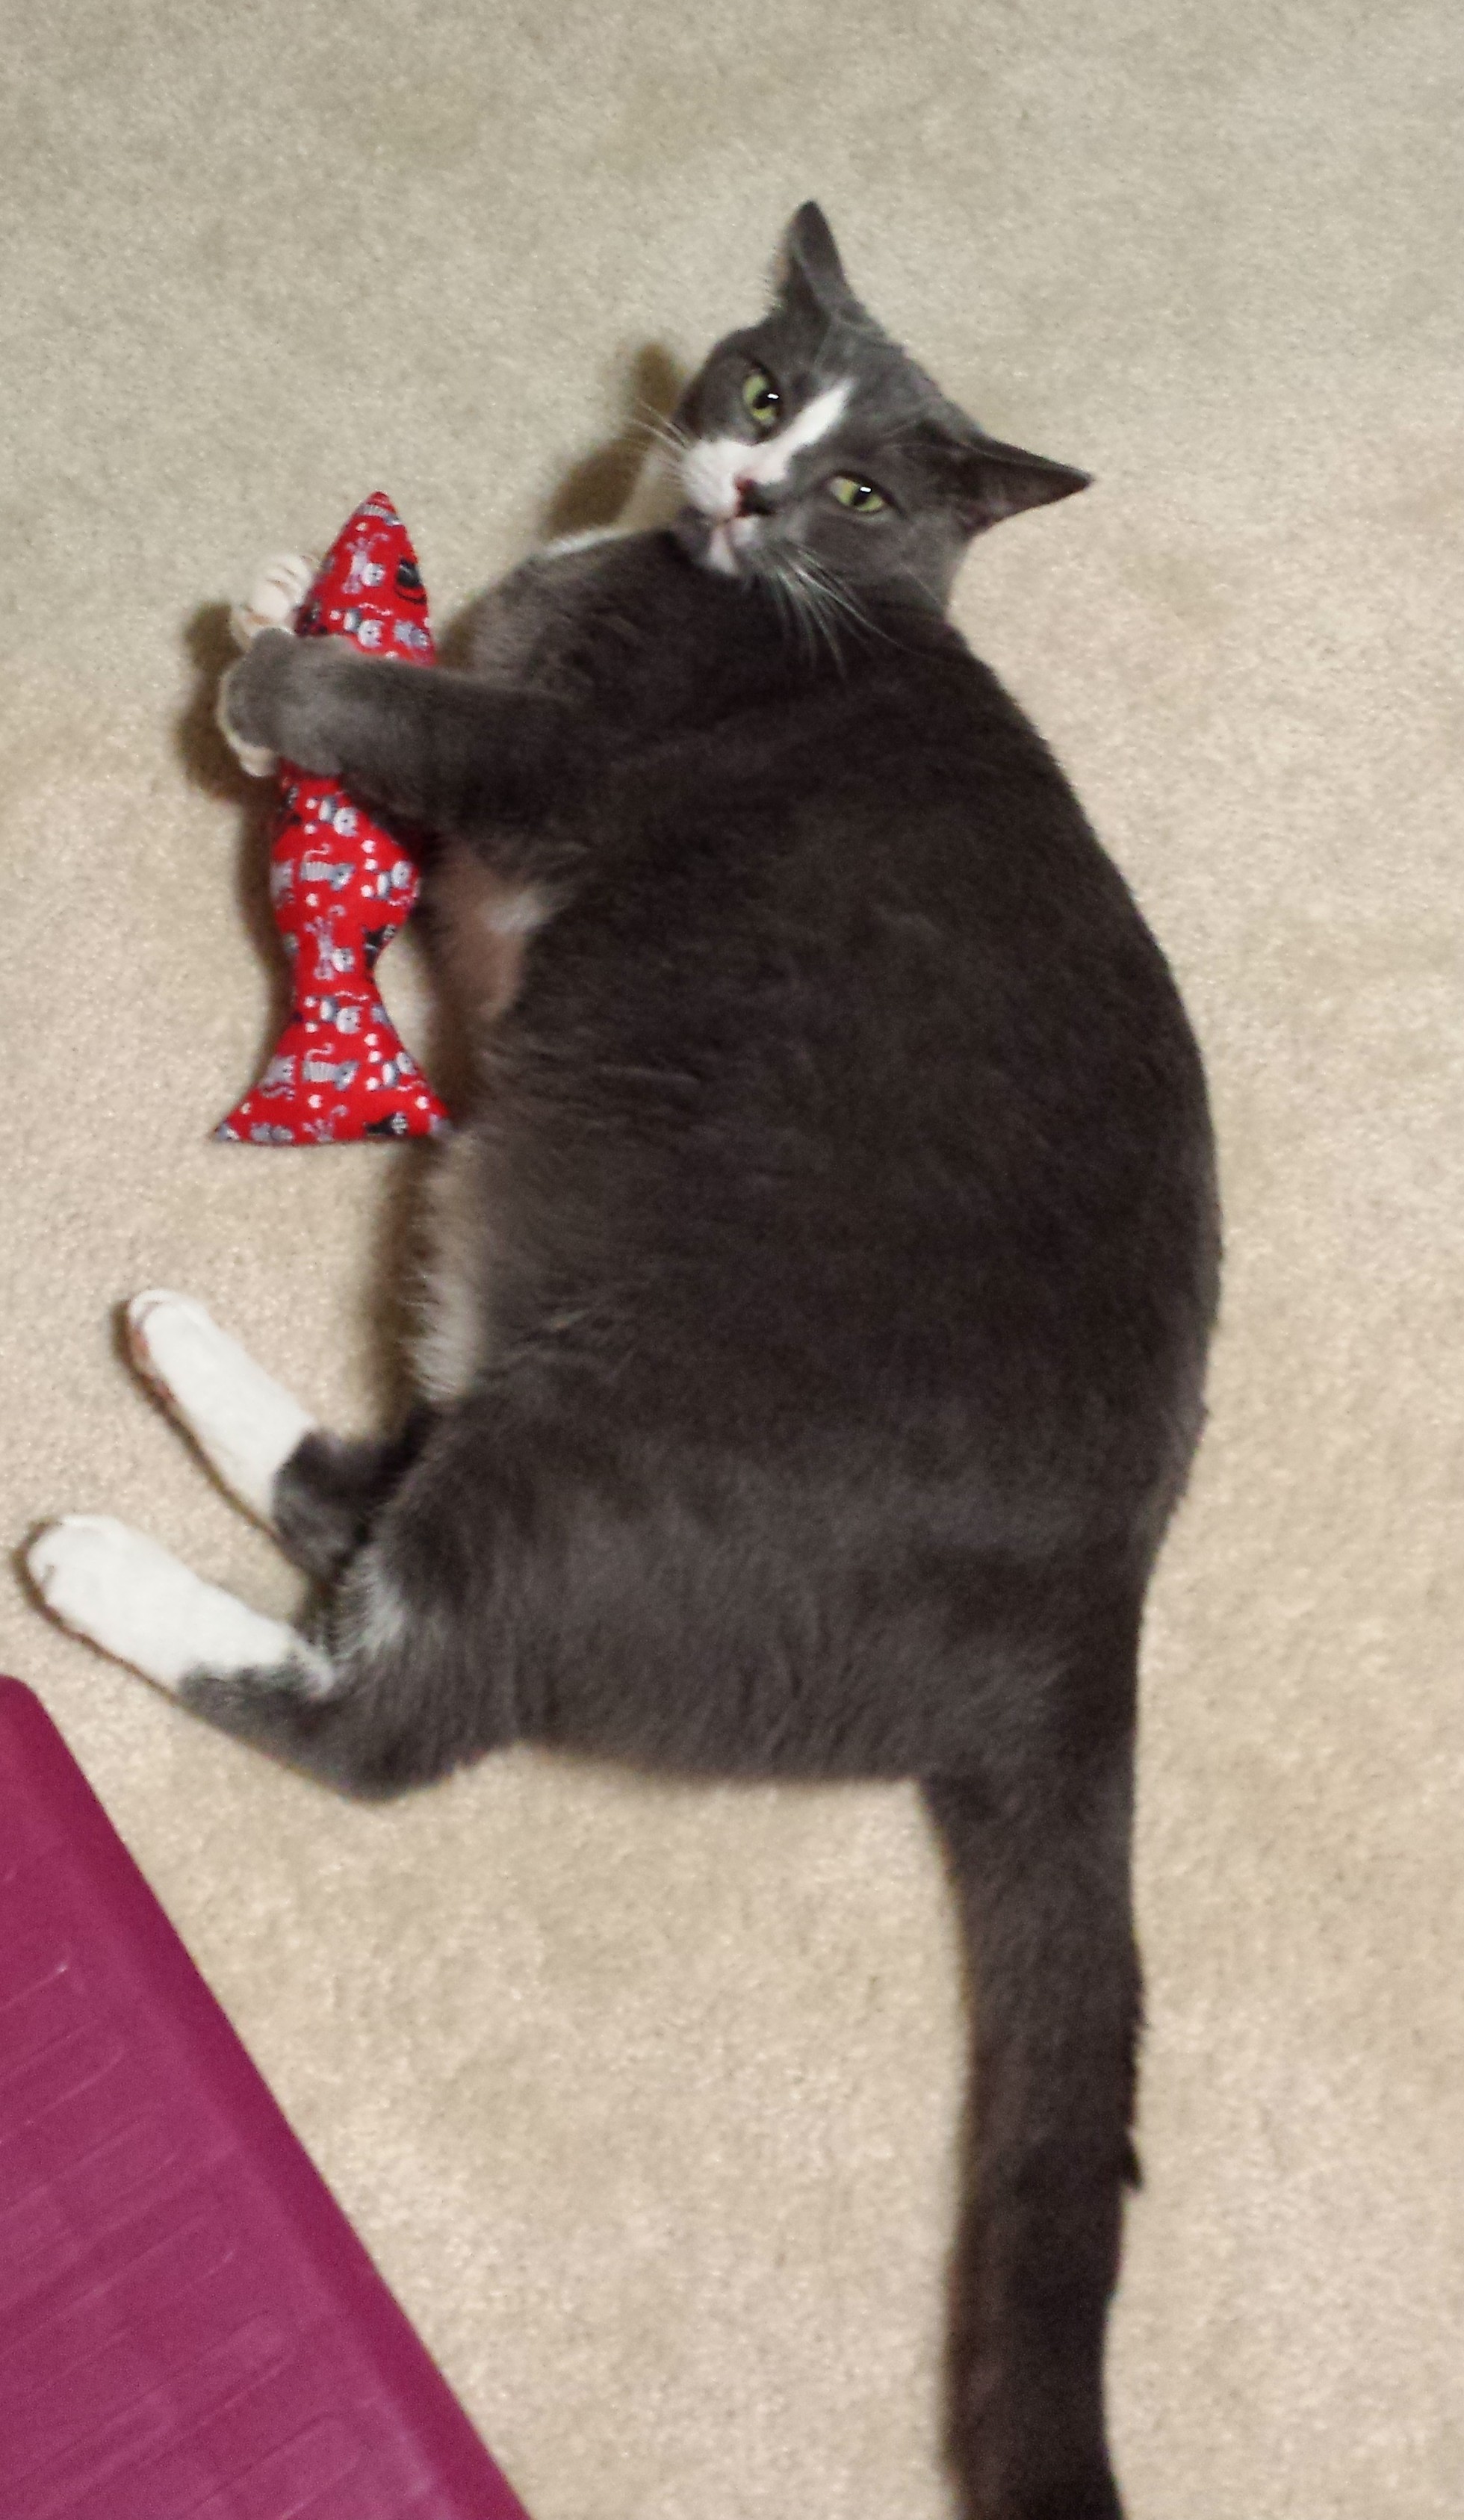
(Please refer to the above tutorial for more detailed instructions.)
Making Sid’s catnip fish is very similar to making the catnip mouse. The difference is the shape. I searched online to find free printable fish patterns. Martha Stewart and Debbie Colgrove both have great patterns out there. You can always draw your own or use a cookie cutter. Your imagination is your limit. I made two different fish.
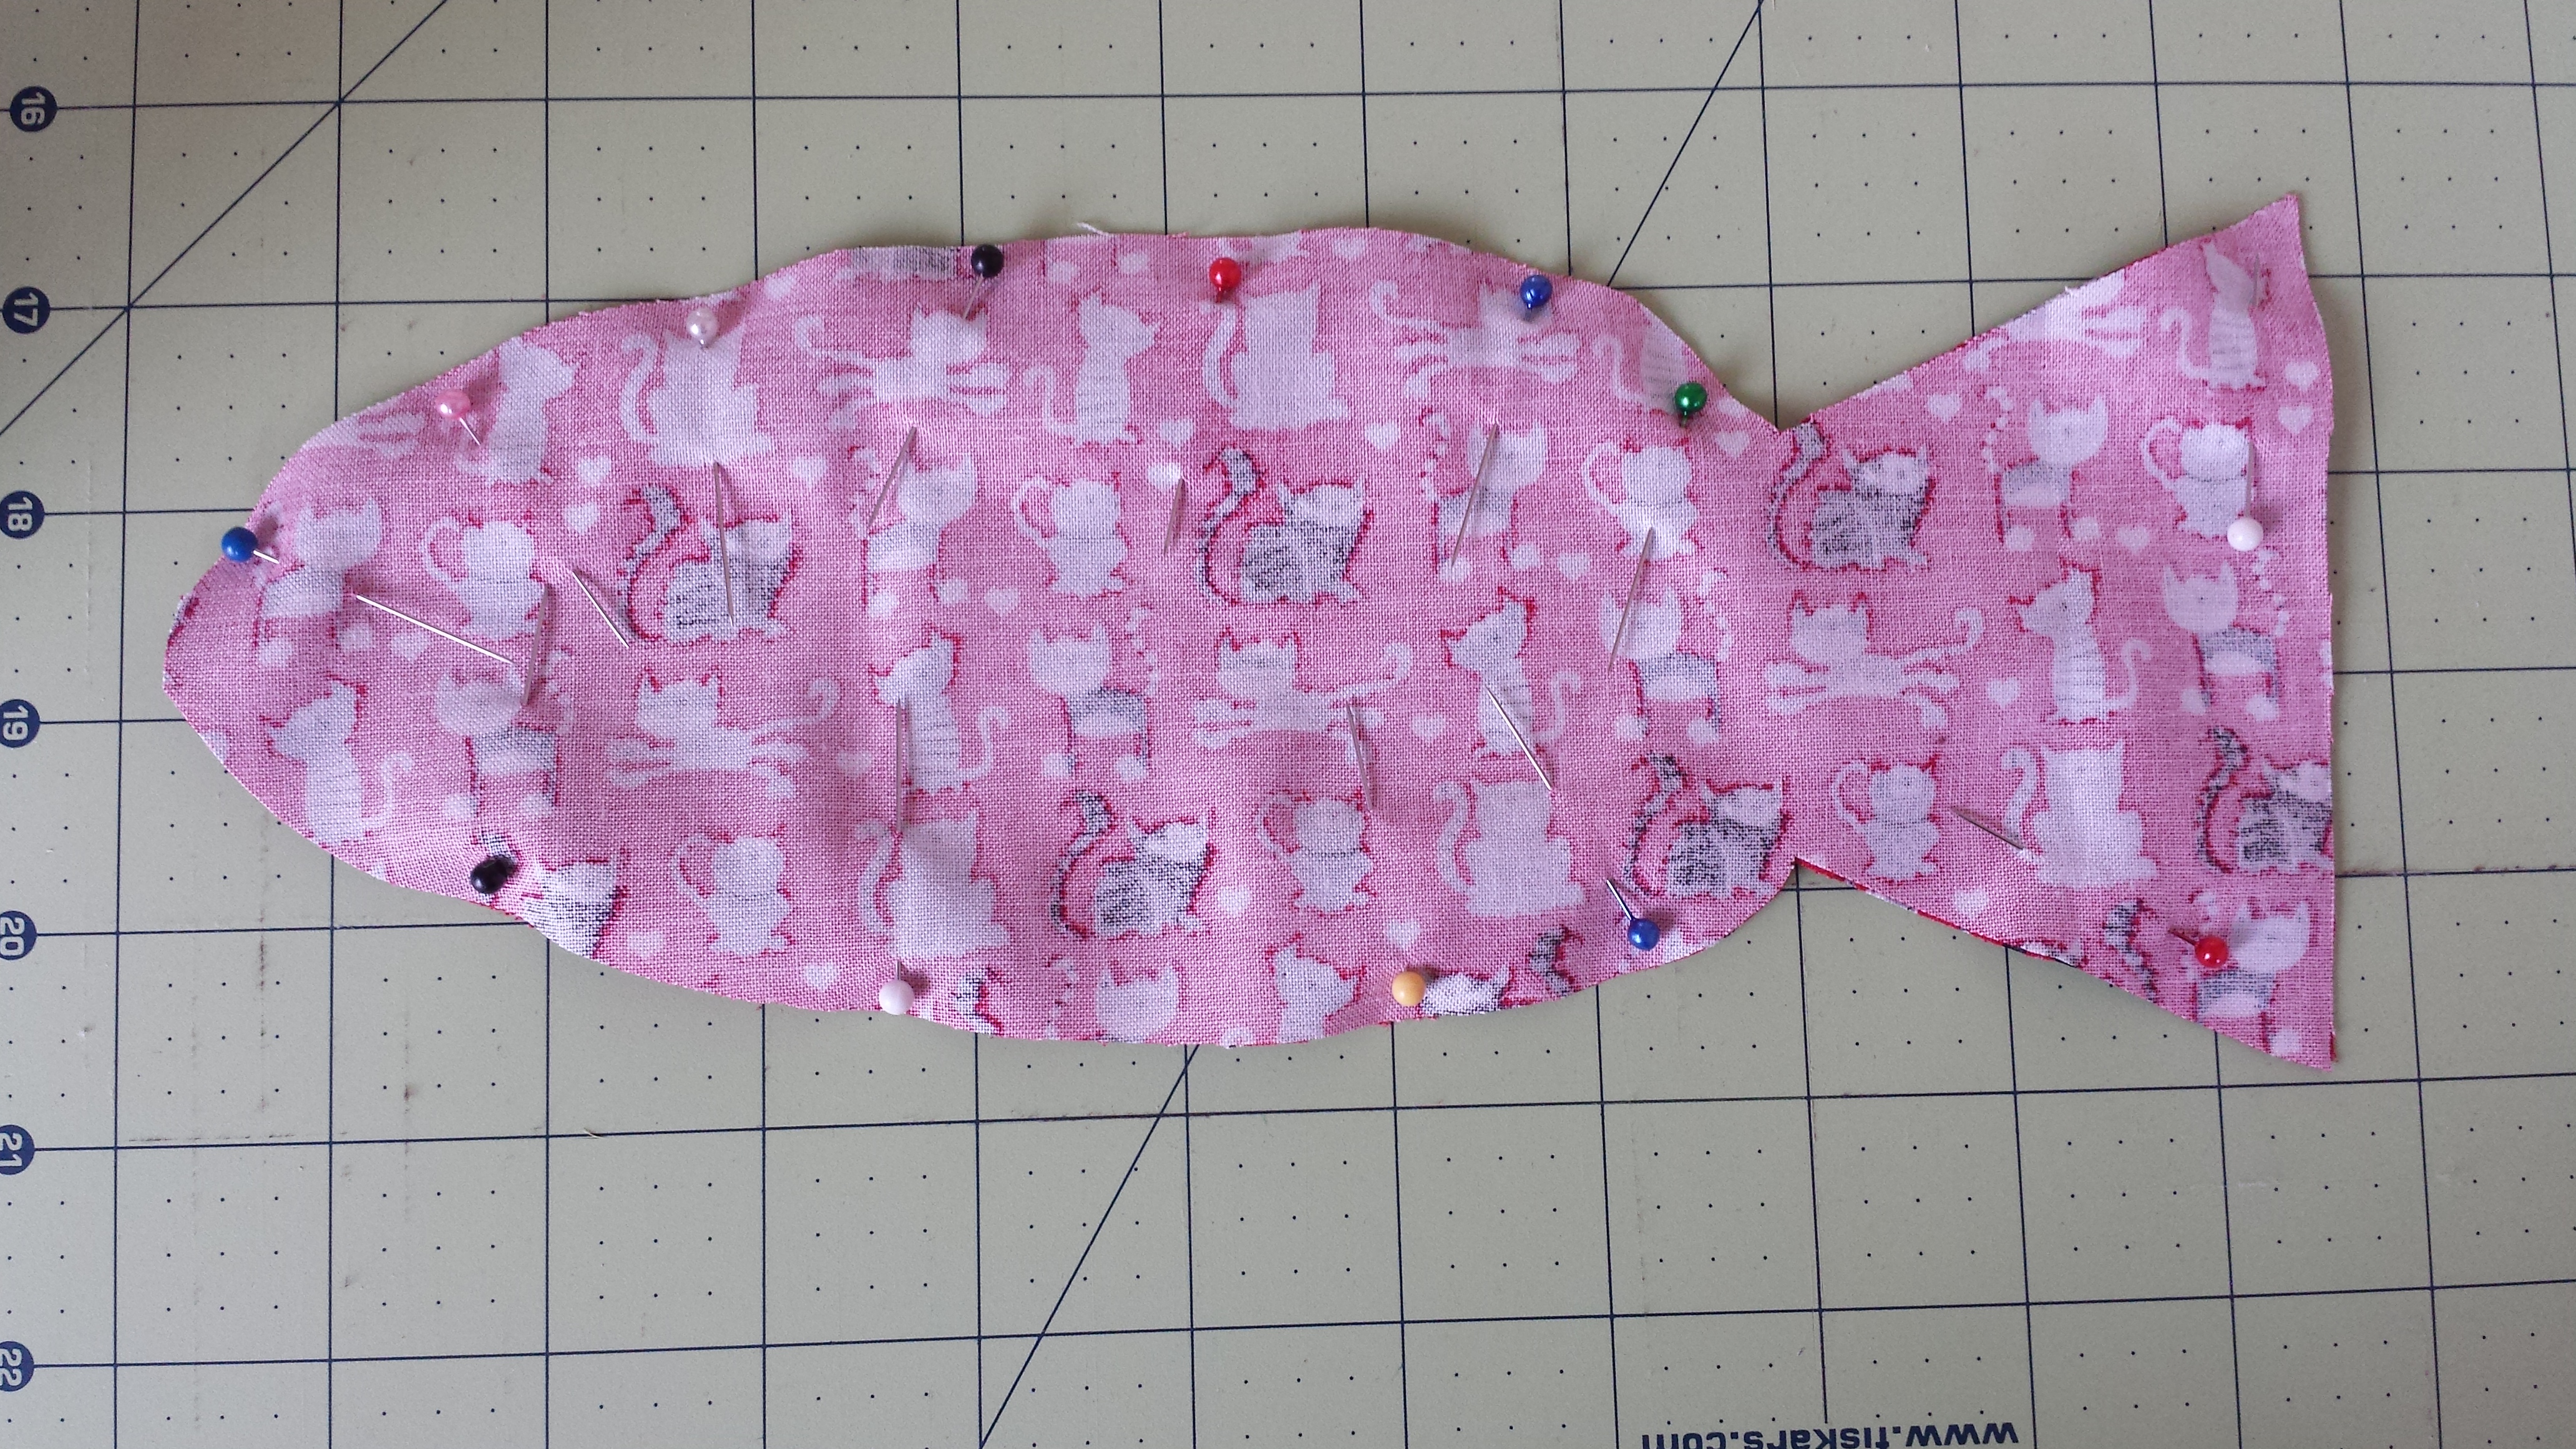
Choose your pattern, and cut two. Pin them right sides together.
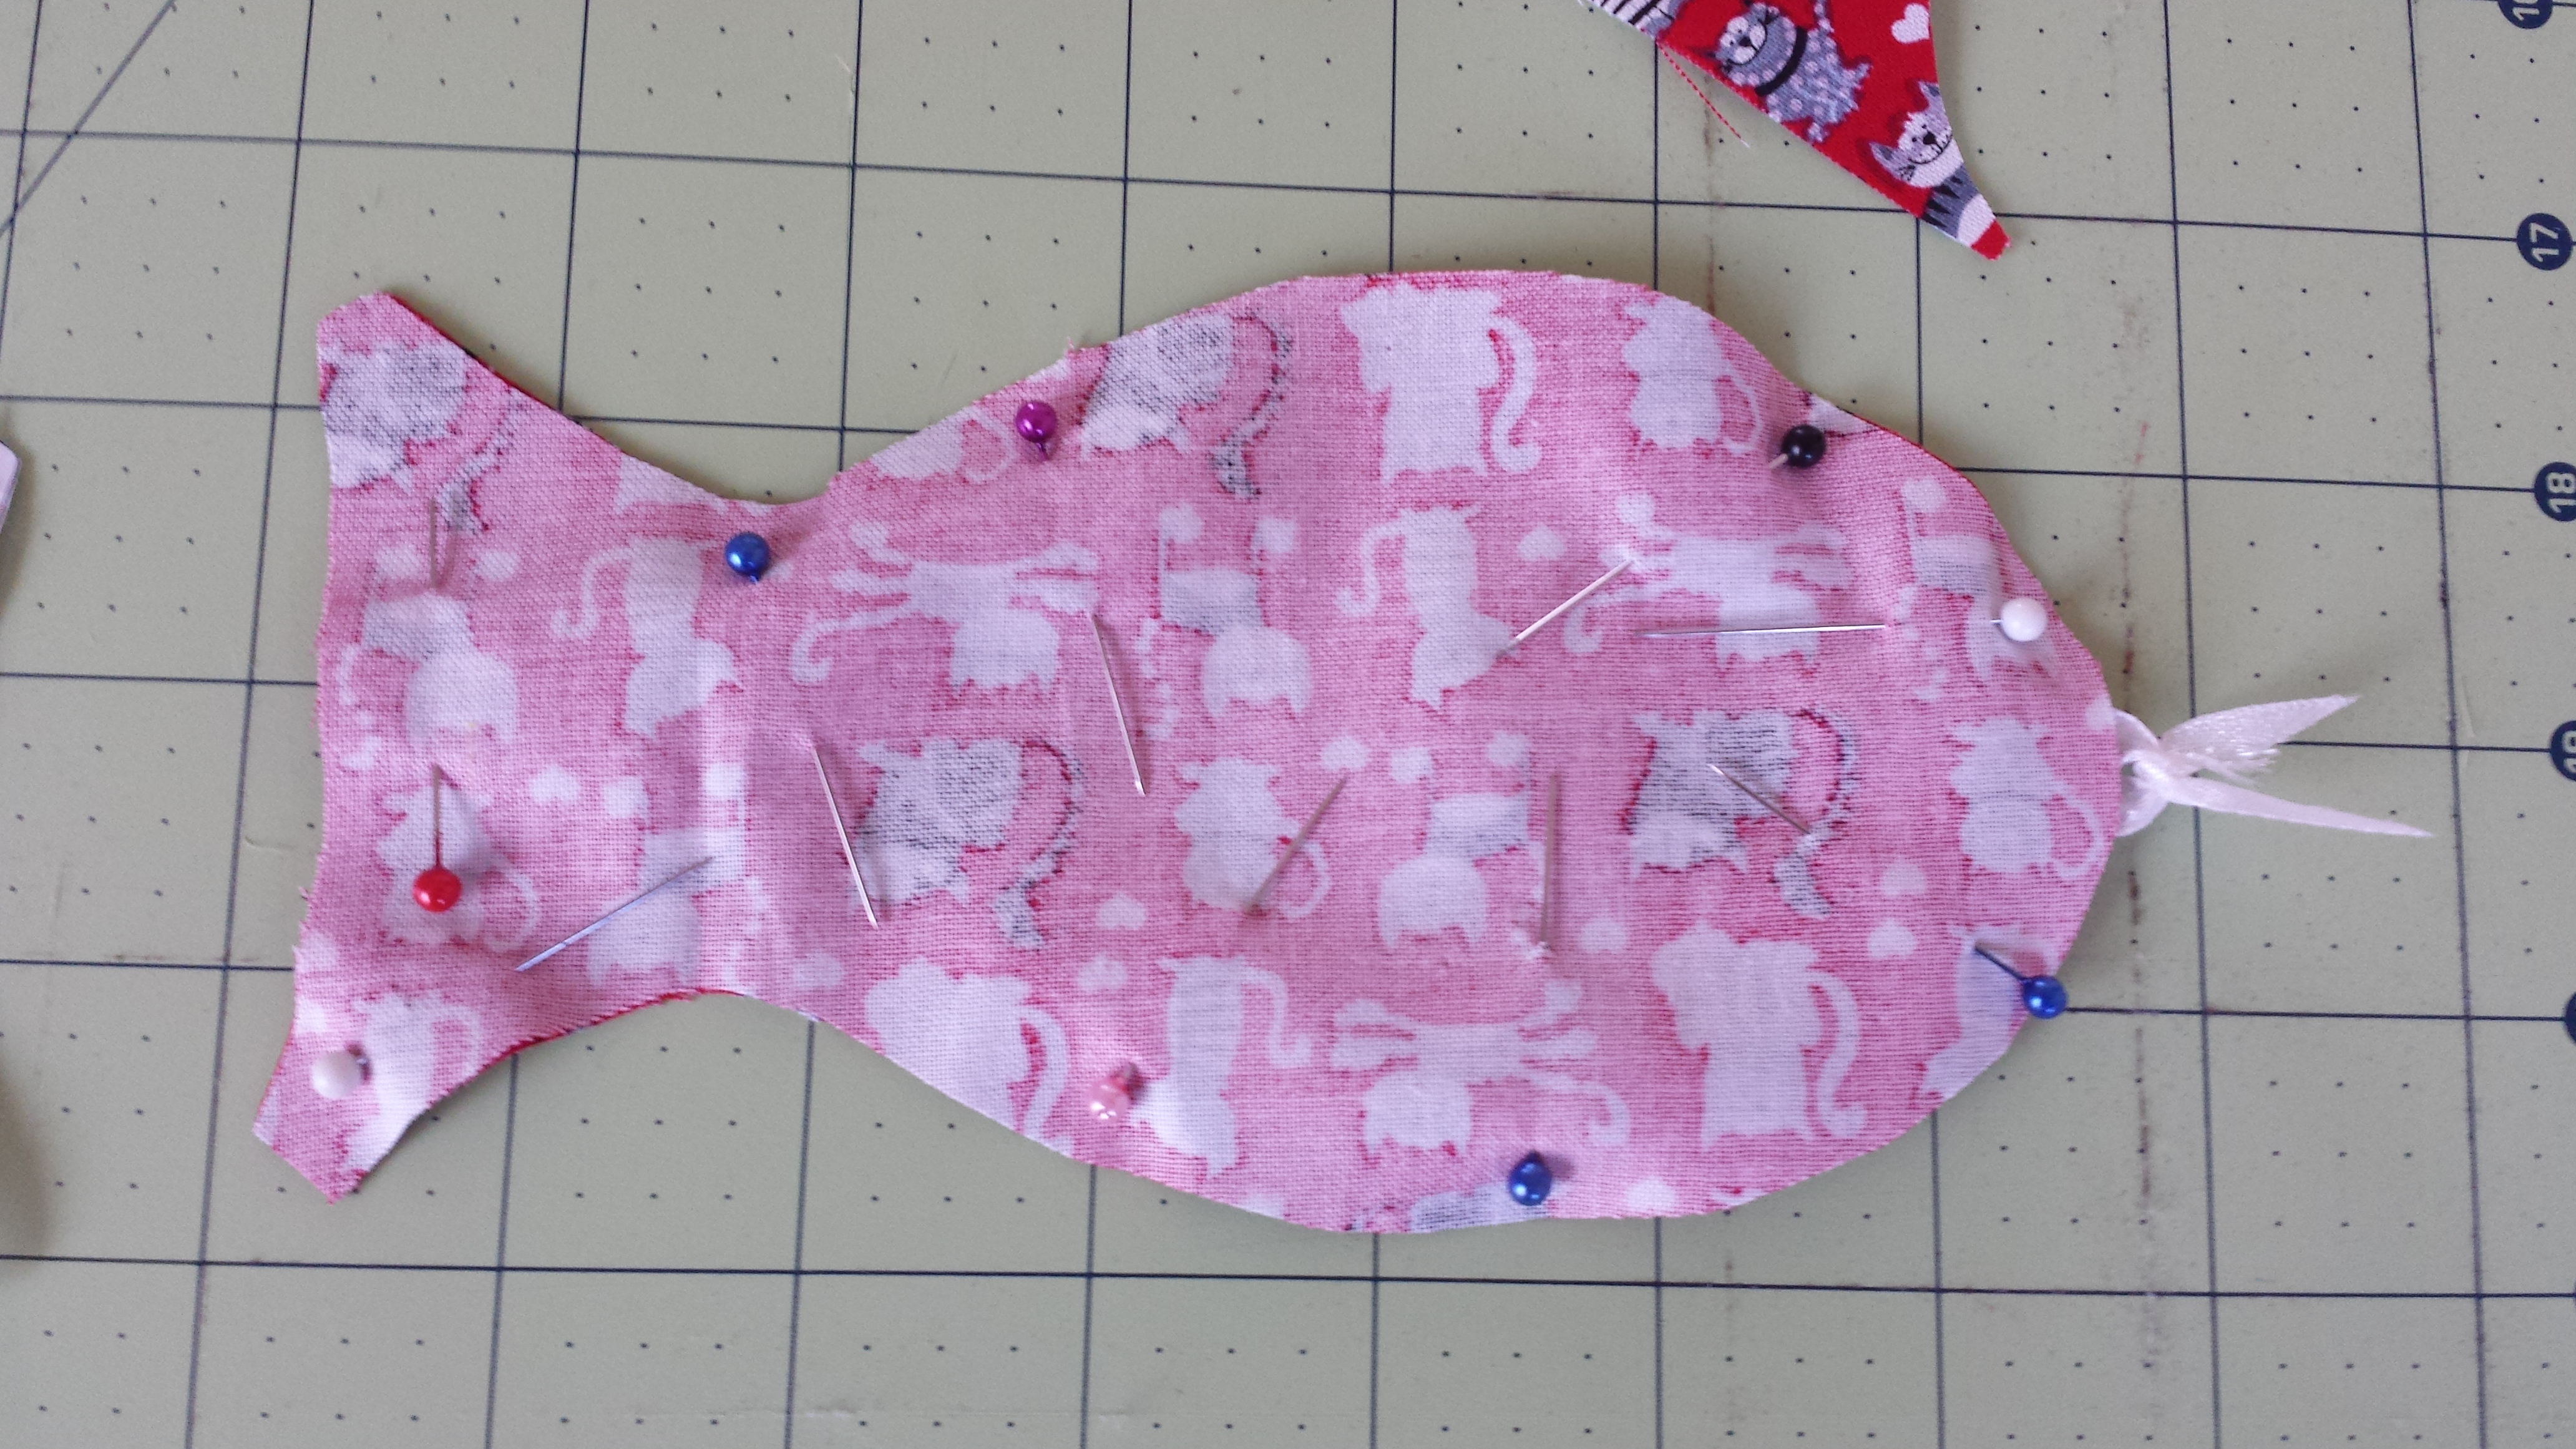
If you want to sew in a loop to use the fish as a lure, cut a piece of ribbon, tie the two ends together in a knot, and place the loop between the pieces of fabric with the knot outside the fabric. Sew a 1/4″ seam around the fish leaving an opening on the bottom to turn and stuff.
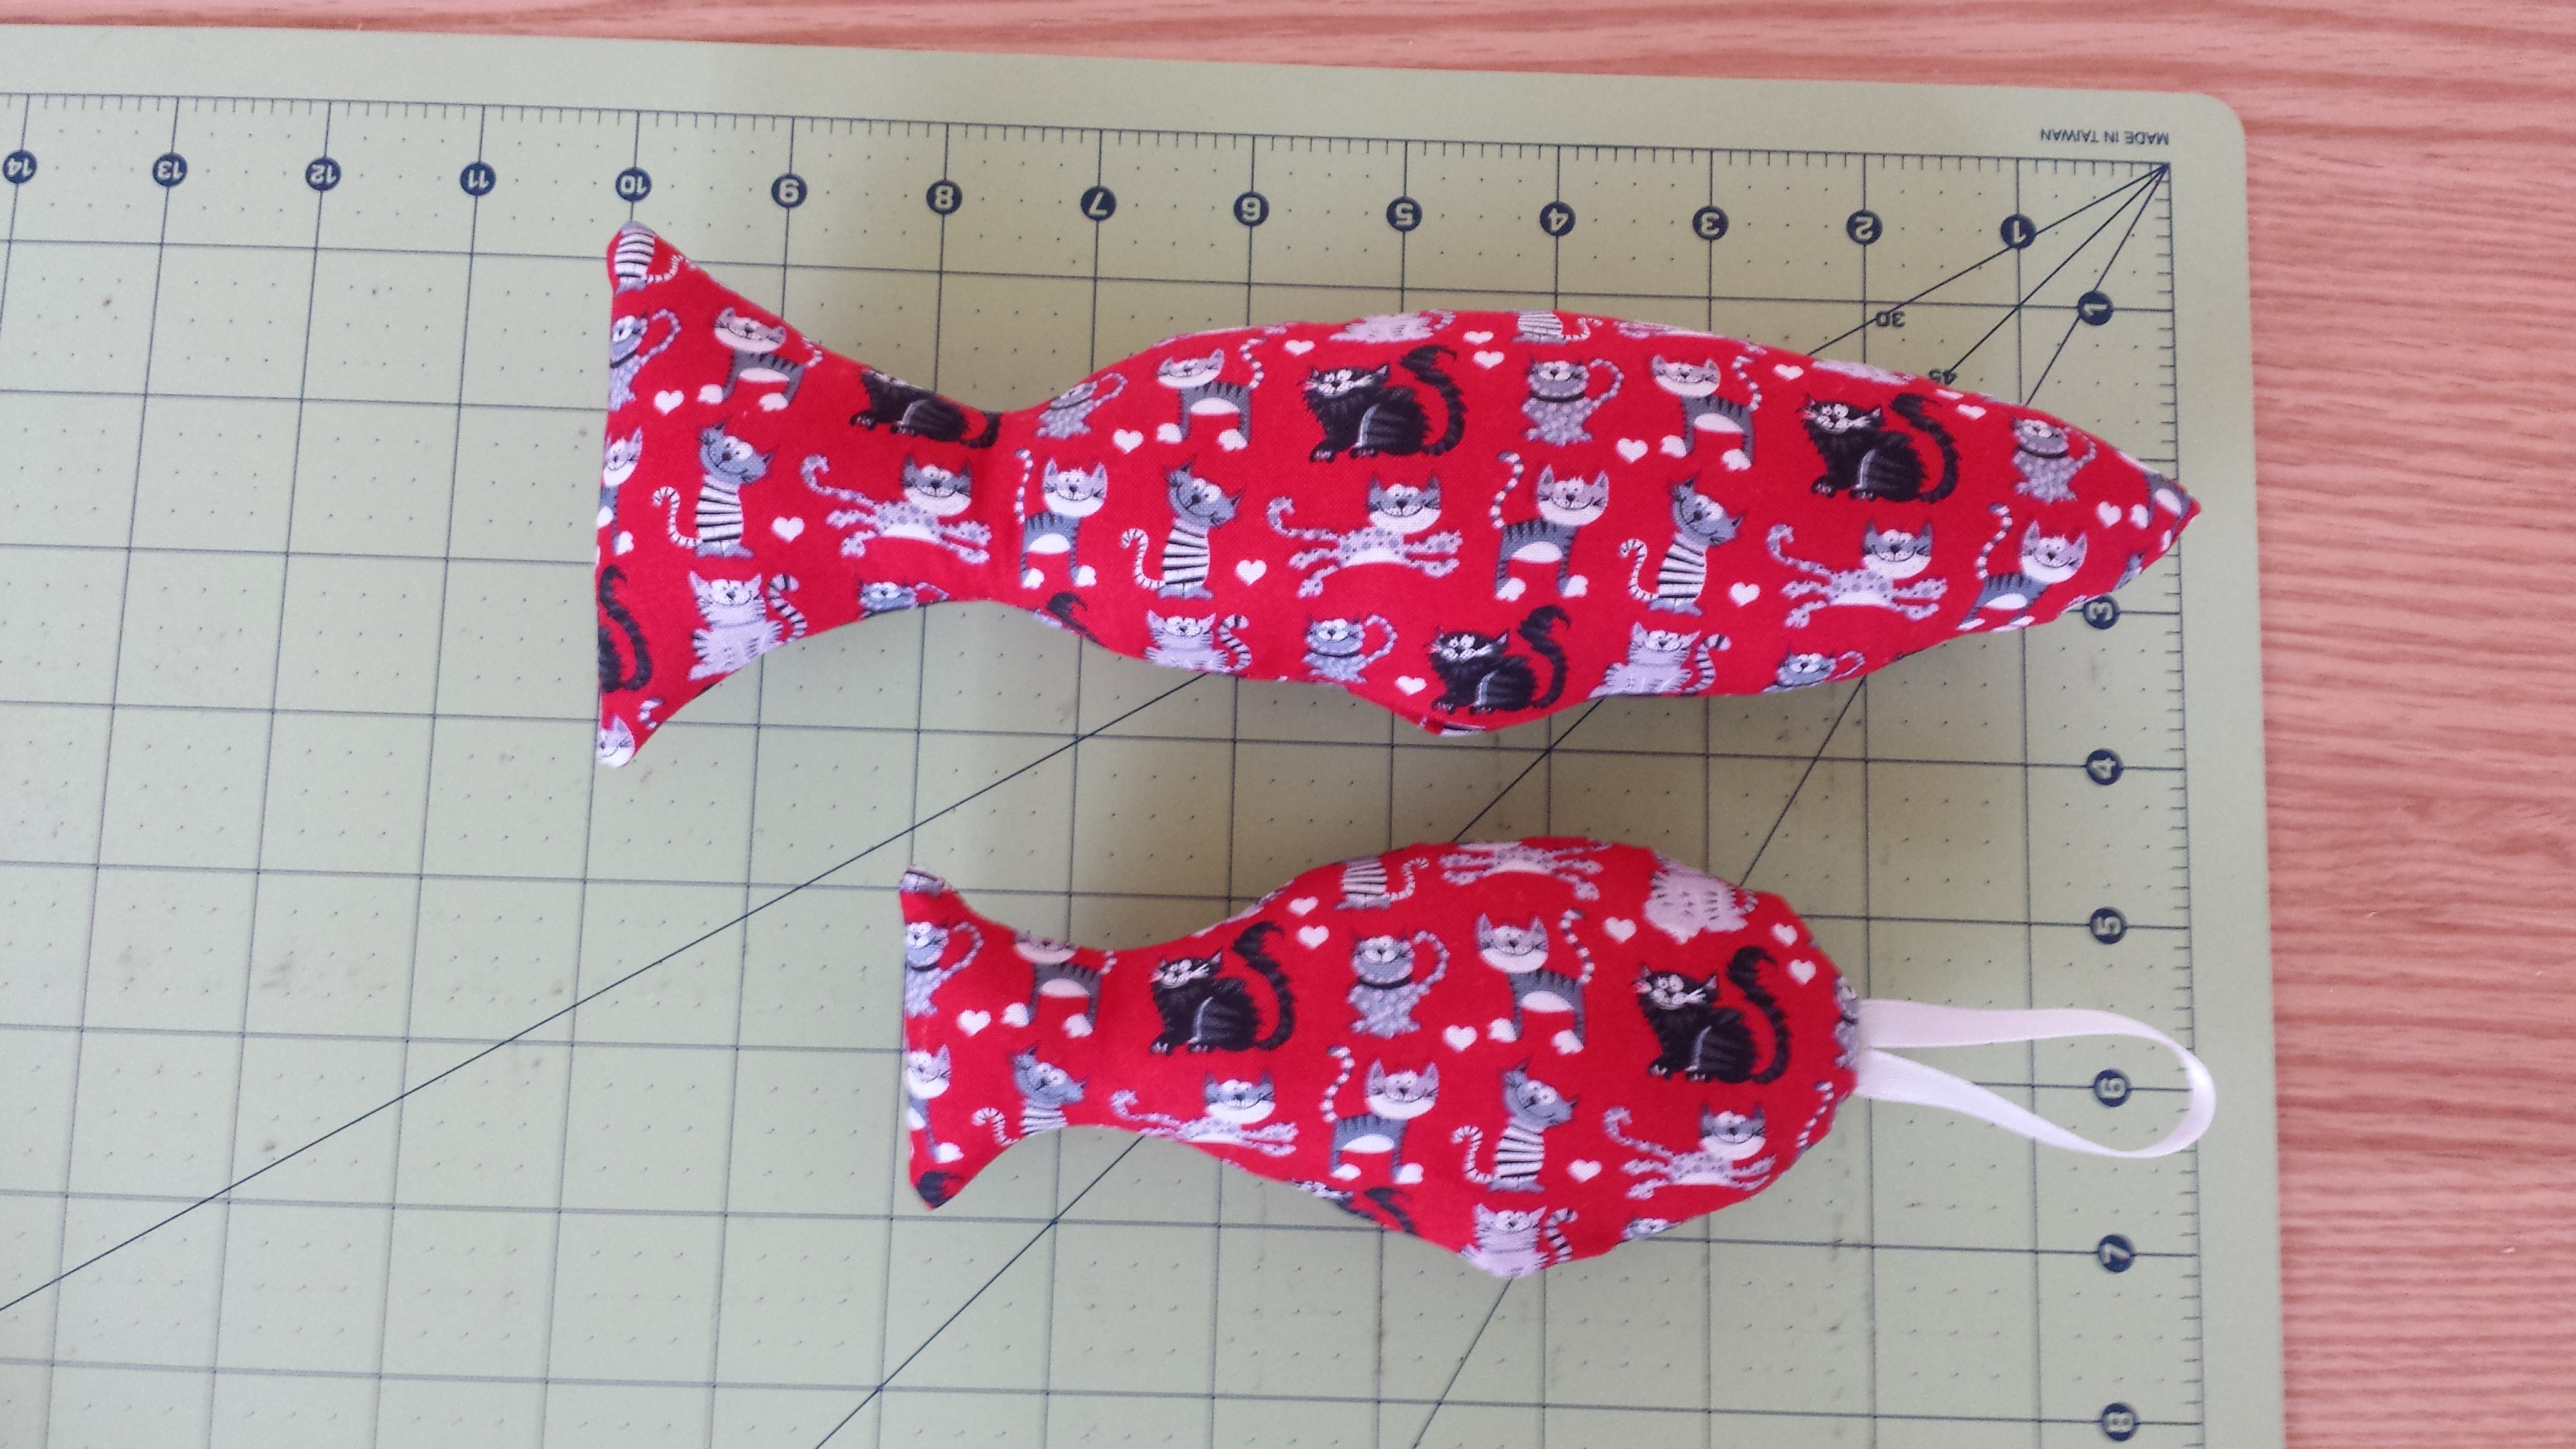
Turn it right side out and stuff with catnip and batting. Hand stitch or use the machine to sew up the opening.
Give it to your cat, and see what happens!
I found Sid on my sewing table.
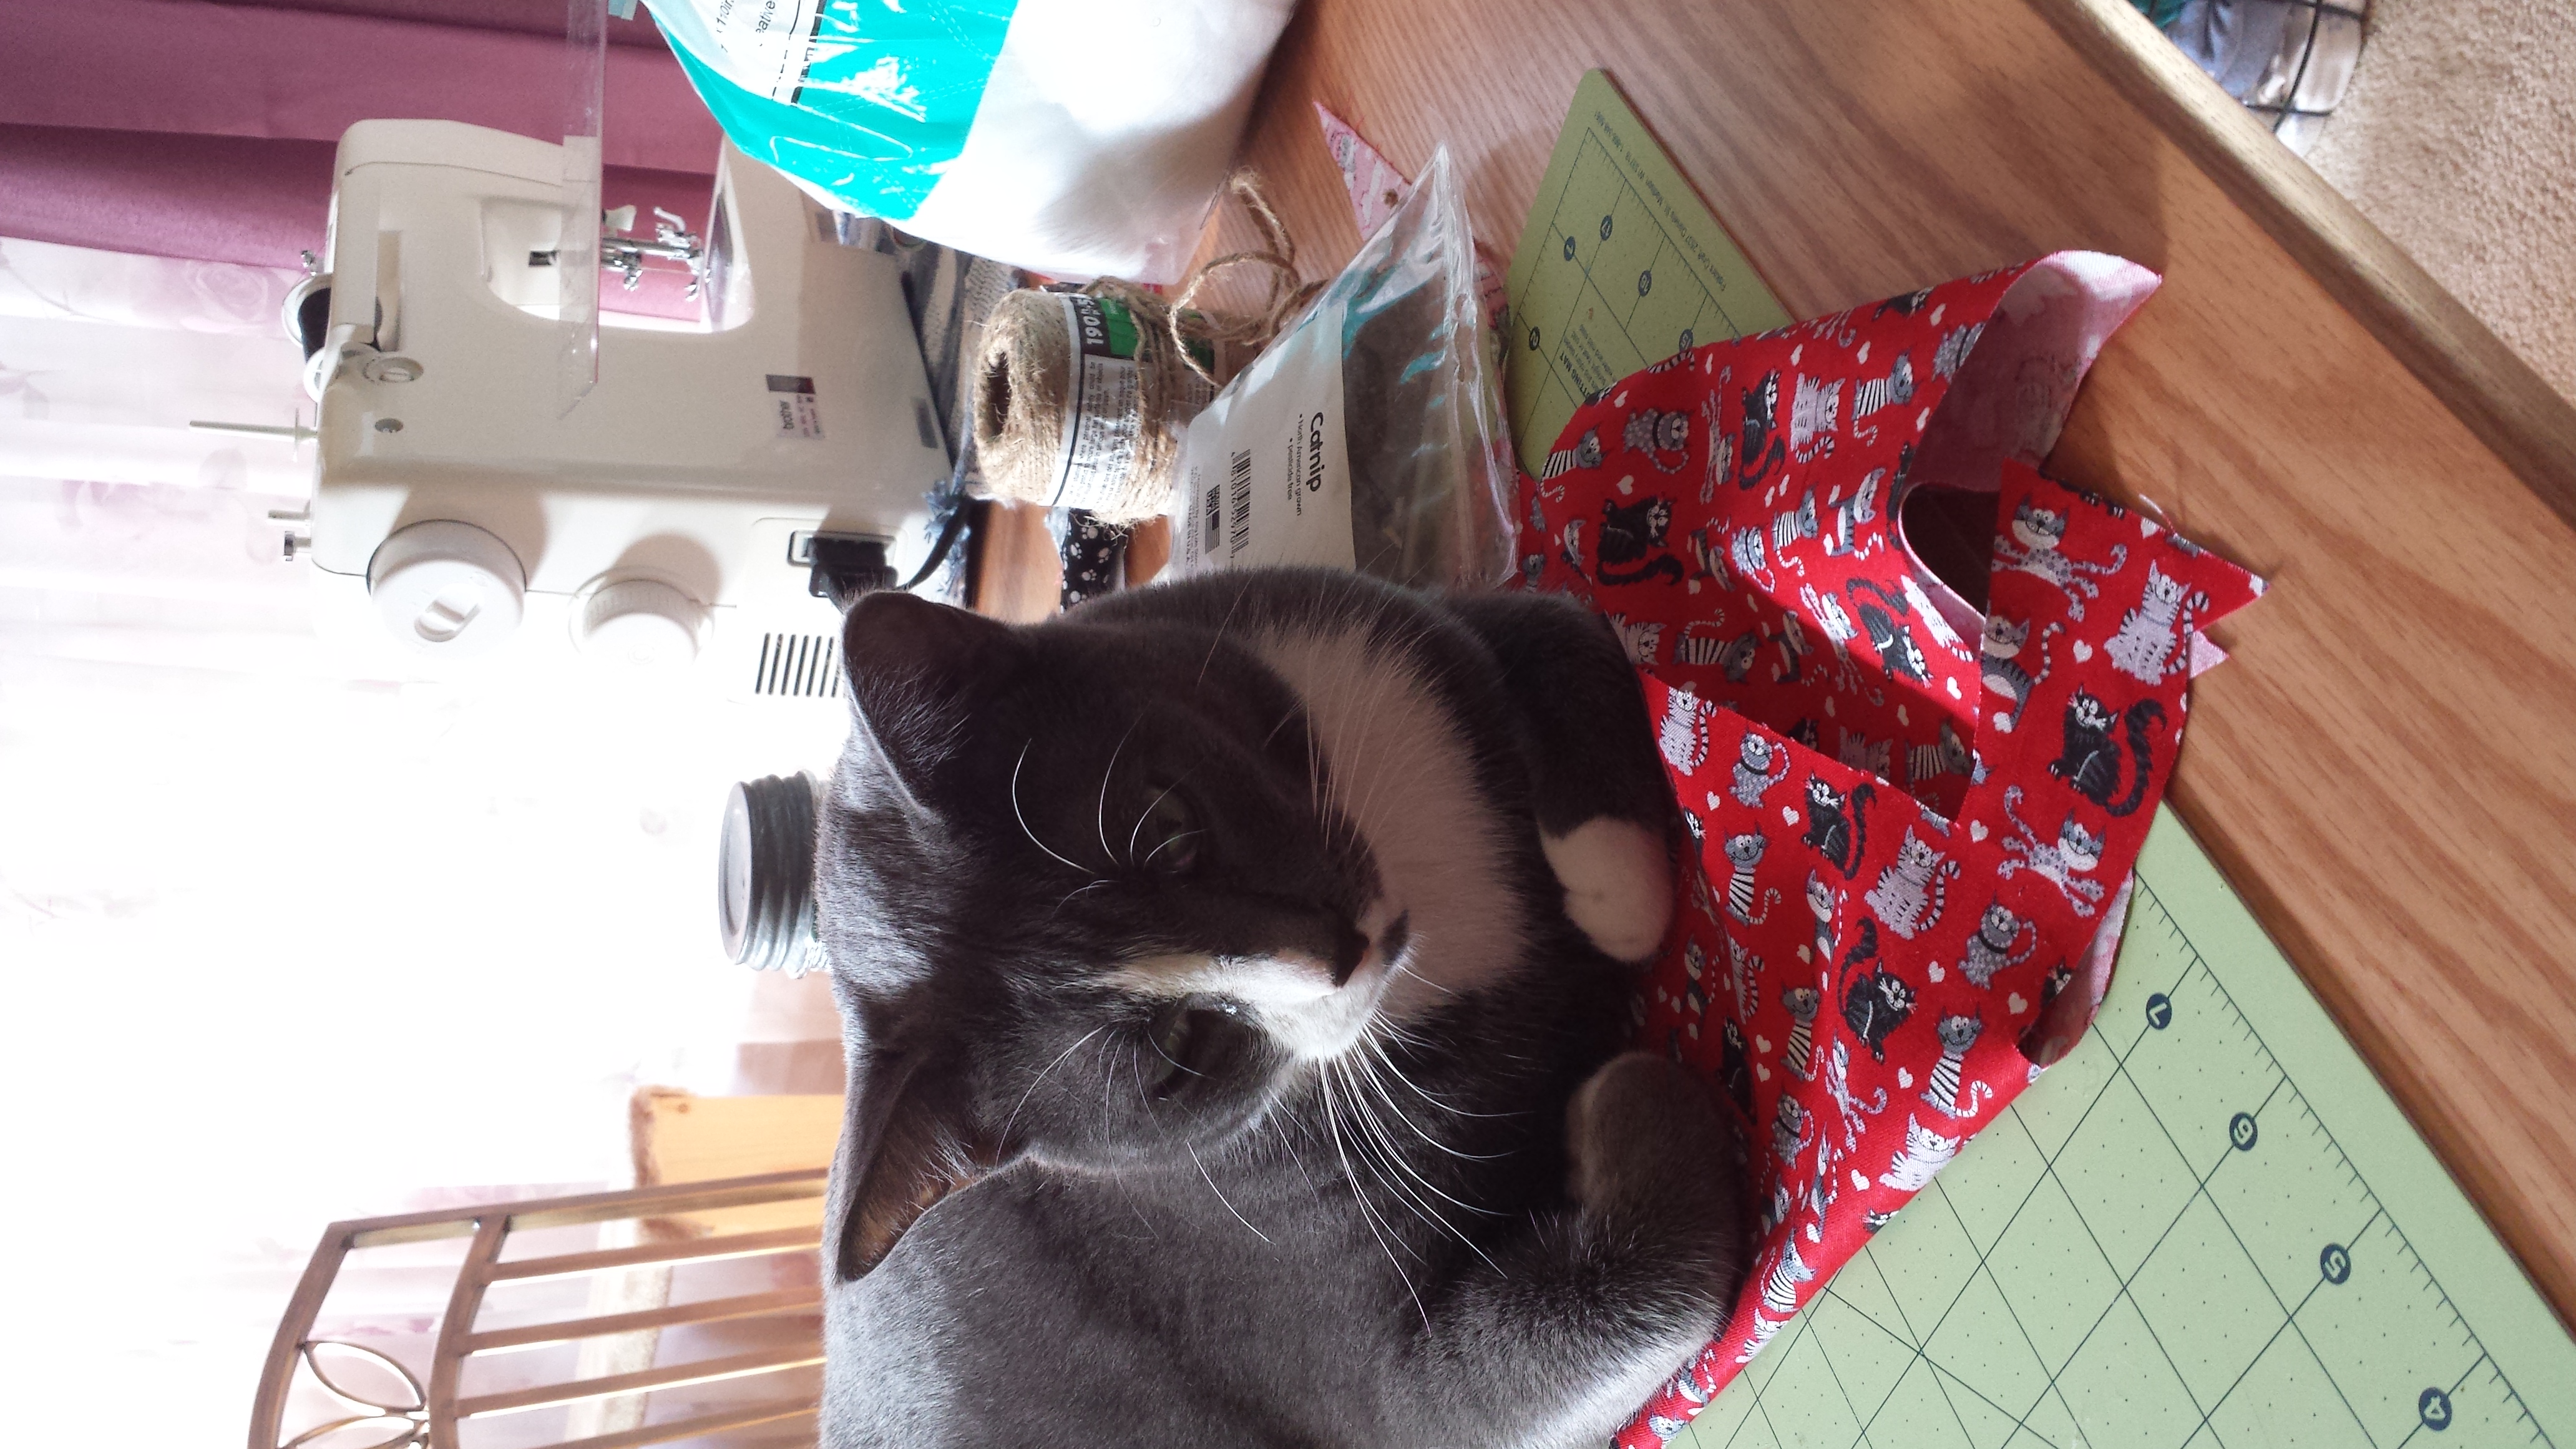
I think he wants me to stock his big purple pond with catnip fish!
Best cat toy for your cat’s aggression